Installation
Overview
The plug-in can be installed using the sample application installation file or DDL scripts (manual installation). The difference is that the manual installation installs only database objects required by the plug-in itself to run in APEX application. In contrast, the sample application installation includes database objects needed to run the sample application examples.
The installation must be finished with the plug-in license activation.
Learn more about data objects created after installation in the section Item plug-in \ Database objects.
Sample application installation
This method is the easiest and fastest because it comes down to importing and installing the sample application with supporting objects. The bundle includes sample applications exported from our Oracle APEX 19.2 and 22.2. If your APEX version is 22.2 or above, install the sample application exported from Oracle APEX 22.2.
The sample application installation includes the following steps:
- Import and install the sample application file (install supporting objects)
- Activate the plug-in license
What is the difference between exports from 19.2 and 22.2
The Oracle APEX supports CLOB in session state since APEX 22.2. The key difference is that the version exported from our Oracle APEX 22.2 is already CLOB-enabled:
- the plug-in instance in shared components plug-ins has standard attribute Session State Supports CLOB enabled
- page item implemented on home page uses Session State \ Data Type set to CLOB
- page item implemented in example CLOB handling using the native Form component only uses Session State \ Data Type set to CLOB
Manual installation
This method requires installing the page item plug-in, supporting dynamic action, and process plug-ins and database objects manually. The plug-in bundle downloaded from our portal includes all plug-in files, the DDL script installing the plug-in database objects, and the plug-in RESTful service.
The manual installation includes the following steps:
- Import & run the DDL script creating database objects
- Import & install the plug-in
- (optional) Install the supporting plug-ins
- Activate the plug-in license
Installation pre-requisites
- Oracle Database 12c or above
- Oracle Application Express (APEX) 19.2 or above installed
- the schema implementing an application where the plug-in will be installed must be REST enabled.
Sample application installation
Overview
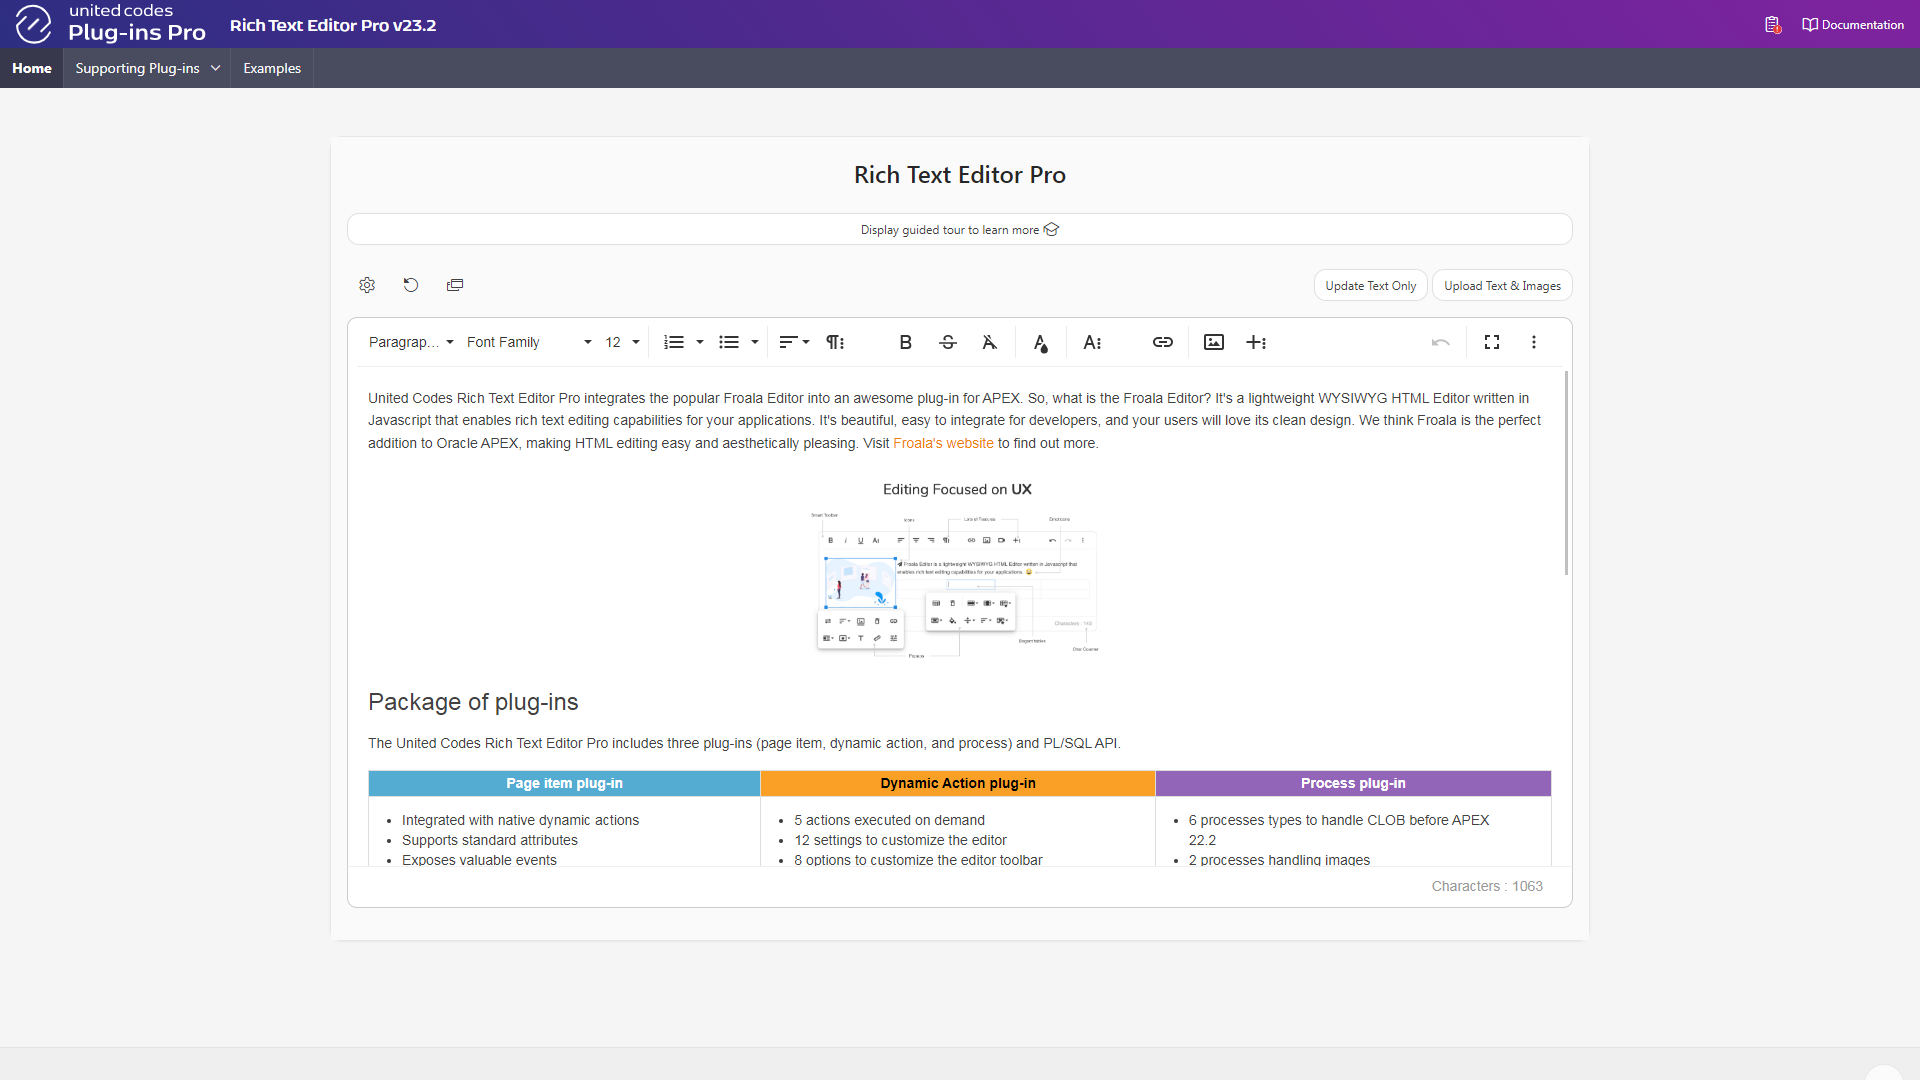
The sample application available in the plug-in installation bundle is the same sample application available publicly. Even though the sample application allows you to inspect important components directly in the live demo, you might find exploring the examples using the Oracle APEX page designer in your local environment handy.
Learn more about data objects the sample application uses in the section Item plug-in \ Database objects.
Importing the Sample Application
Log into your APEX application builder
Click on the Import button to start the Oracle APEX application installation wizard

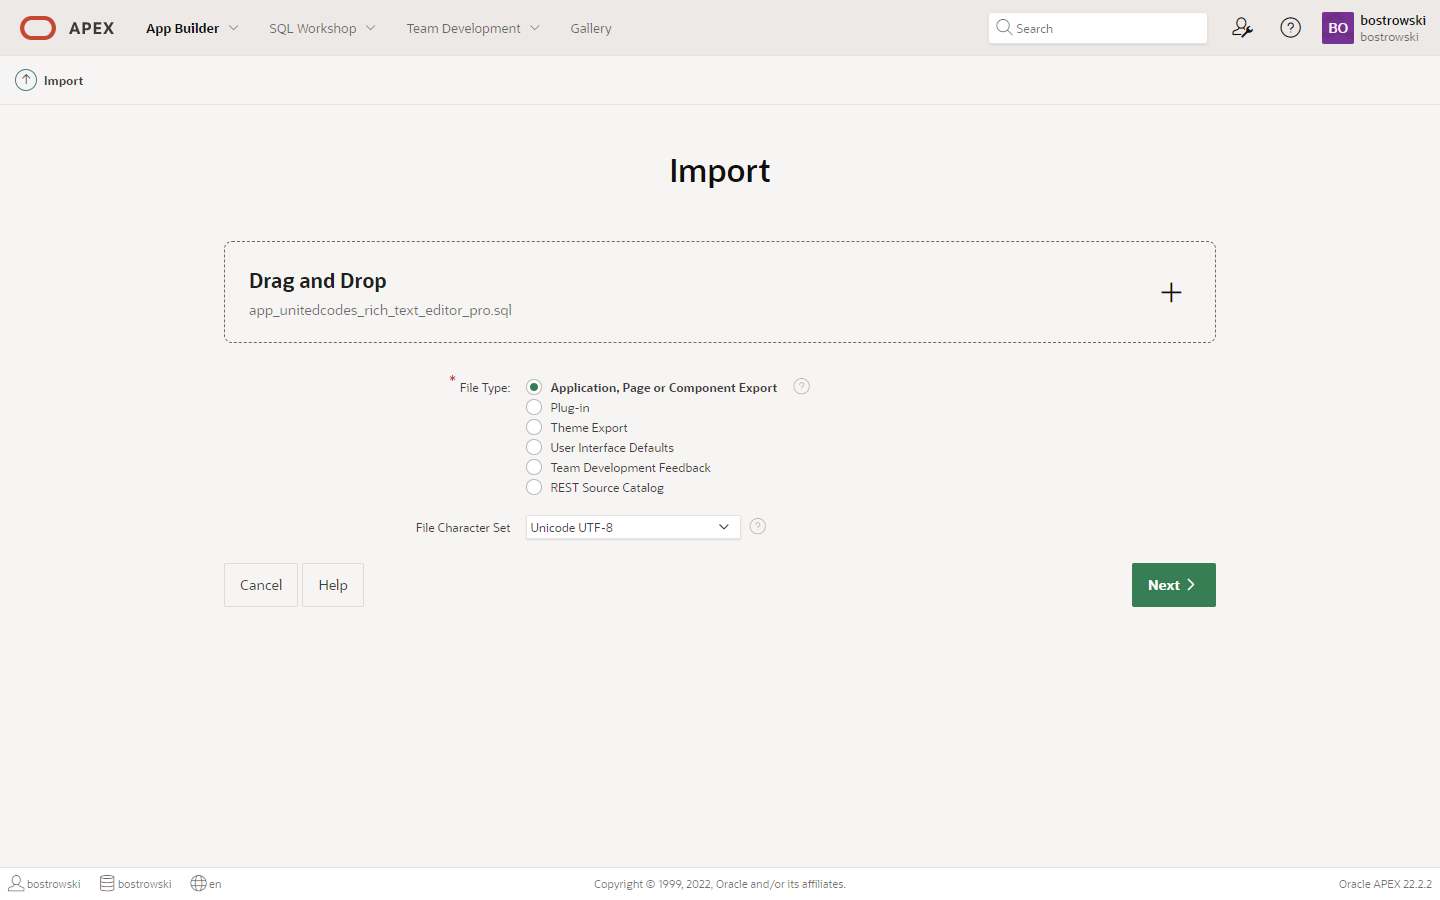
Click on the Drag and Drop region
Select the sample application file
app_apex222_unitedcodes_rich_text_editor.sqlClick the Next button
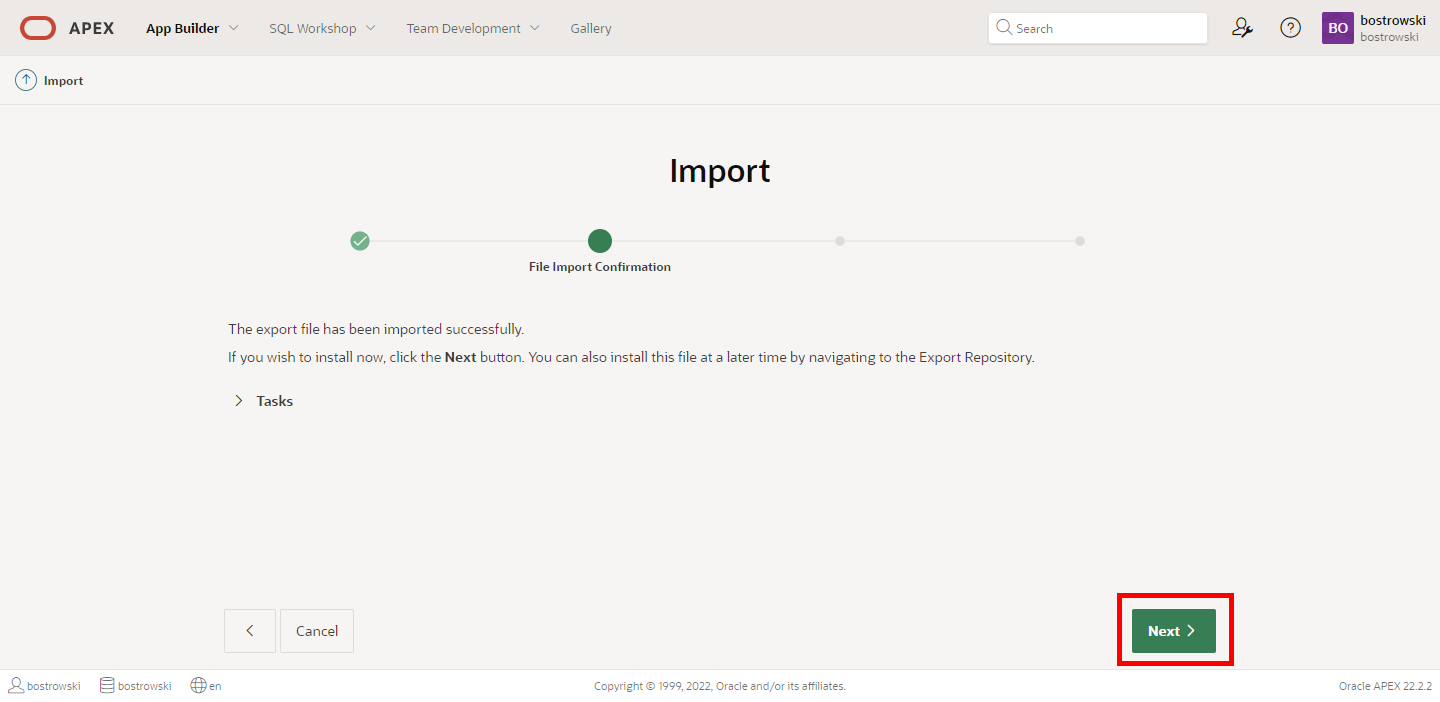
After successfully uploading the application installation file, you will see a file import confirmation.
Click the Next button
Proceed to the next installation step Set the application installation settings
Set the application installation settings
- Configure or use the default values in the form
- Click the Install Application button
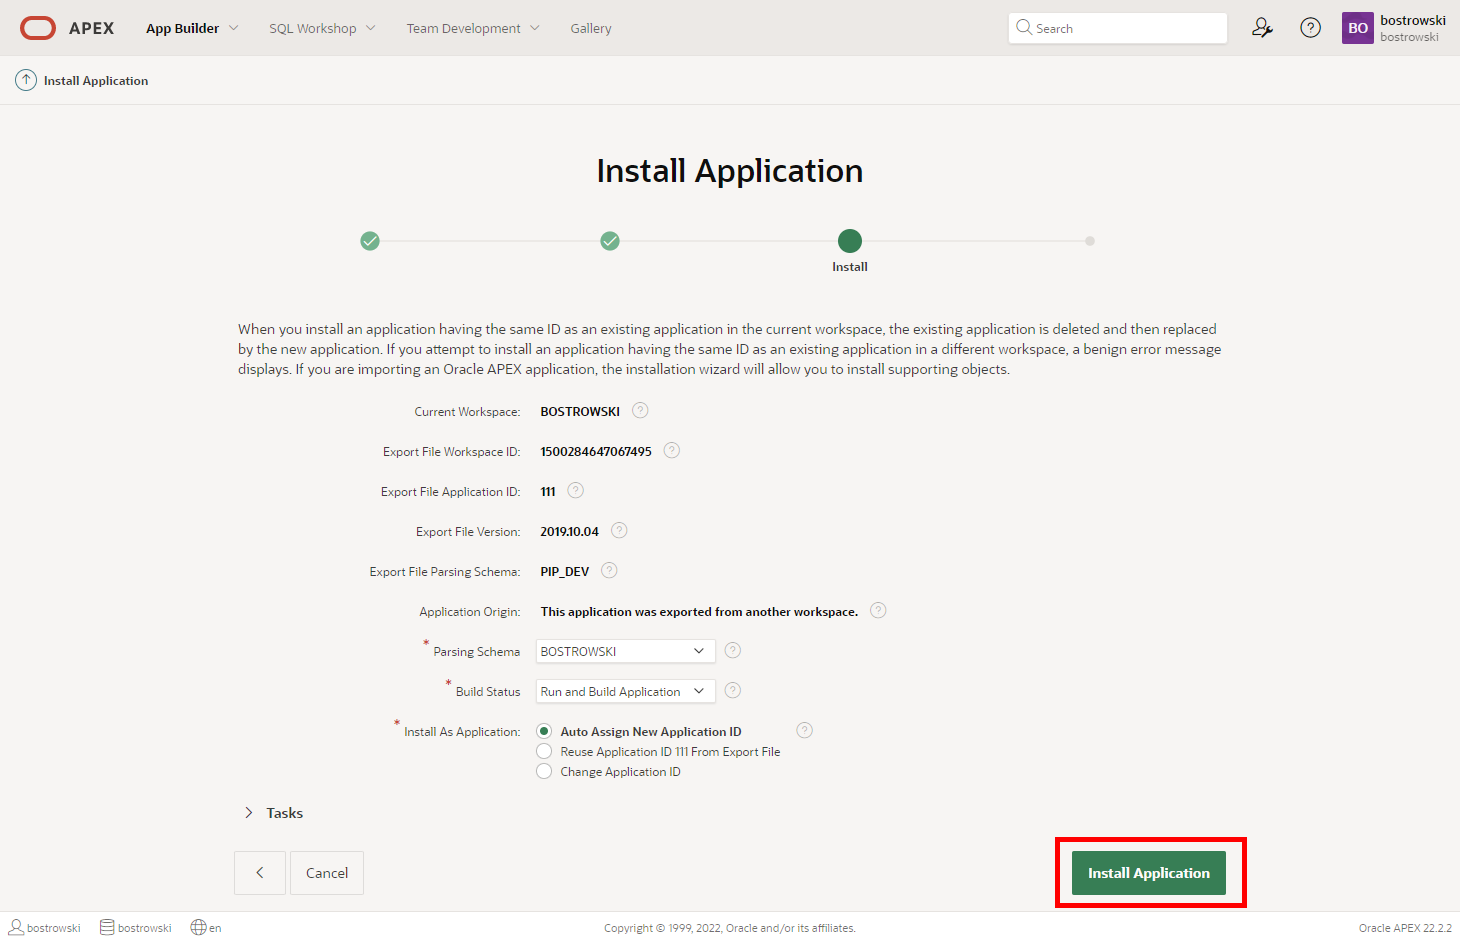
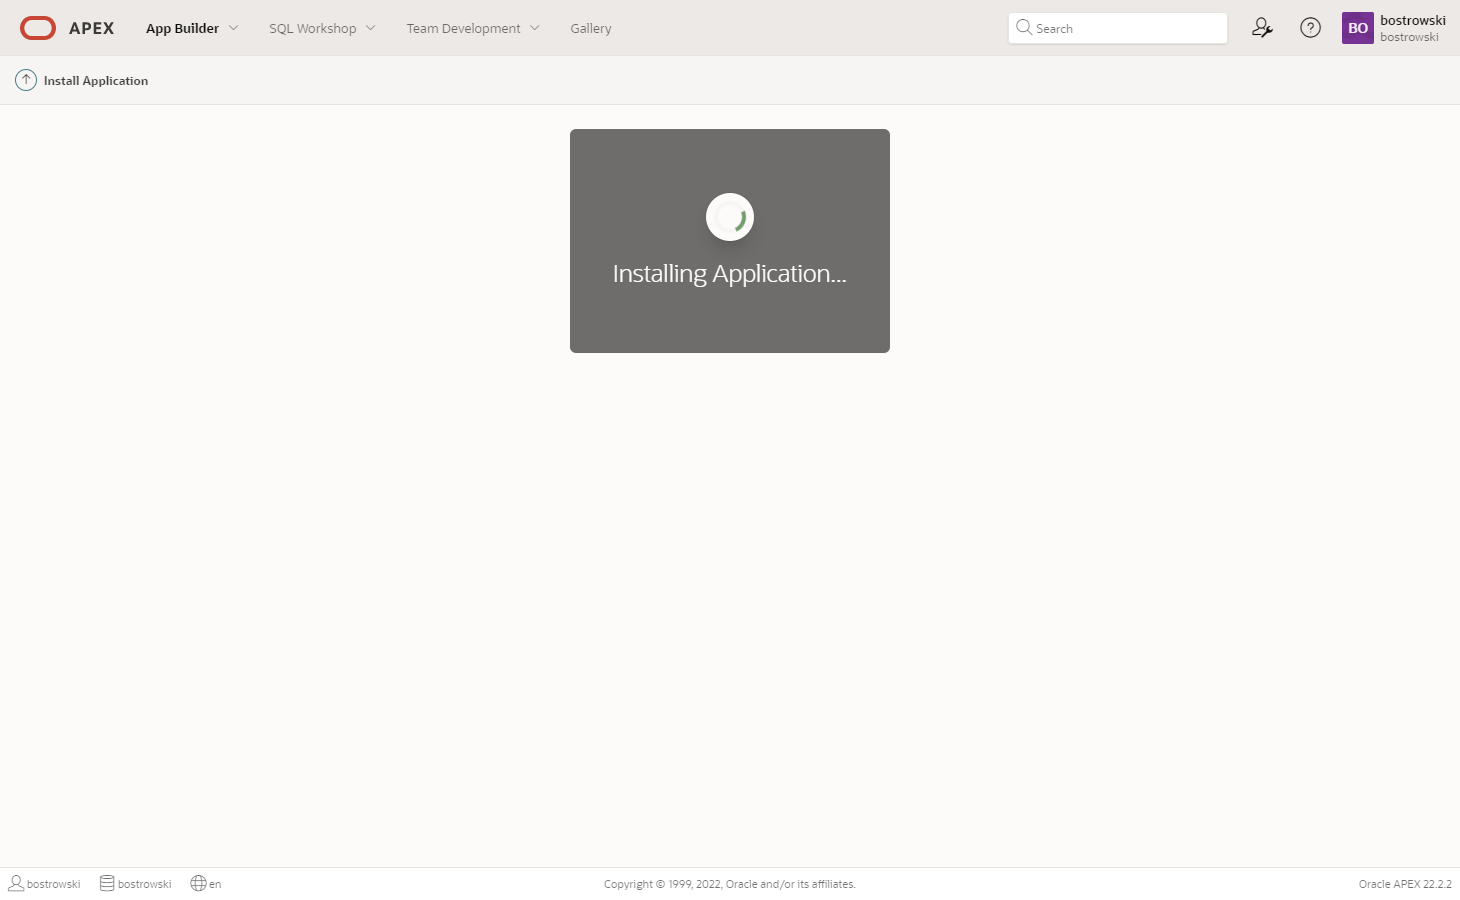
- Don't close the page - wait until APEX finishes installing the application. You will be redirected to the next step when the application installation is complete.
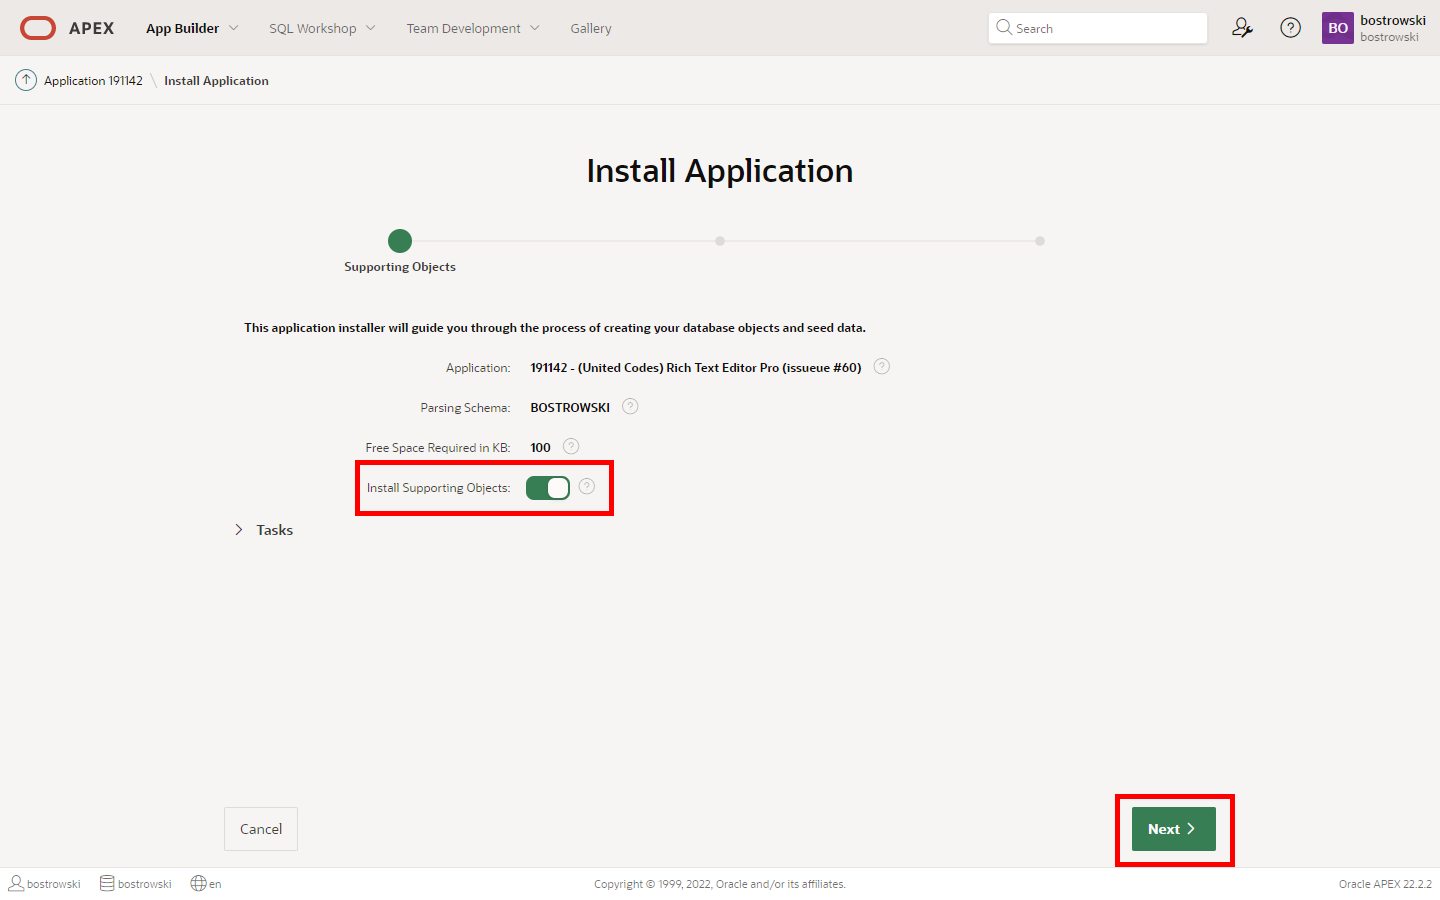
- Make sure Install Supporting Objects is enabled (the sample application requires all supporting objects installed)
- Click the Next button
- Click the Next button
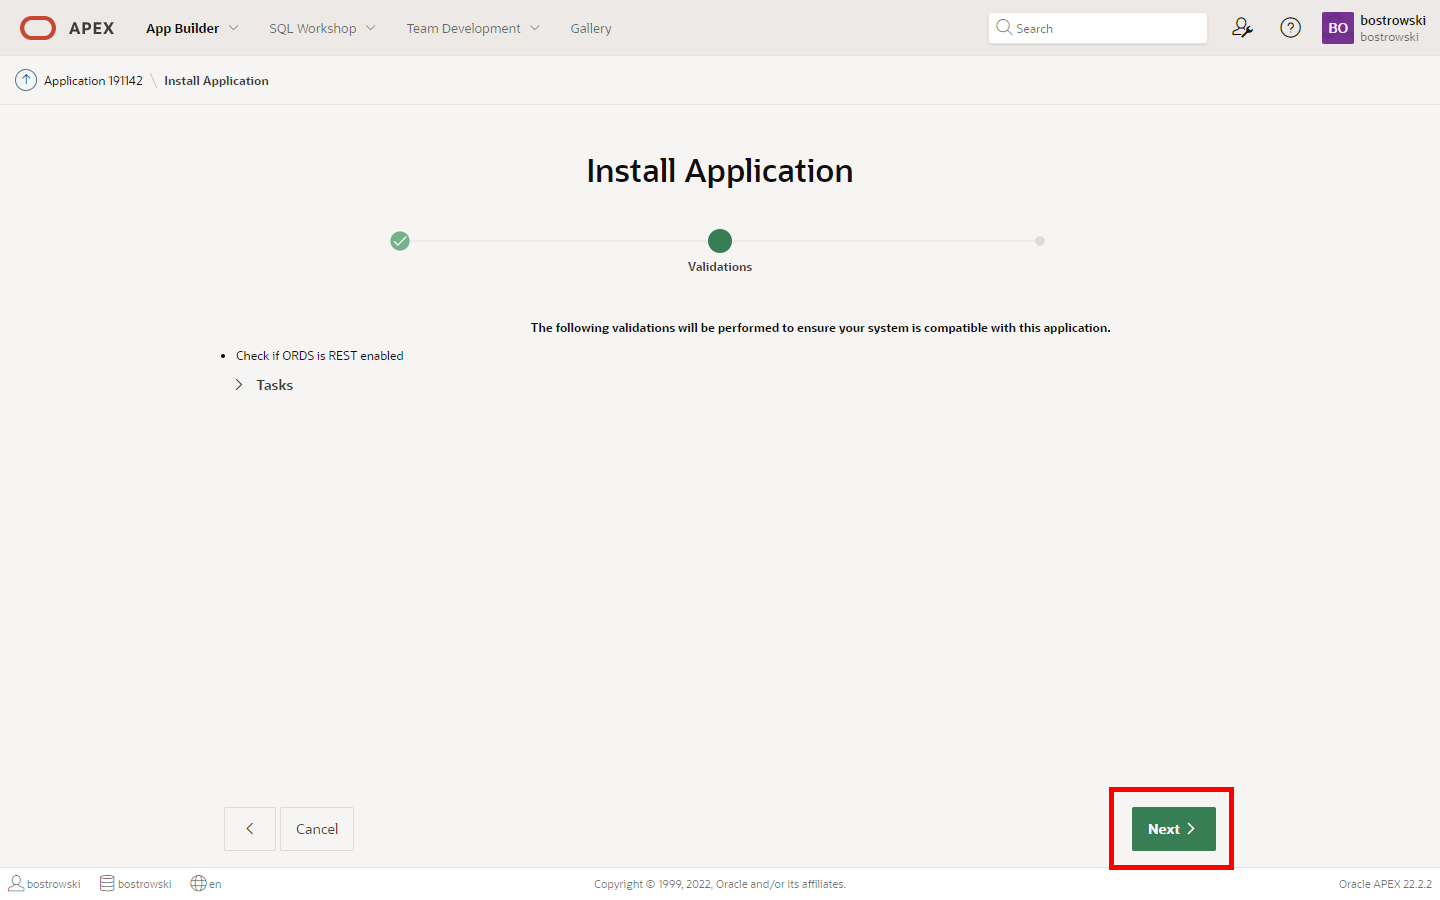
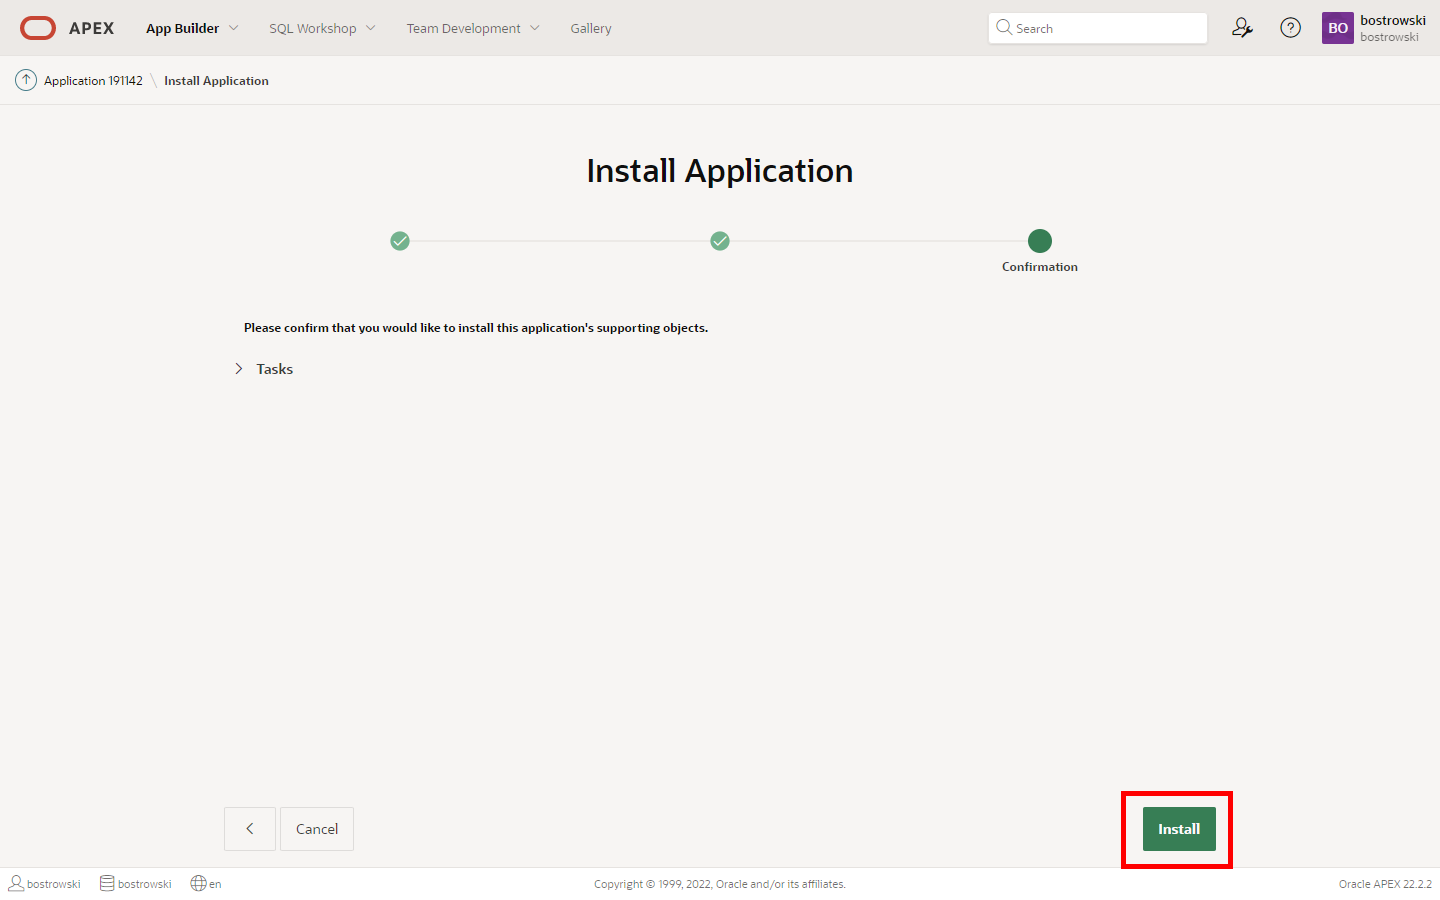
- Click the Install button
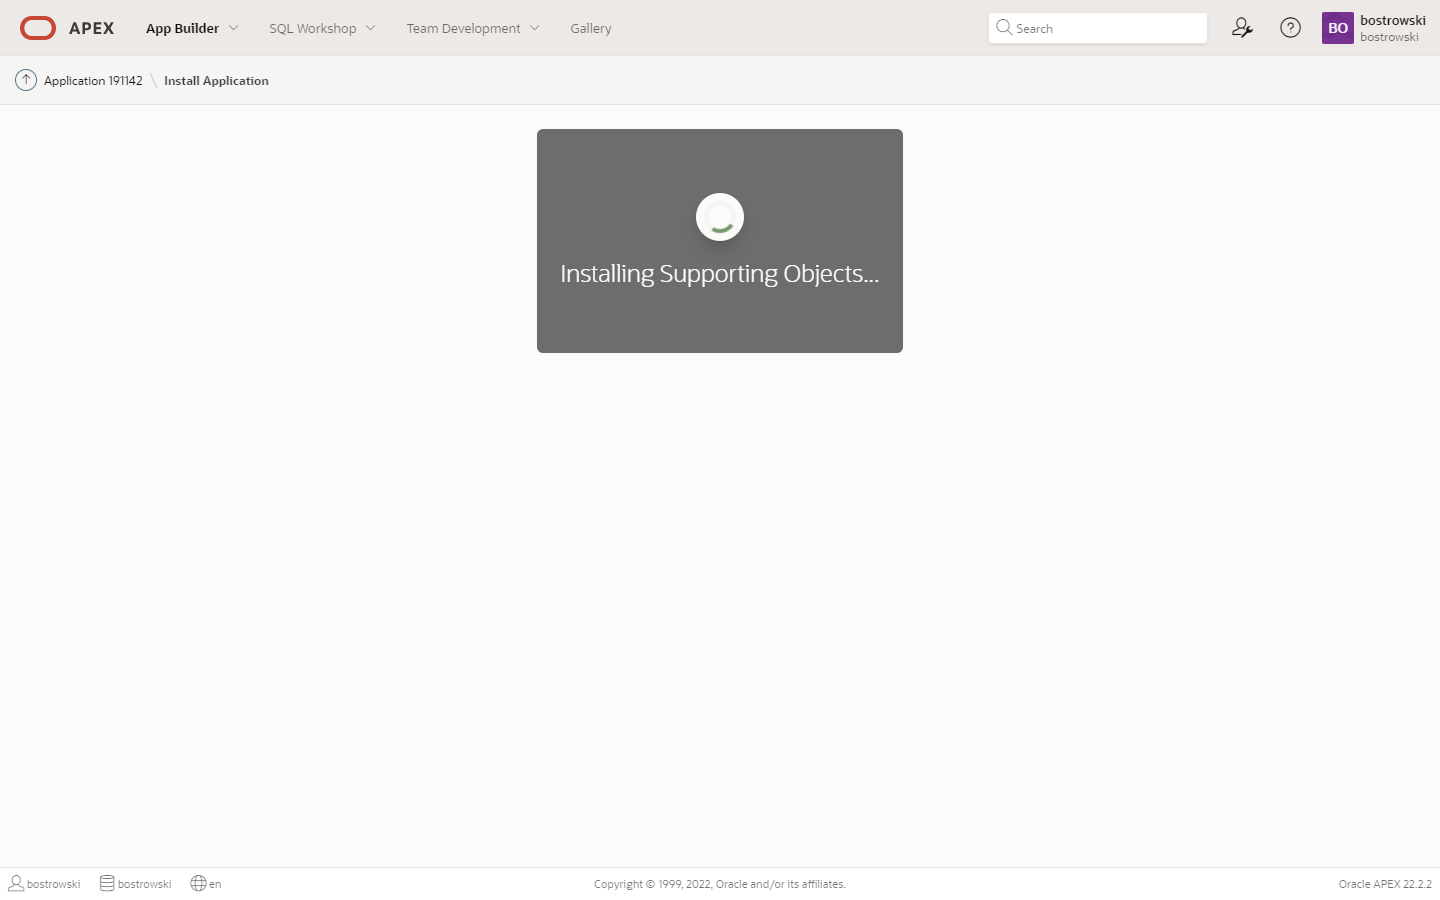
Don't close the page - wait until APEX finishes installing the supporting objects.
When the supporting objects are installed, you will be redirected to the next step.
- You will see the installation wizard confirmation when the installation finishes.
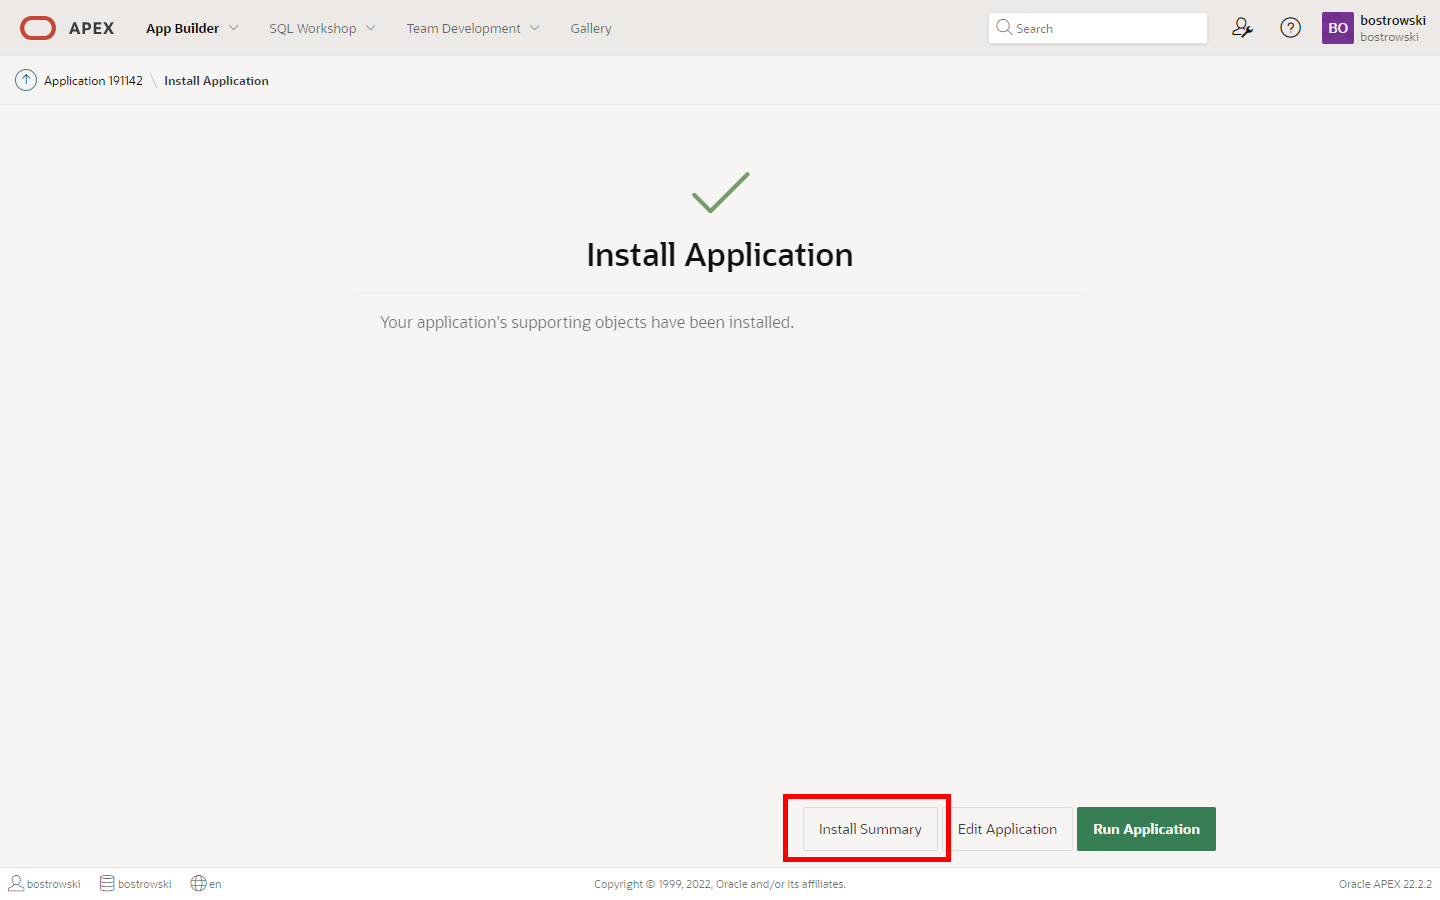
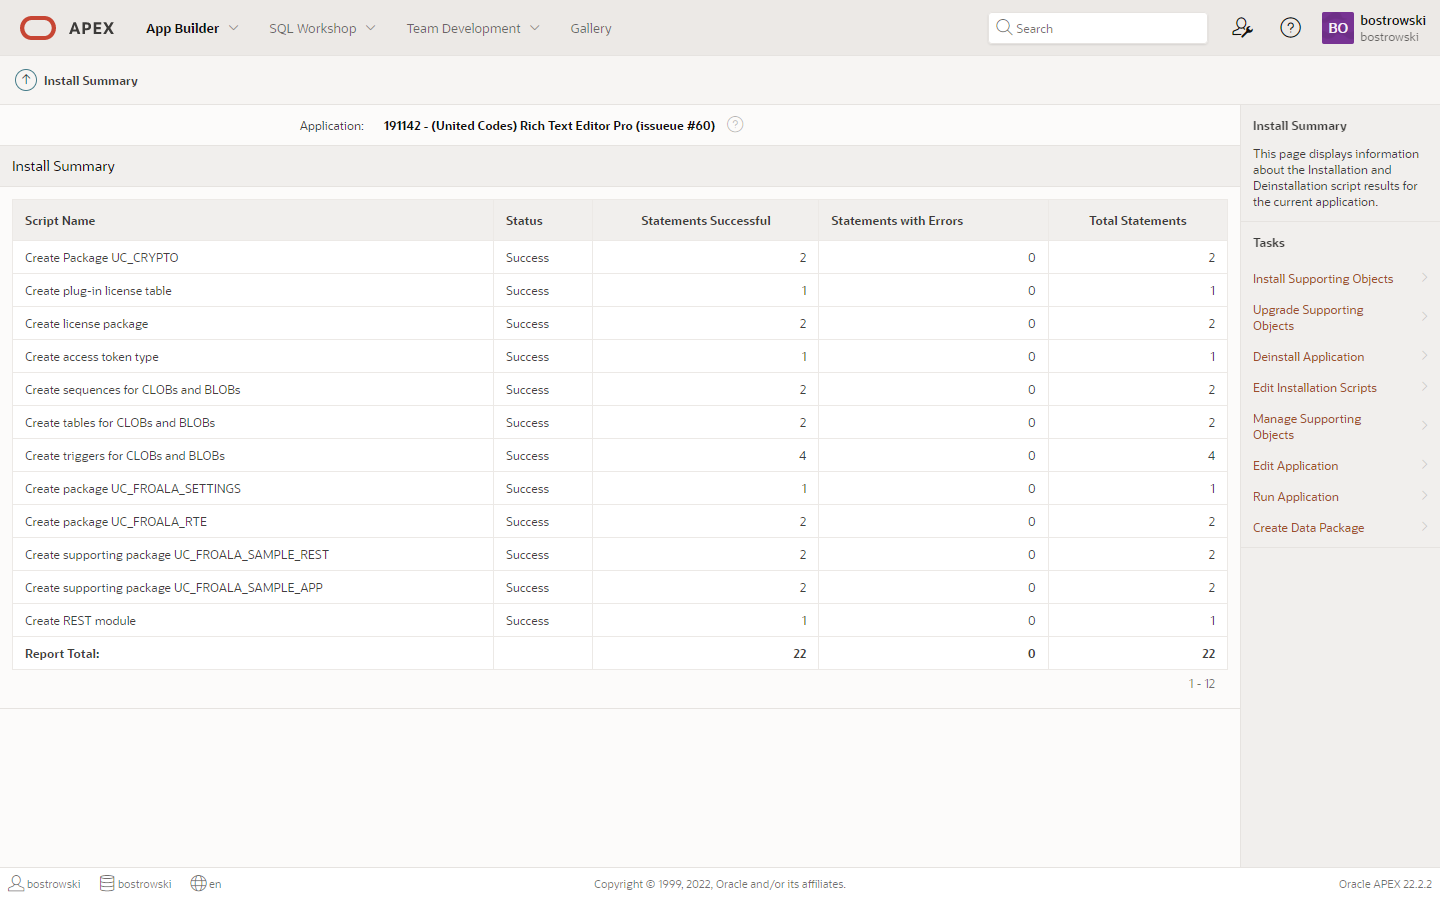
If an error terminates the installation, it can be verified by clicking the Install Summary button - the summary shows the status of all the installed supporting objects.
Verify the plug-in component settings
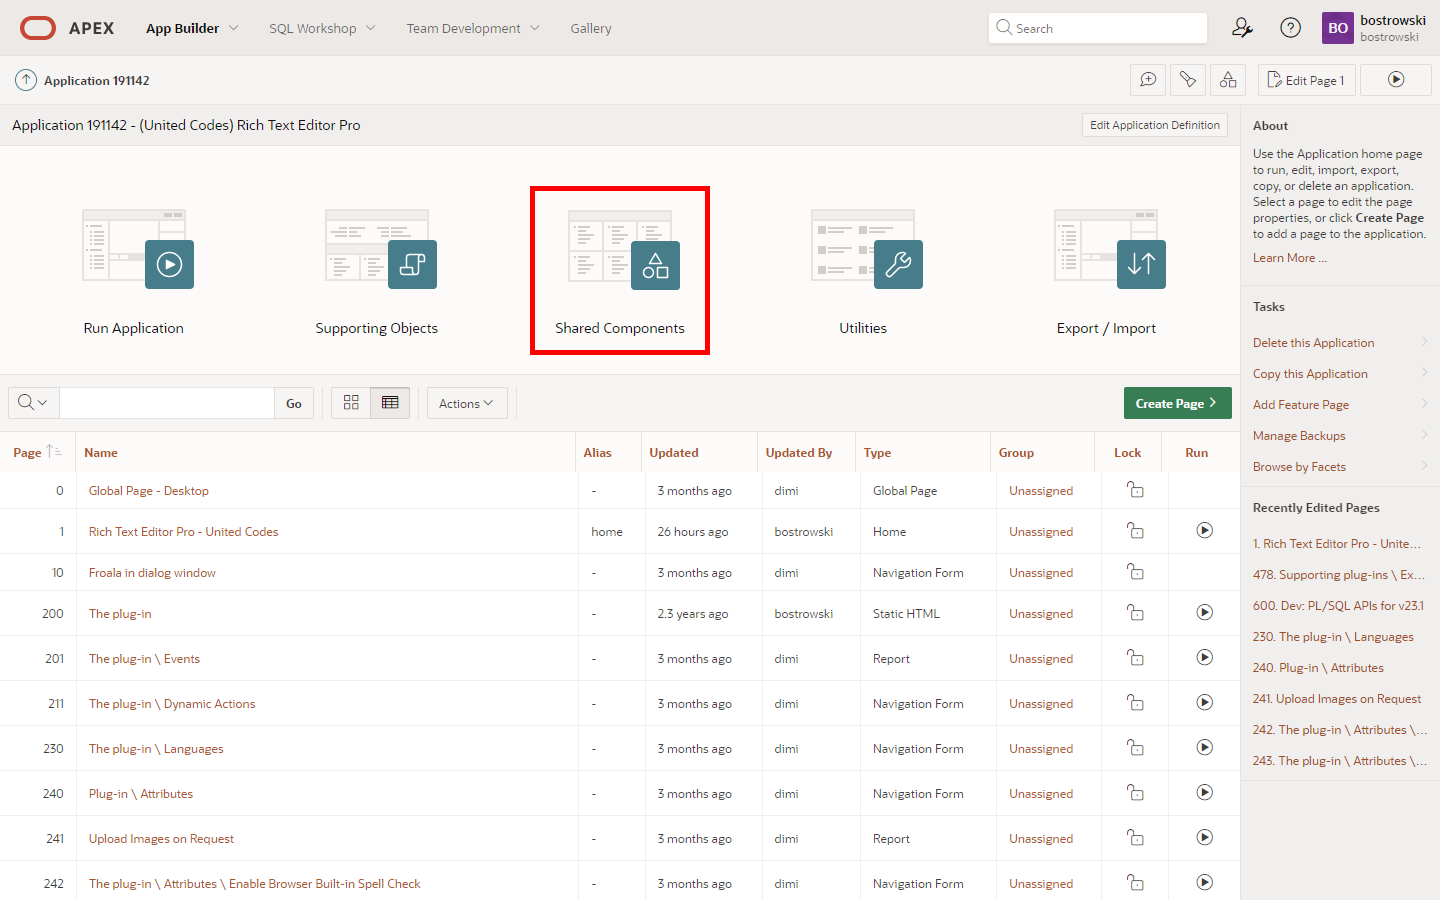
- Go to the Shared Components
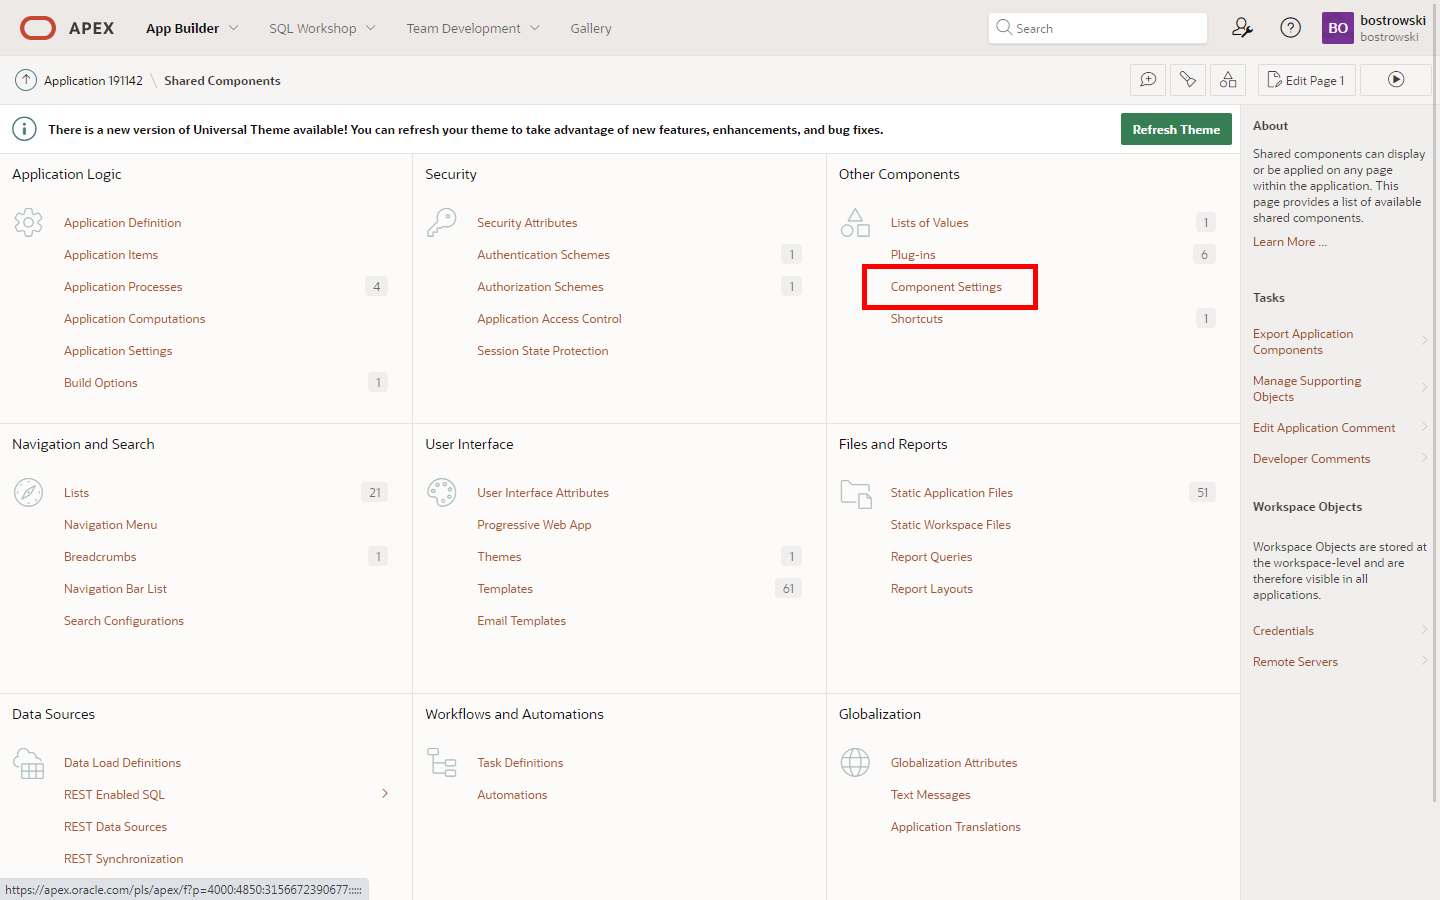
- Go to the Component Settings
- Click on the plug-in UC - Rich Text Editor Pro (Plug-in)
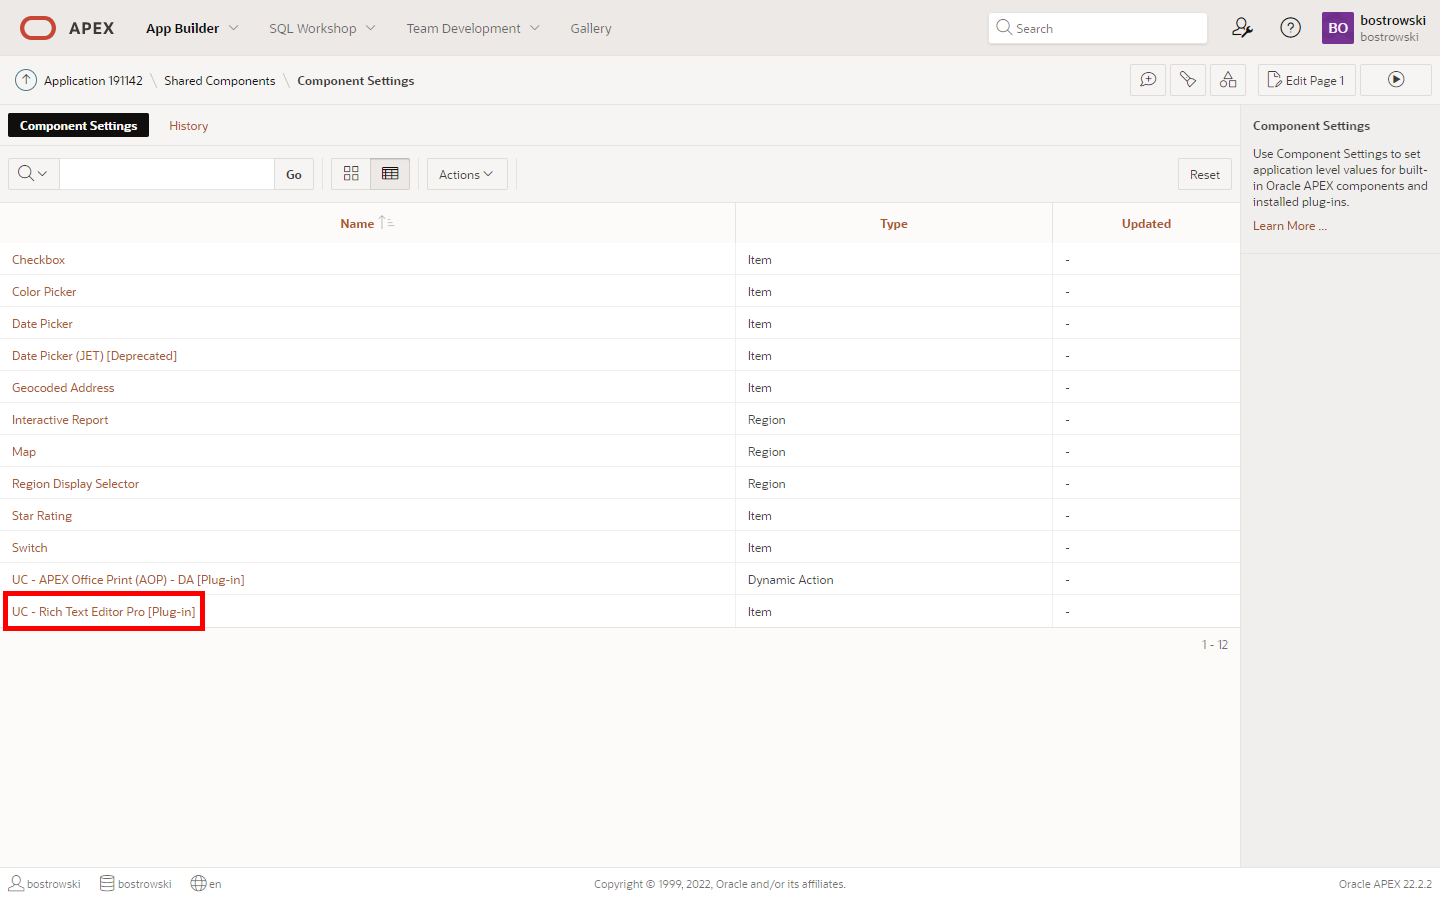
- The plug-in component settings values are set to default values - fill in the correct values if you know what you are doing.

Use the plug-in built-in help text for component settings to learn more about each attribute.
Manual Installation
Overview
The manual installation is the best way to start using the plug-in in an existing Oracle APEX application. The manual installation creates only mandatory database objects required to use the plug-in successfully.
Import & run the DDL script creating database objects
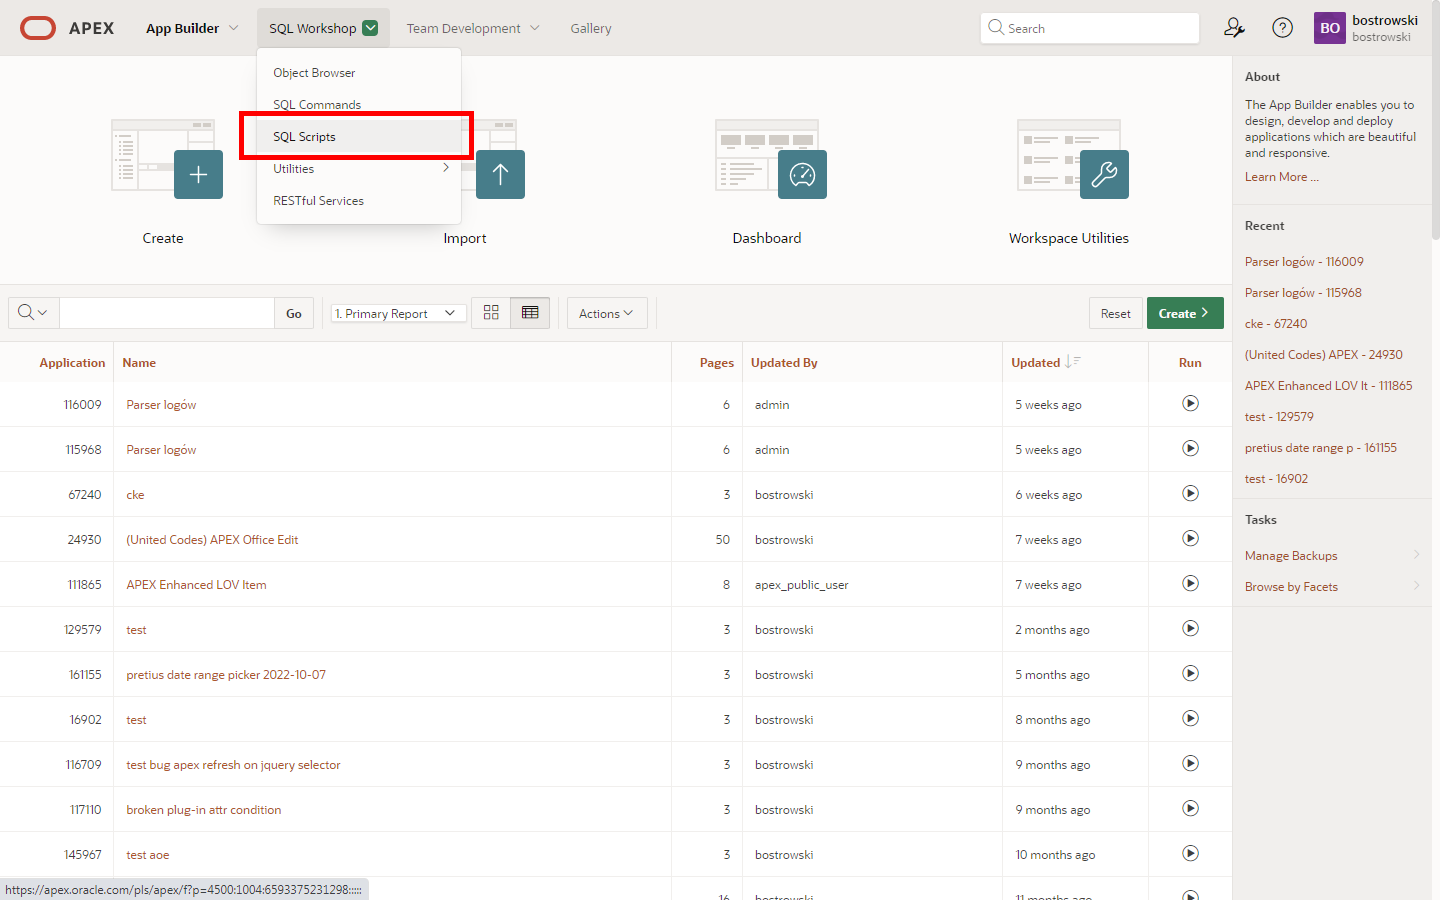
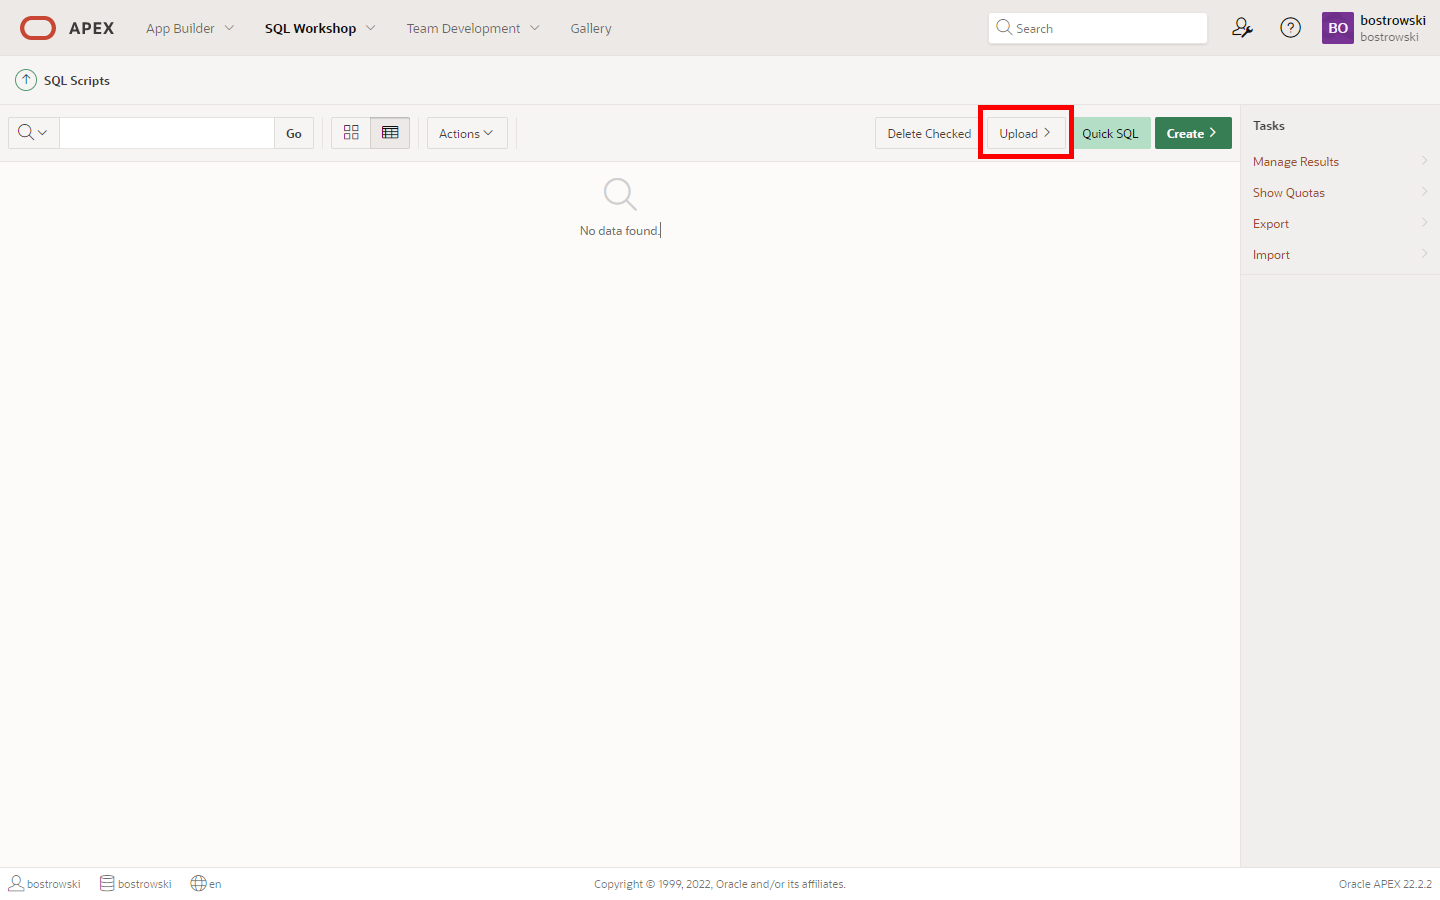
- From the APEX Application Builder, in the top menu bar, select SQL Workshop and then SQL Scripts
- Click the Upload button
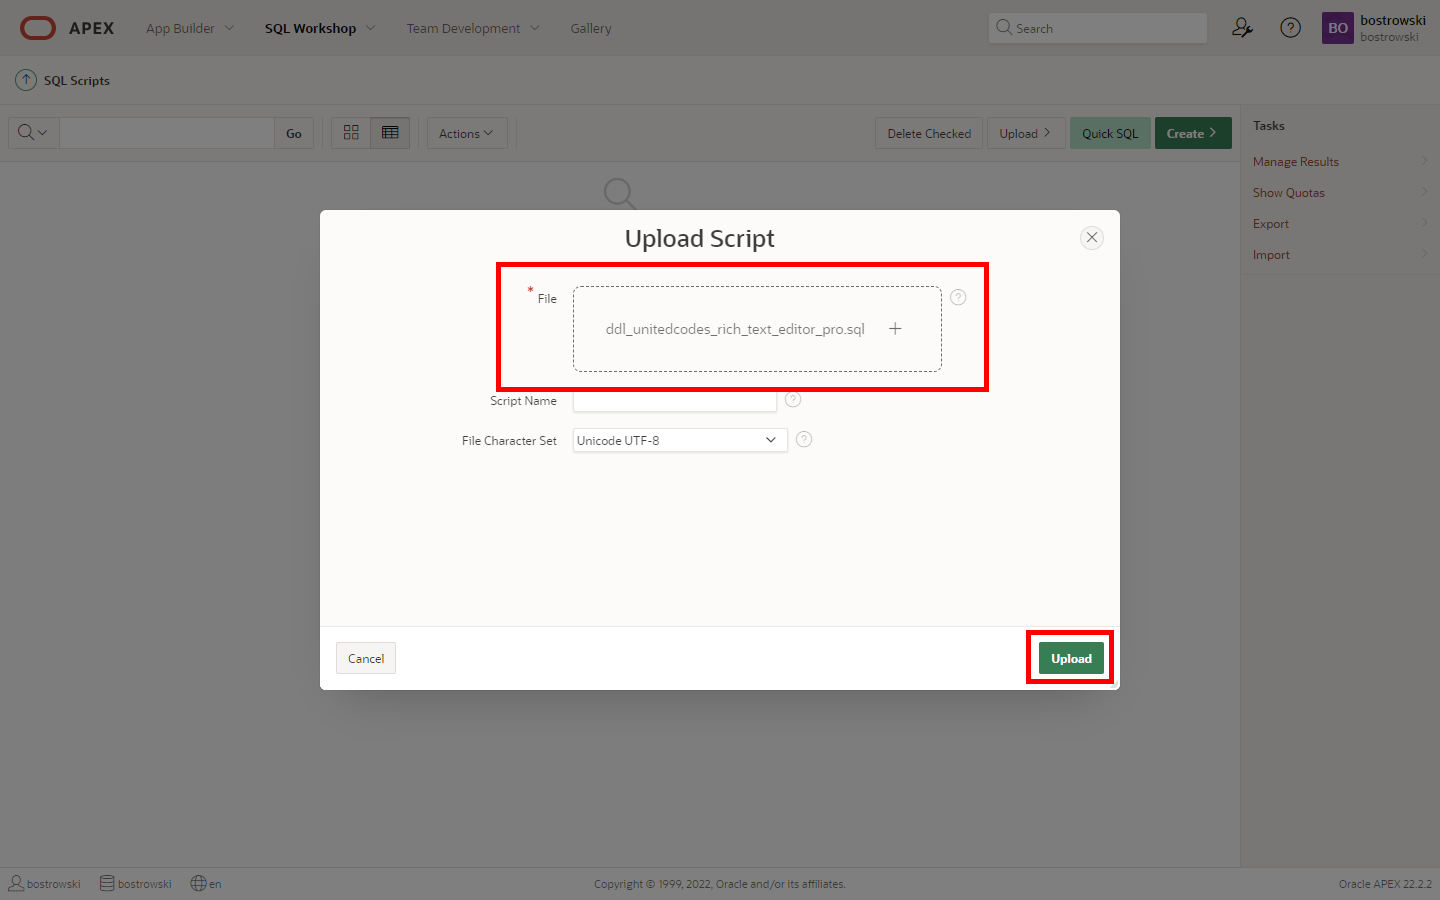
- In the Upload Script dialog, click on Choose File and select the file:
ddl_uc_rte_manual_install.sql - Click the Upload button
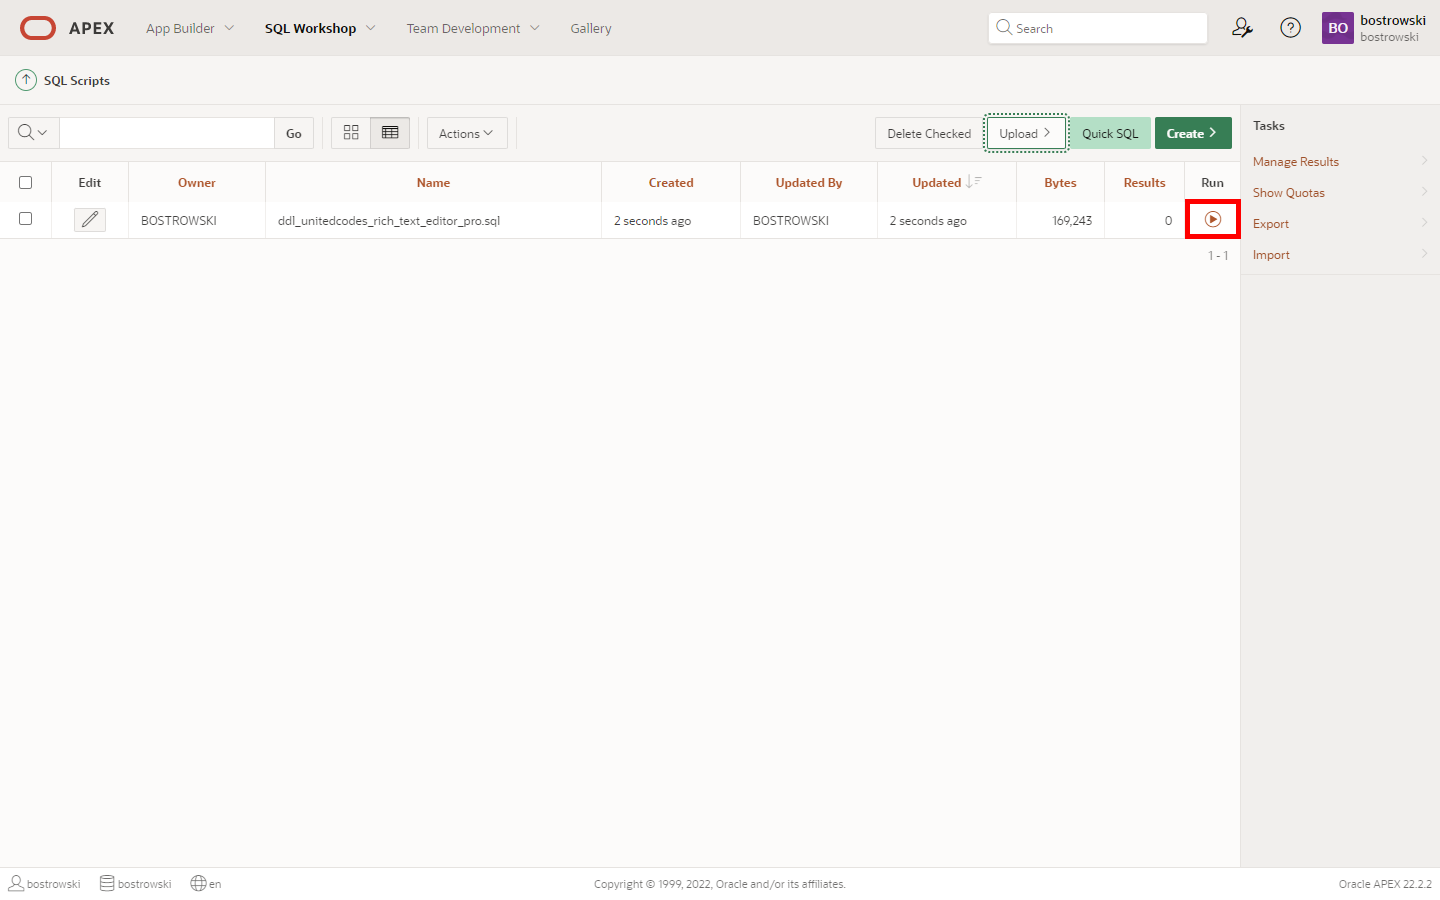
- After successfully uploading the script, click the Run button.
- Click the Run Now button on the confirmation screen.
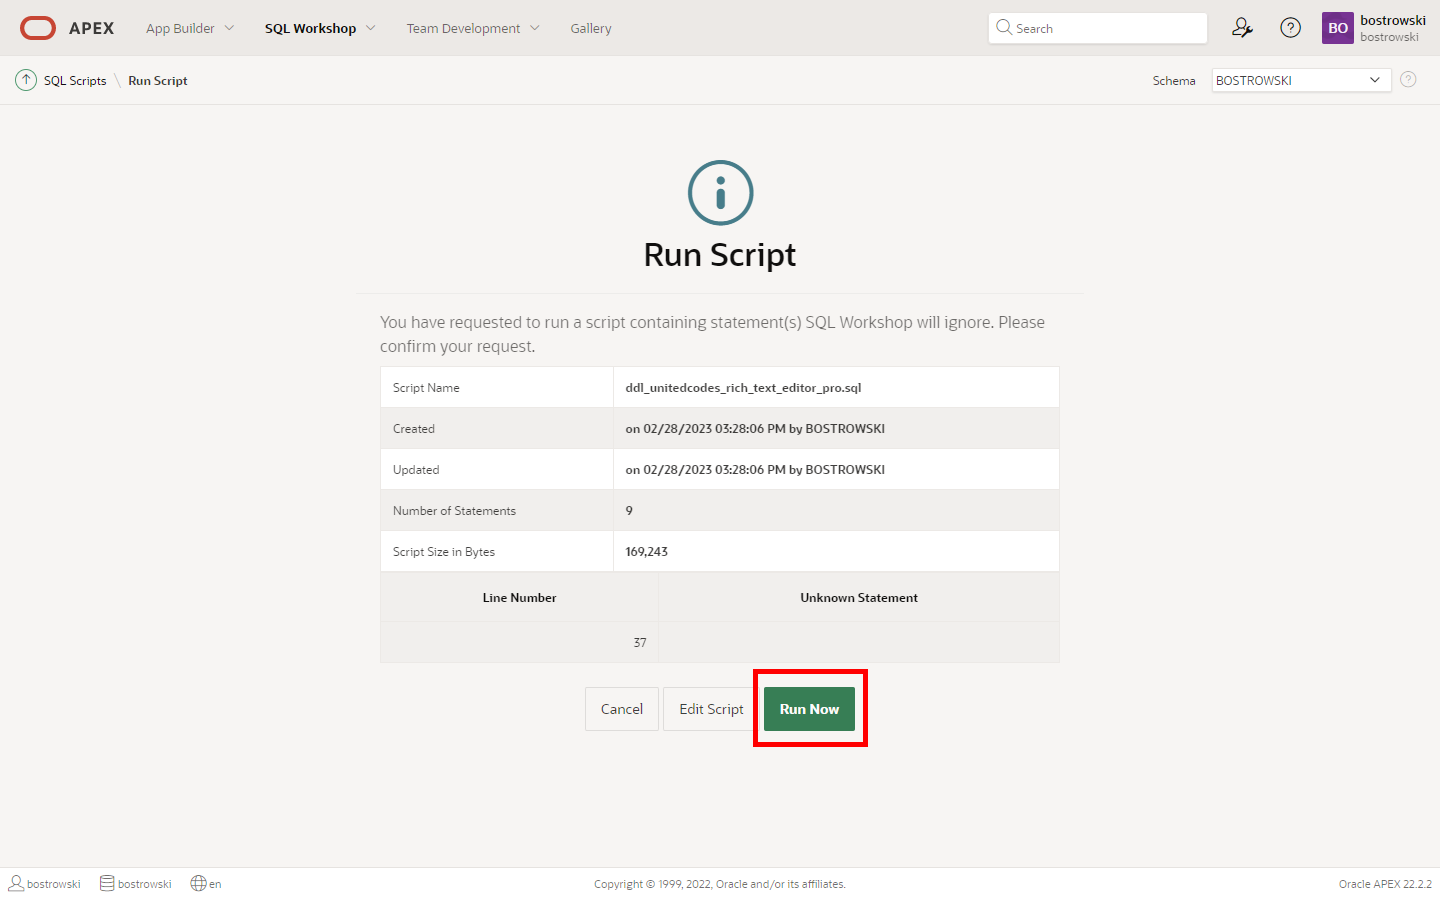
- Examine the installation summary - the script should not raise any errors
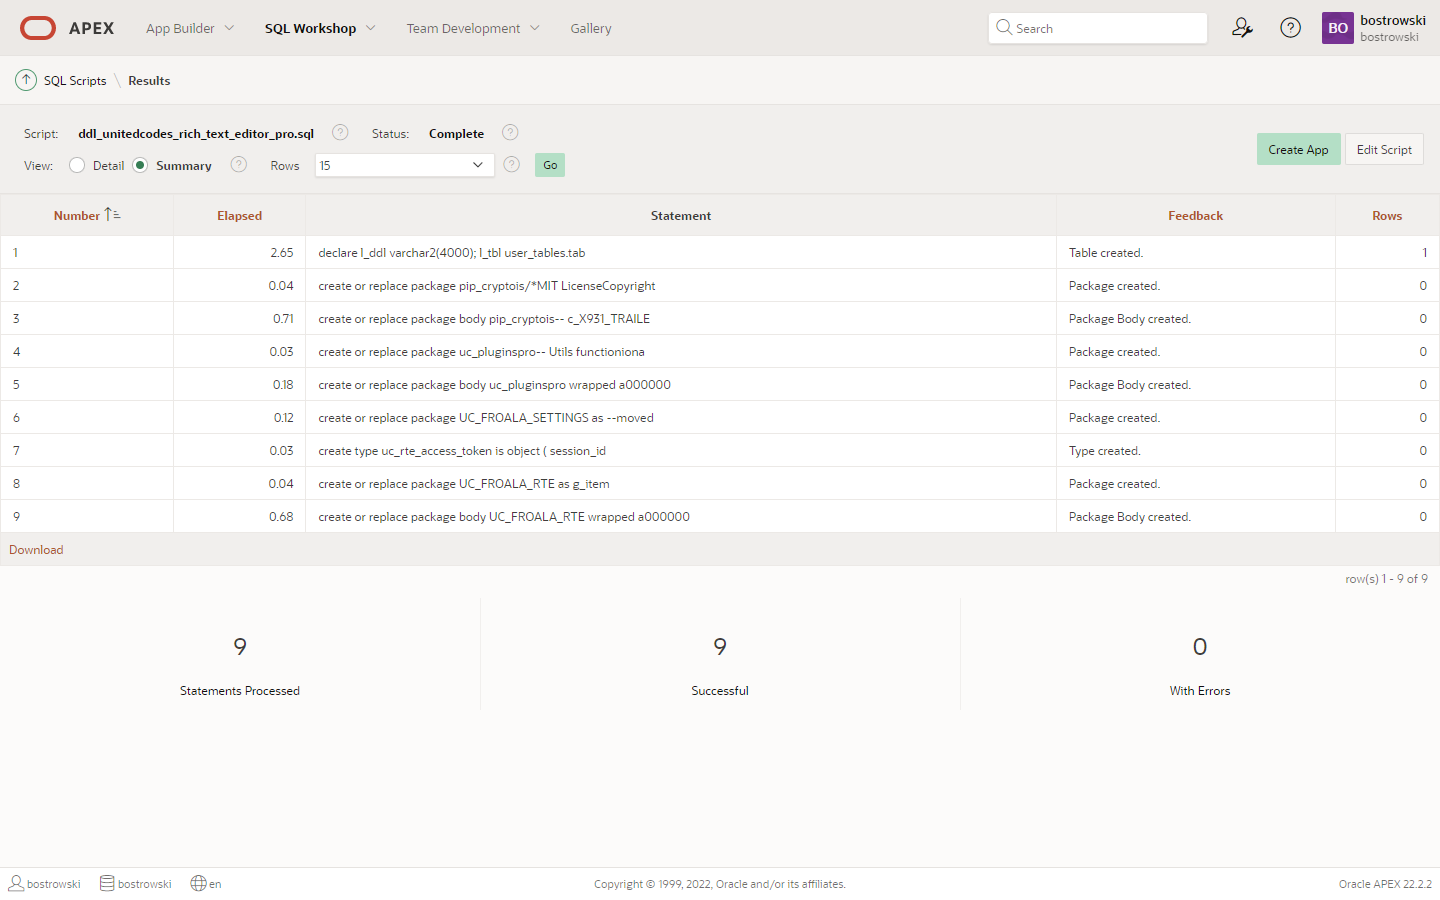
Once the required database objects are created, please proceed to the next step Import & install the item plug-in.
Import & install the item plug-in
Go to the APEX Application Builder home page.
Select the application where you want to use United Codes Rich Text Editor Pro
Go to Export / Import
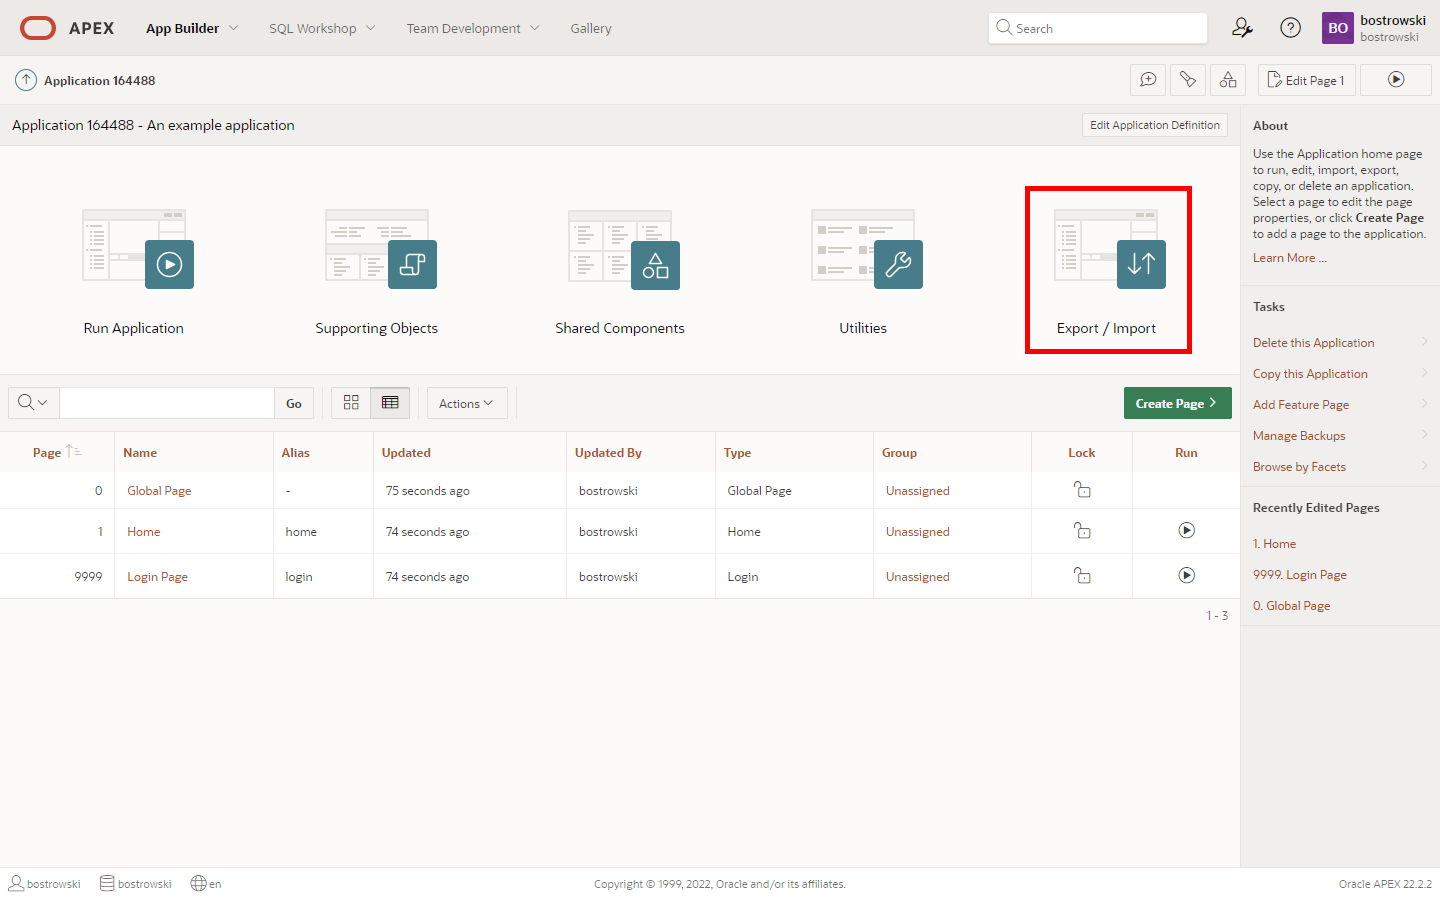
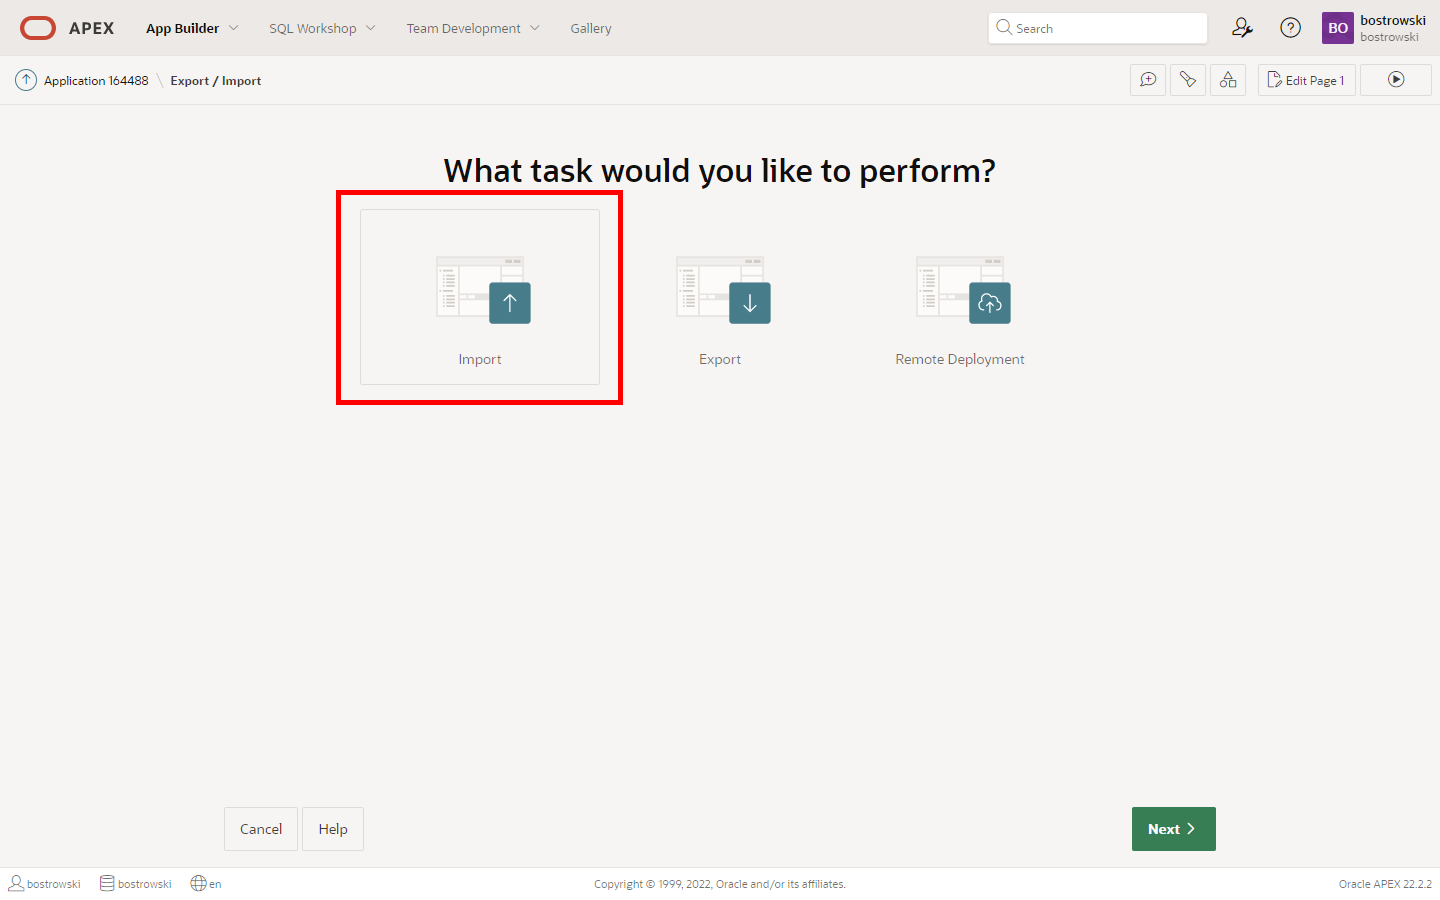
- Click Import tile
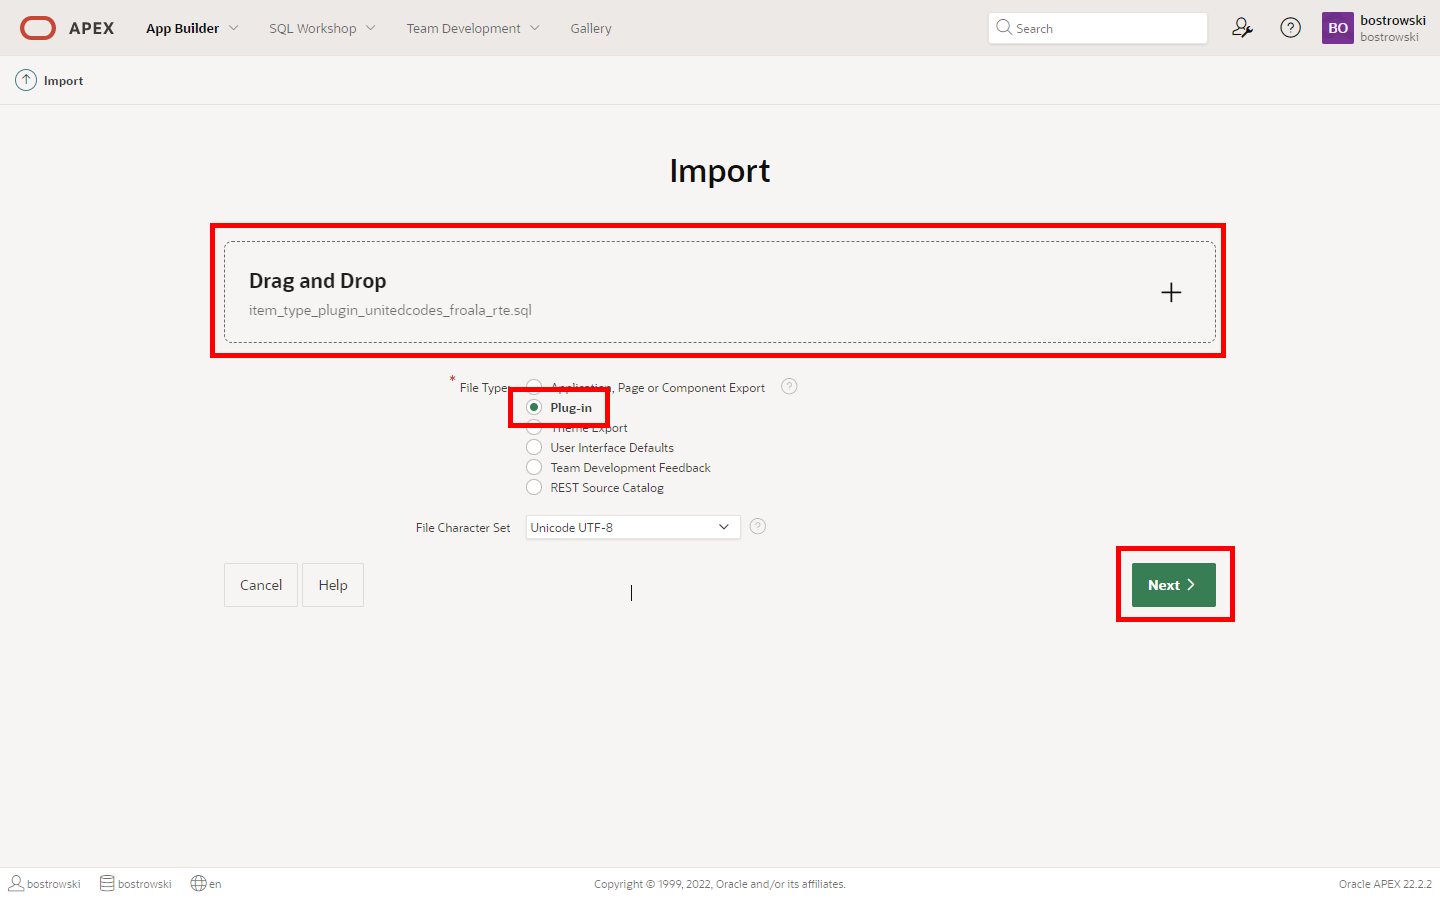
Click on the Drag and Drop
Select the plug-in installation file
apex222_item_type_plugin_unitedcodes_froala_rte.sqlSet File Type to Plug-in
Click Next button
- Wait until the file is imported successfully
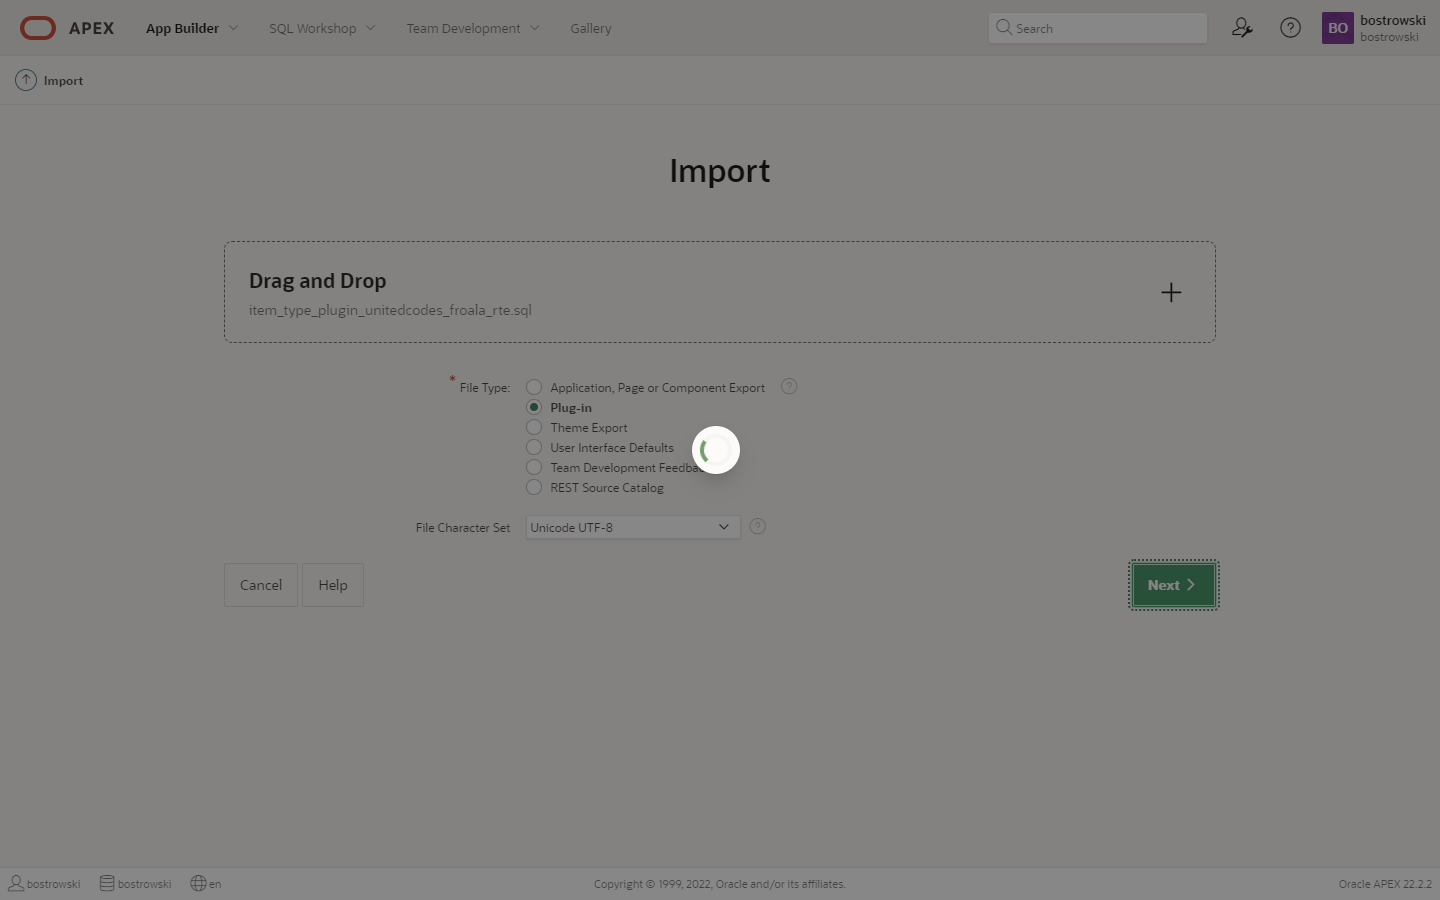
- Click the Next button

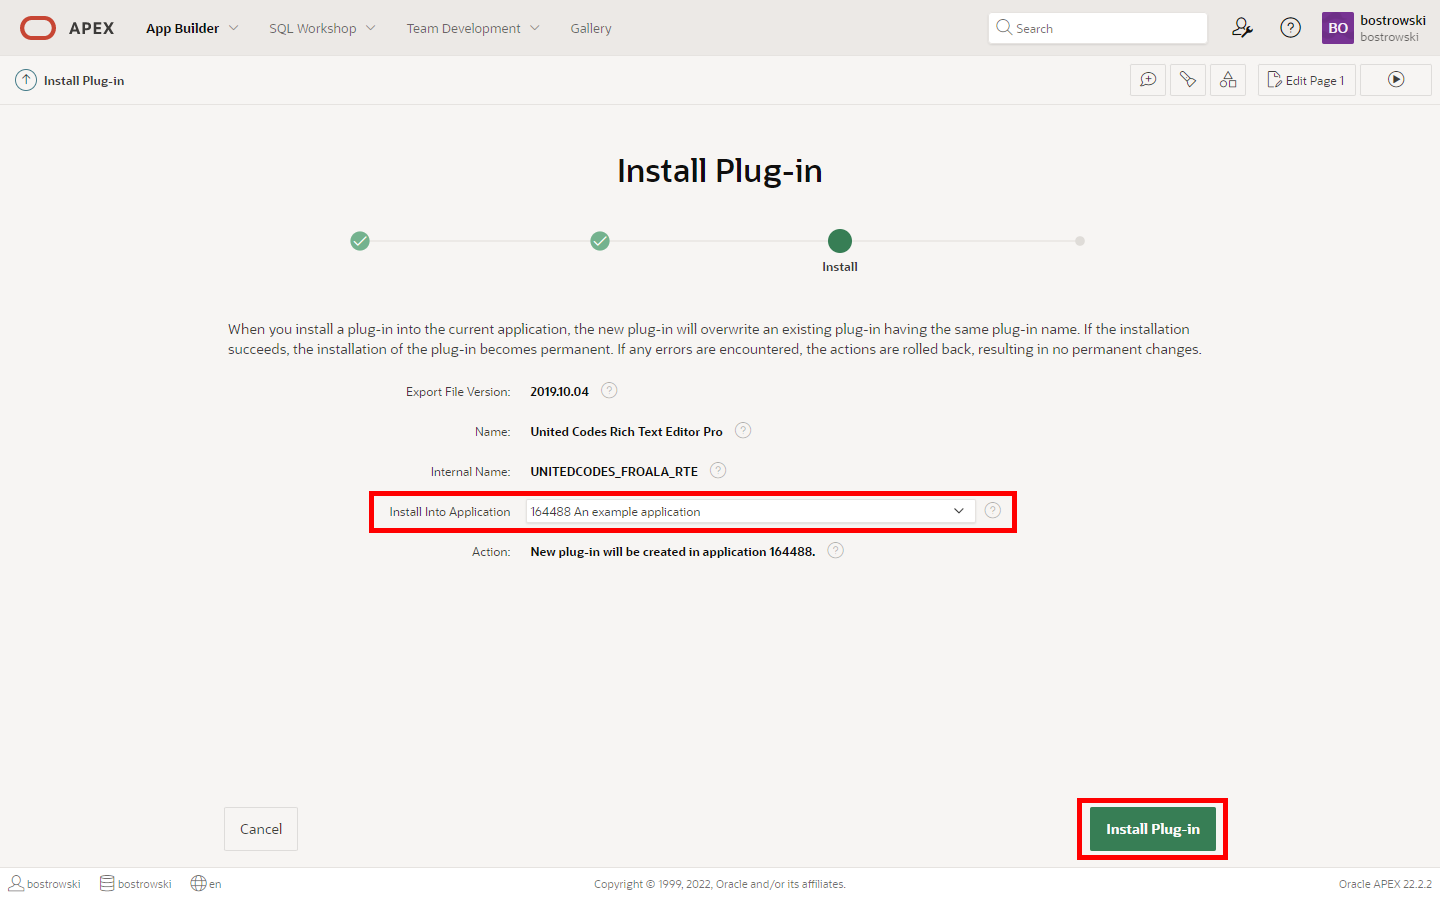
Check if the selected application is valid
Click the Install Plug-in button
After successful installation, the plug-in application component settings must be checked and eventually updated. Fill in the correct values if you know what you are doing.
The plug-in application component settings use Oracle APEX help available after clicking the question mark icon.
(optional) Install the supporting plug-ins
The supporting dynamic action and process plug-in are not required to use the core item plug-in but deliver a convenient way to customize the plug-in editor or handle CLOB value.
To install the supporting plug-in, please follow the steps described in the section Install the plug-in an existing application for files:
apex222_dynamic_action_plugin_unitedcodes_froala_rte_da_conf.sqlapex222_process_type_plugin_unitedcodes_froala_rte_process.sql
Learn more about the supporting dynamic action and process plug-in in the section Supporting plug-ins.
Activate license
After successful installation, the plug-in license has to be activated using PL/SQL code. The instructions describe activating the plug-in United Codes Rich Text Editor Pro in the Trial Mode.
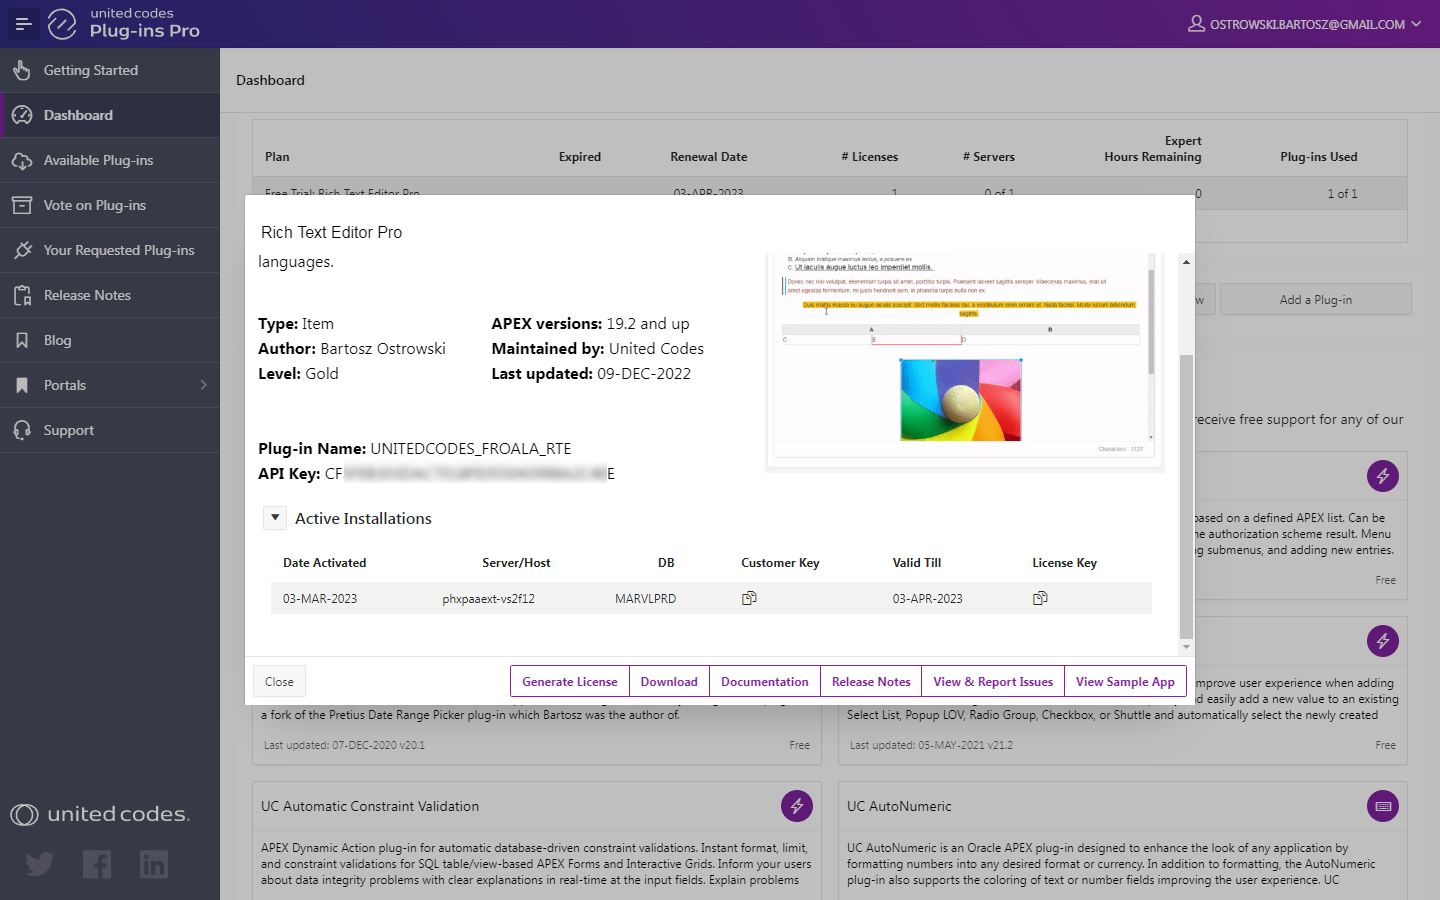
Get a license from the portal
The license activation process requires the plug-in license API key and plug-in name. Both information can be found in the United Codes Plug-ins Pro portal.
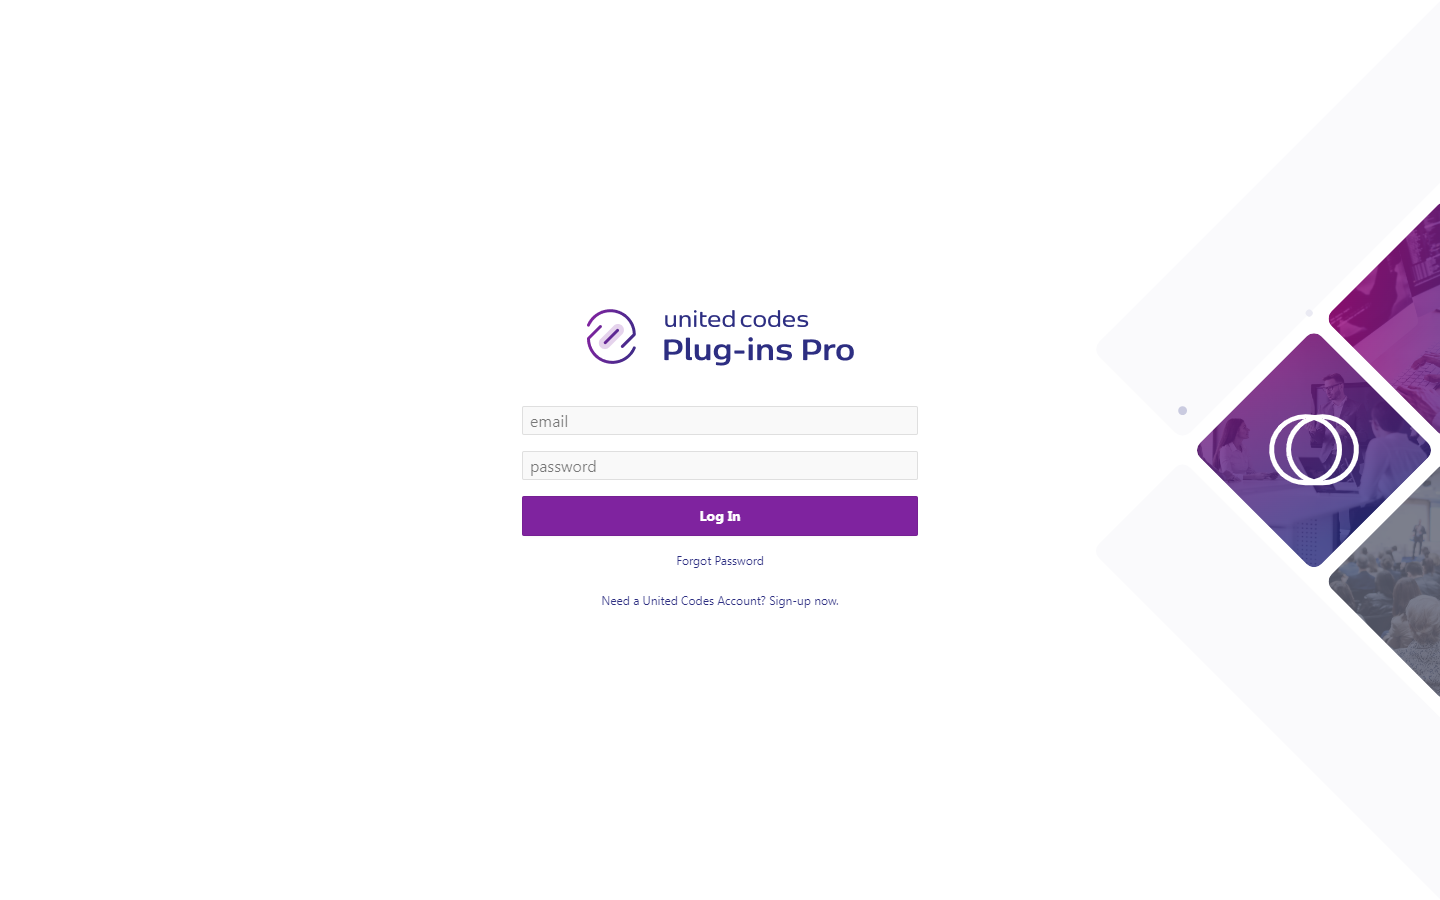
- Log into Plug-ins Pro Portal
Scroll the dashboard page to the section Free Trials
Click the Rich Text Editor Pro card

- The plug-in name and the API key are presented in opened modal page. These values are required to activate the plug-in in the next steps
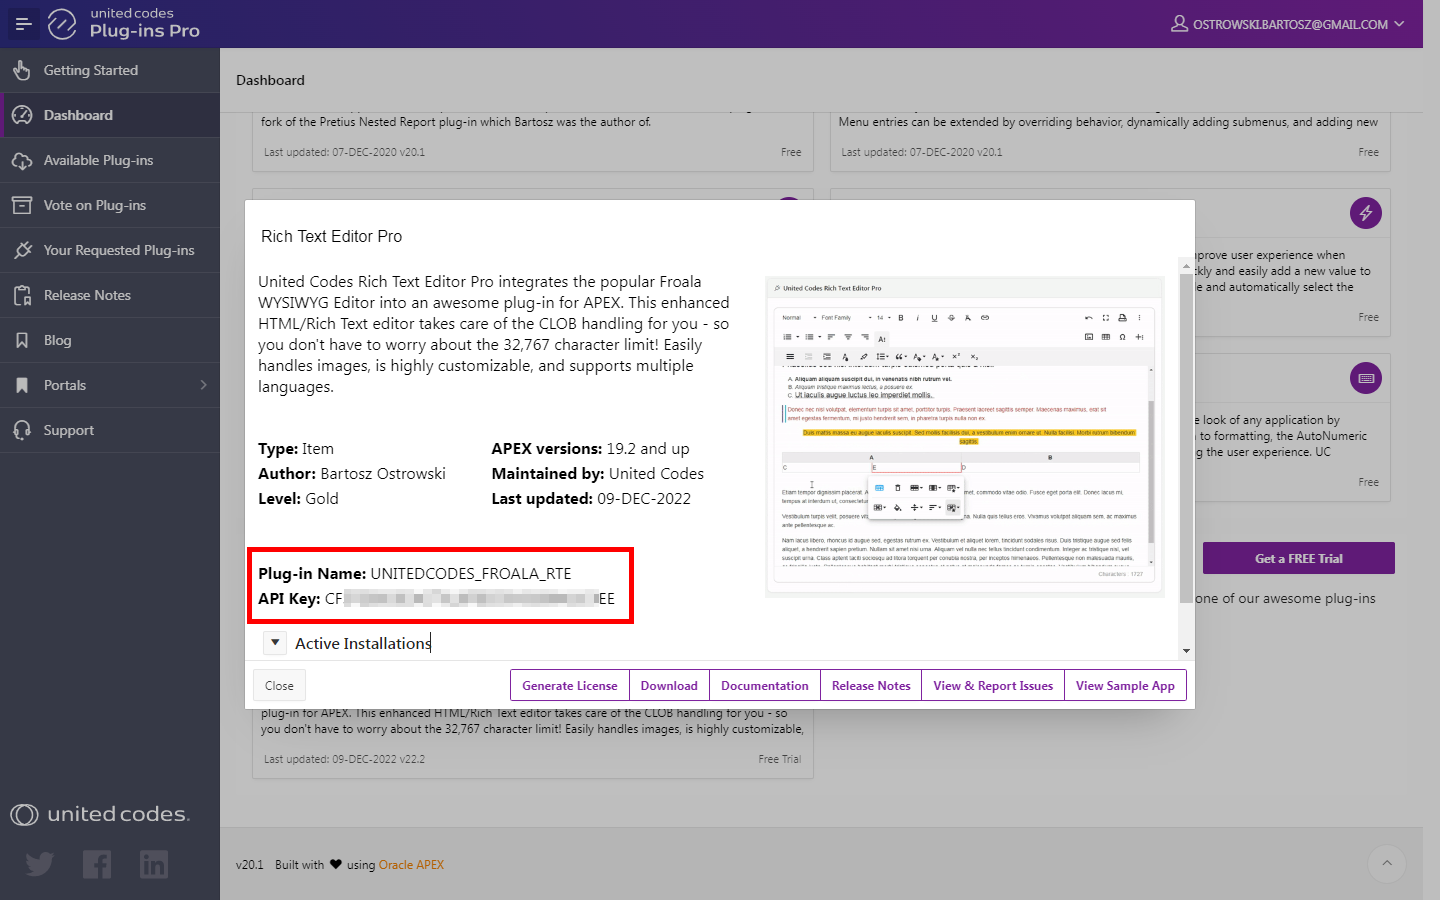
- Proceed to the next step Activate license using PL/SQL code.
Activate license using PL/SQL code
Activating the plug-in license requires executing PL/SQL code in Oracle APEX SQL Workshop \ SQL Commands. The plug-in can be activated using two scenarios:
- When Oracle APEX schema has access to the internet
- When Oracle APEX schema has no access to the internet
Schema has access to the internet
When the Oracle APEX schema in which the plug-in is installed has access to the internet, the activation process requires only executing PL/SQL code in Oracle APEX SQL Workshop.
- Go to SQL Workshop \ SQL Commands
- Run the
auto_licenseprocedure
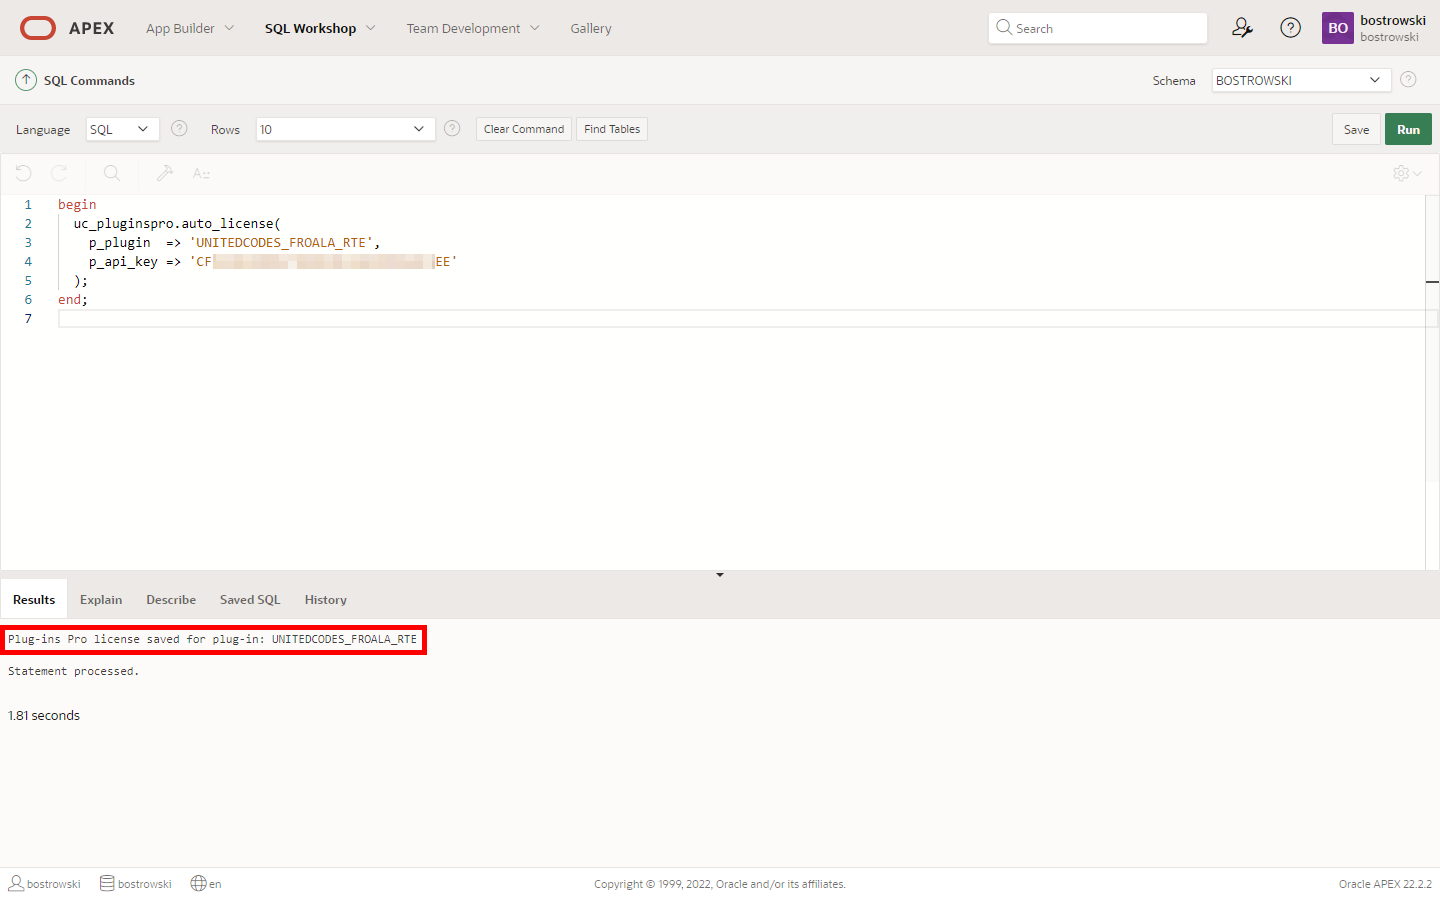
begin
  uc_pluginspro.auto_license(
    p_plugin  => 'PLUGIN_NAME', -- the plug-in name presented in the Plug-ins Pro dashboard modal
    p_api_key => 'YOUR_API_KEY' -- the plug-in API key presented in the Plug-ins Pro dashboard modal
  );
end;
In the result of executing the code, you should see the successful message:
Plug-ins Pro license saved for plug-in: UNITEDCODES_FROALA_RTE.
See the example screenshot below.
The plug-in has been activated and is ready to use. The successful activation can be checked in the Plug-ins Pro portal. See the screenshot below.
Schema has no access to the internet
When the Oracle APEX schema in which the plug-in is installed has no access to the internet, the activation process requires executing PL/SQL code and generating the plug-in license in the Plug-ins Pro portal.
Execute manual activation #1
- Go to SQL Workshop \ SQL Commands
- Run the
manual_licenseprocedure
begin
  uc_pluginspro.manual_license(
    p_plugin  => 'PLUGIN_NAME', -- the plug-in name presented in the Plug-ins Pro dashboard modal
    p_api_key => 'YOUR_API_KEY' -- the plug-in API key presented in the Plug-ins Pro dashboard modal
  );
end;
You should see a message with key value. The key is needed to generate a license key in the Plug-ins Pro portal.
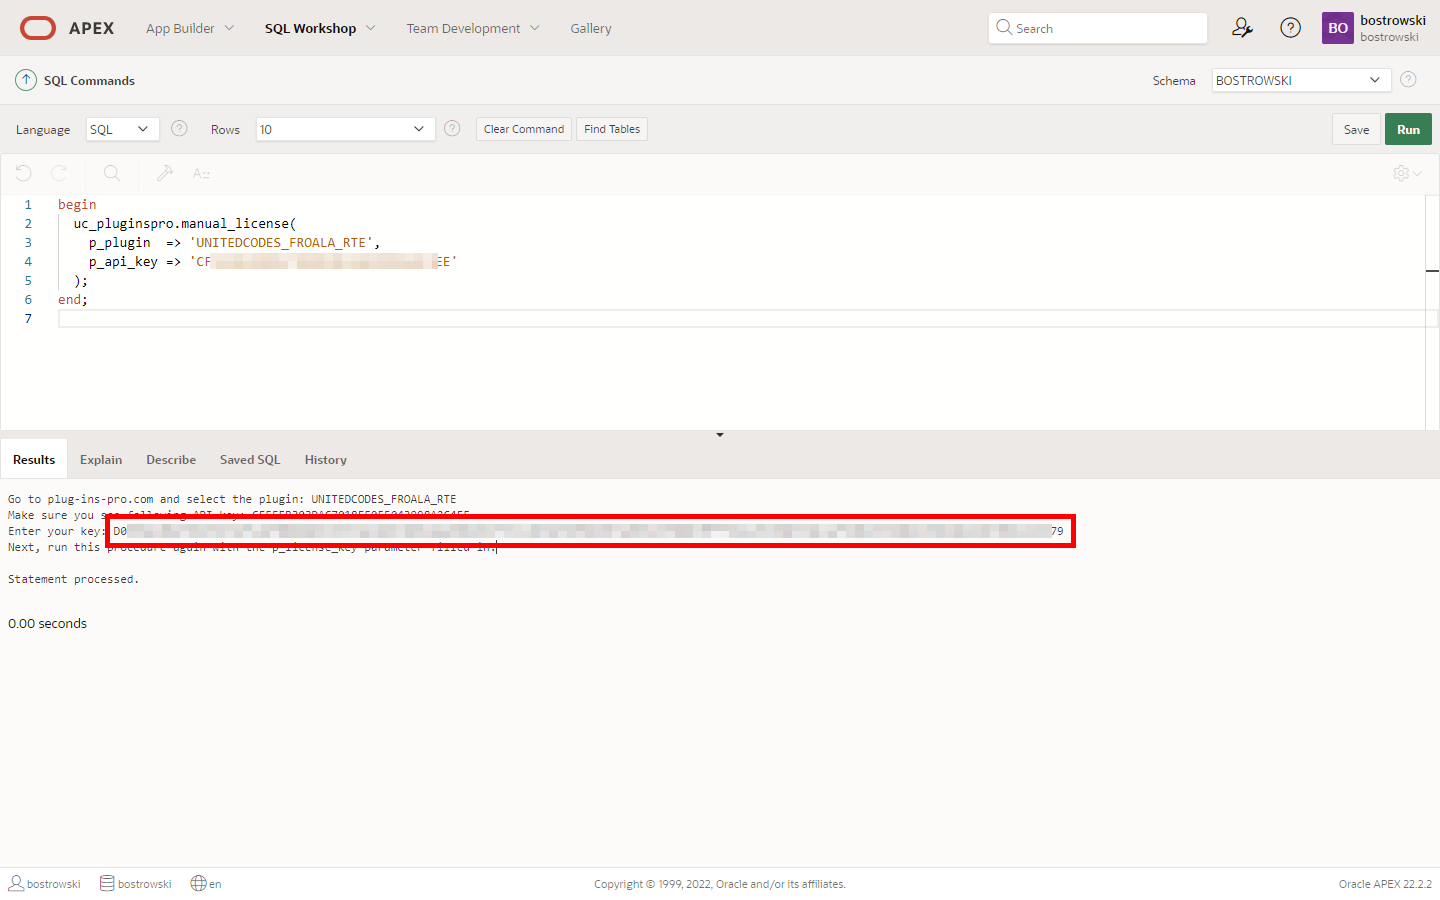
Copy the printed key value and proceed to the next step.
Generate license key in Plug-ins Pro Portal
Go to the Plug-ins Pro portal dashboard
Click on the Rich Text Editor Pro card

- Click the button Generate license
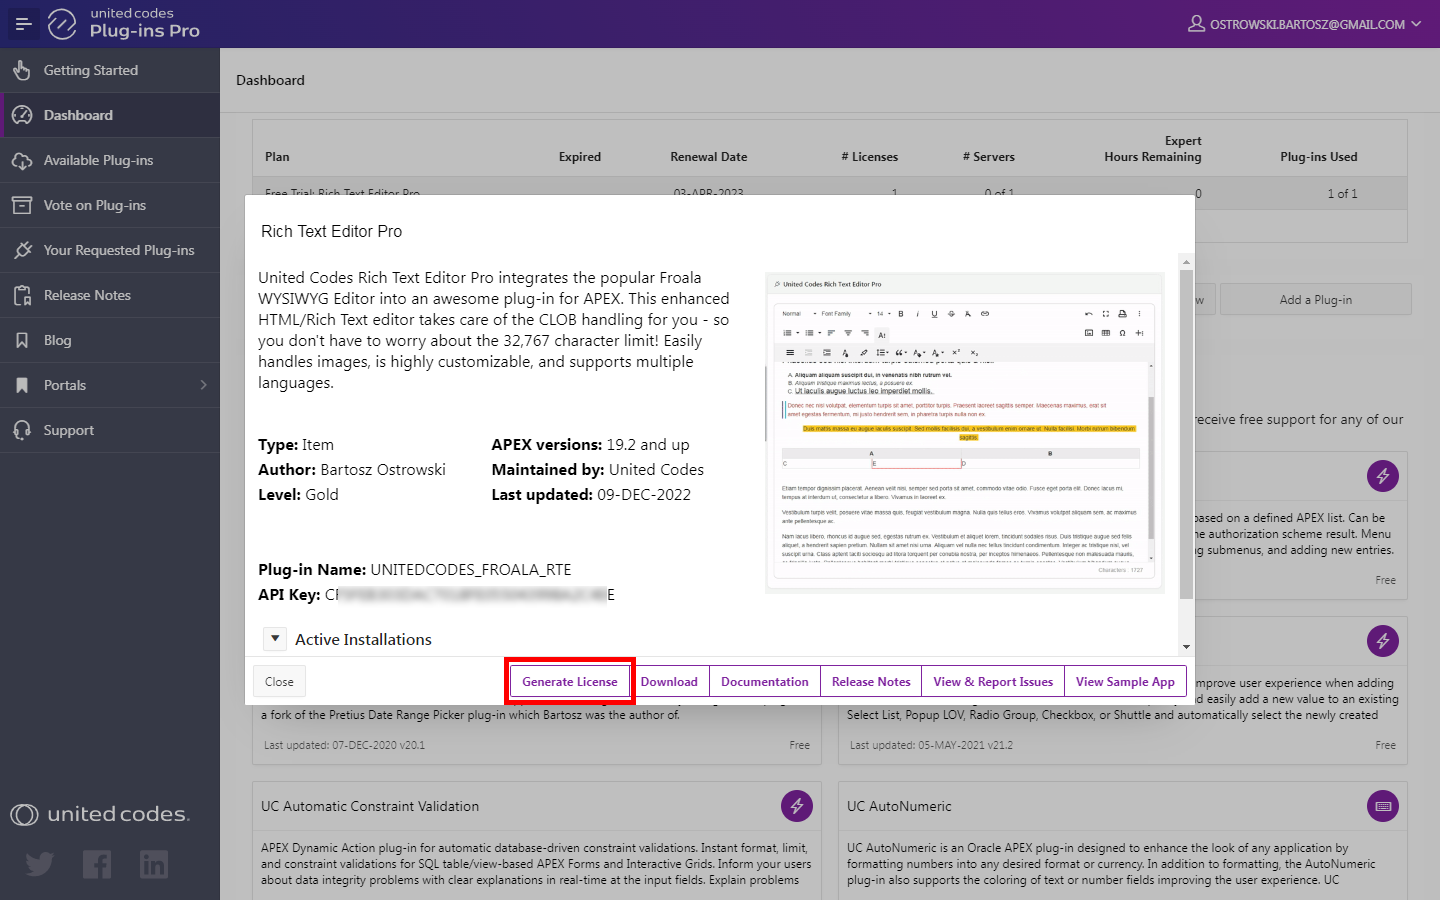
Paste the copied key valuein the new modal window.
Click the button Generate license
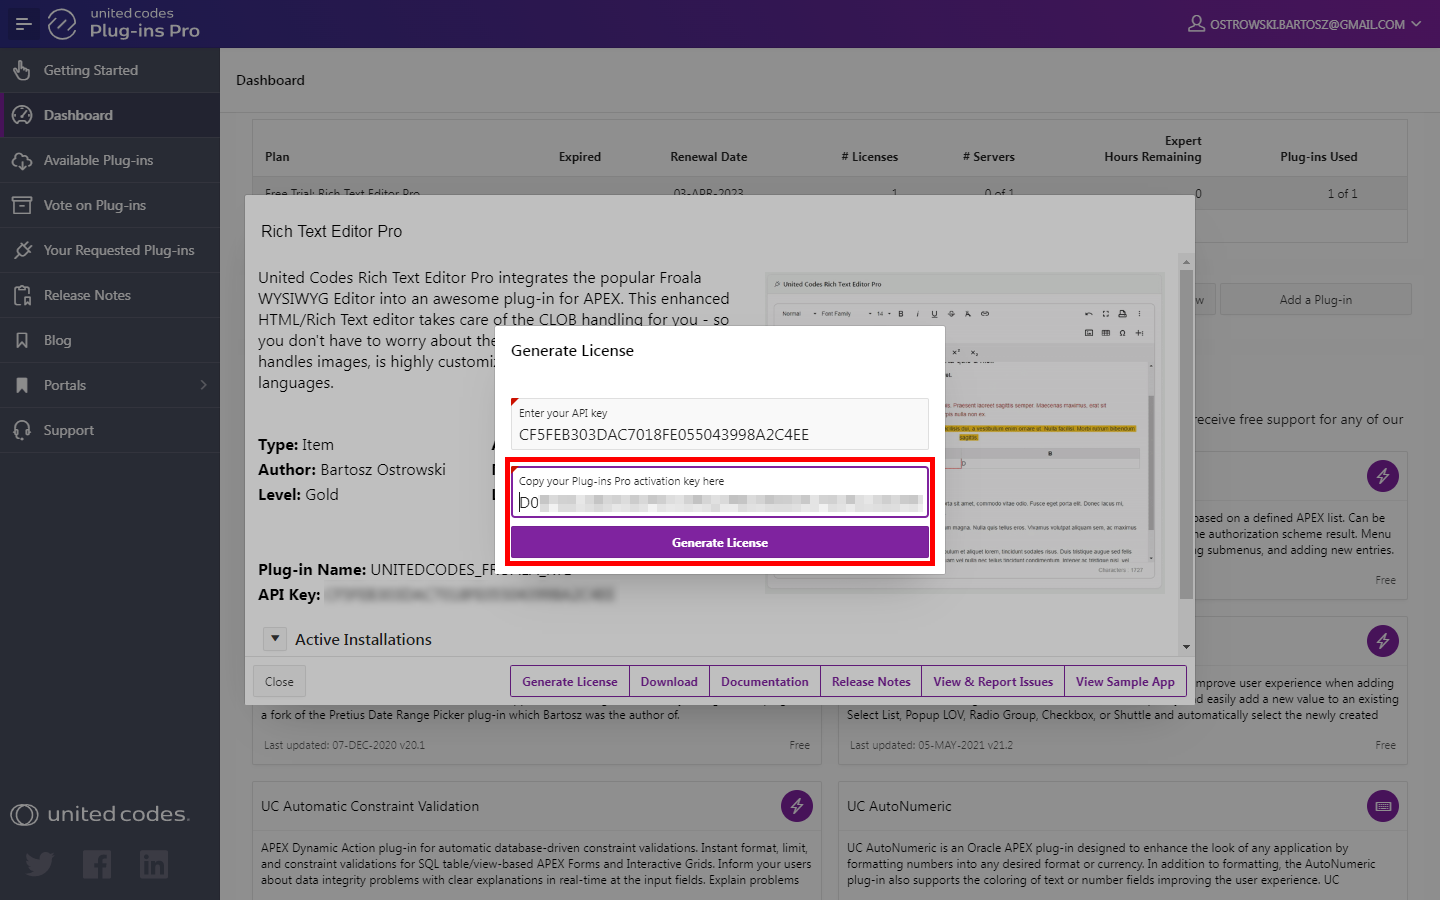
- In the result, the plug-in license key is generated
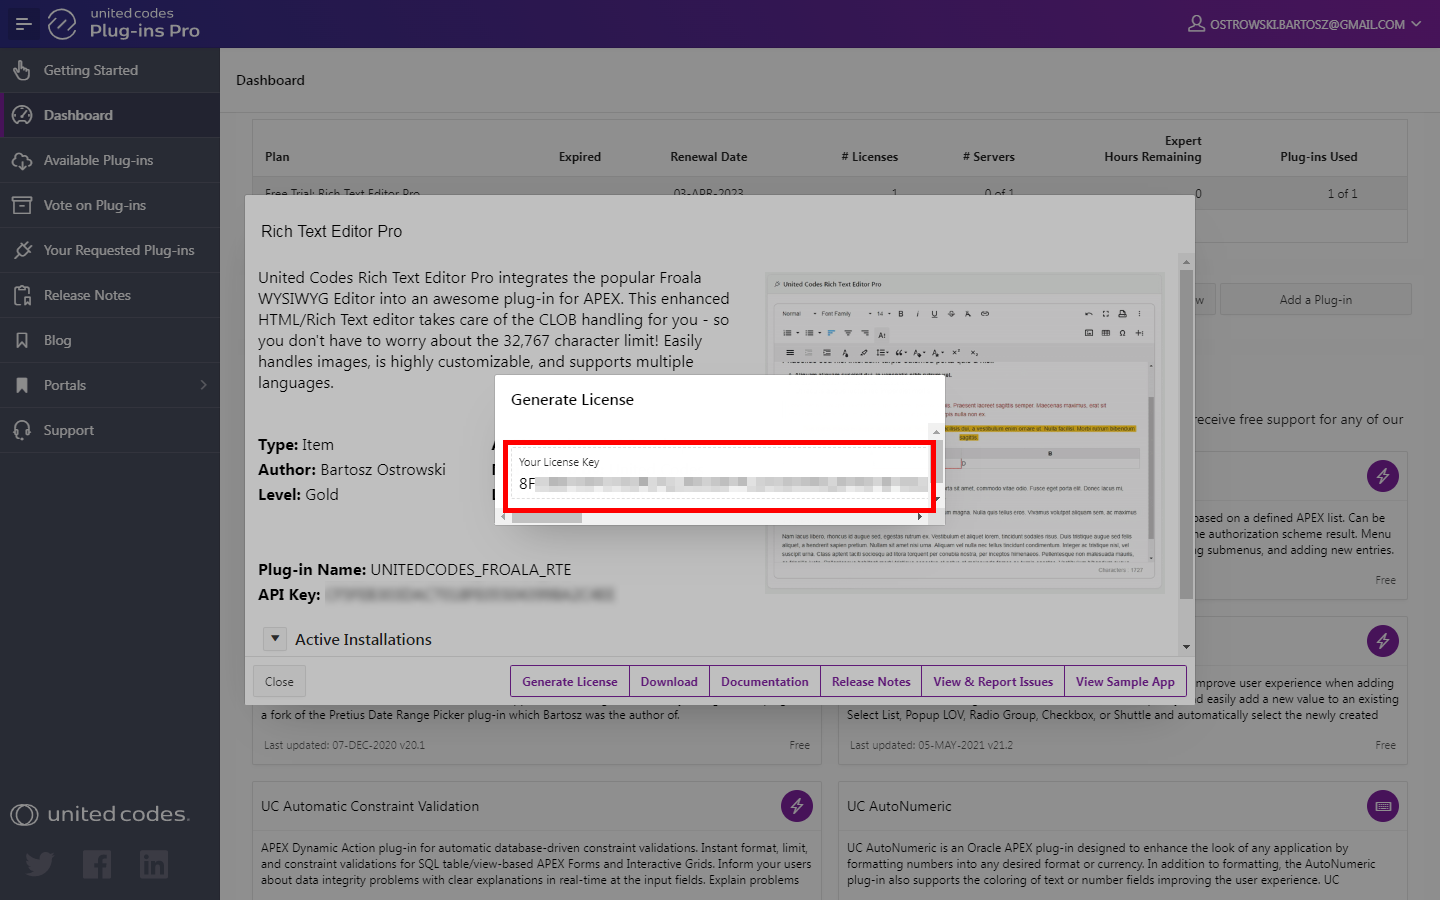
- Copy the generated license key and proceed to the next step.
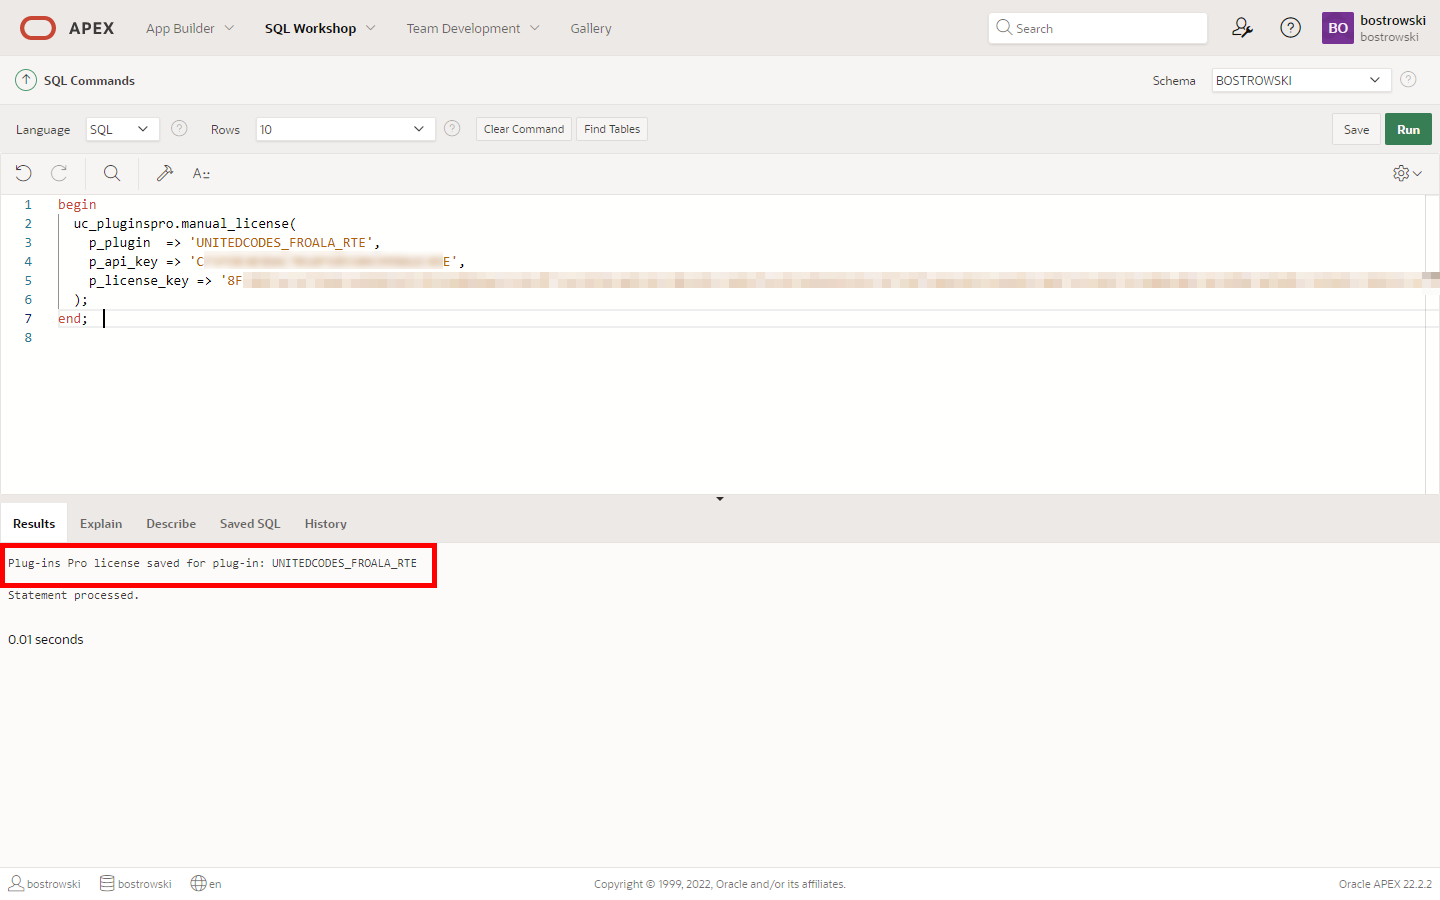
Execute manual activation #2
- Go back to APEX SQL Commands
- Execute the procedure
manual_licensewith parameterp_license_keyset to copied license key
begin
  uc_pluginspro.manual_license(
    p_plugin  => 'PLUGIN_NAME',  -- the plug-in name presented in the Plug-ins Pro Portal
    p_api_key => 'YOUR_API_KEY', -- the plug-in API key presented in the Plug-ins Pro Portal
    p_license_key => 'GENERATED_LICENSE_KEY' -- license key copied from Plug-ins Pro Portal
  );
end;
In the result of executing the code, you should see the successful message:
Plug-ins Pro license saved for plug-in: UNITEDCODES_FROALA_RTE
The plug-in has been activated and is ready to use. The successful activation can be checked in the Plug-ins Pro portal. See the screenshot below.
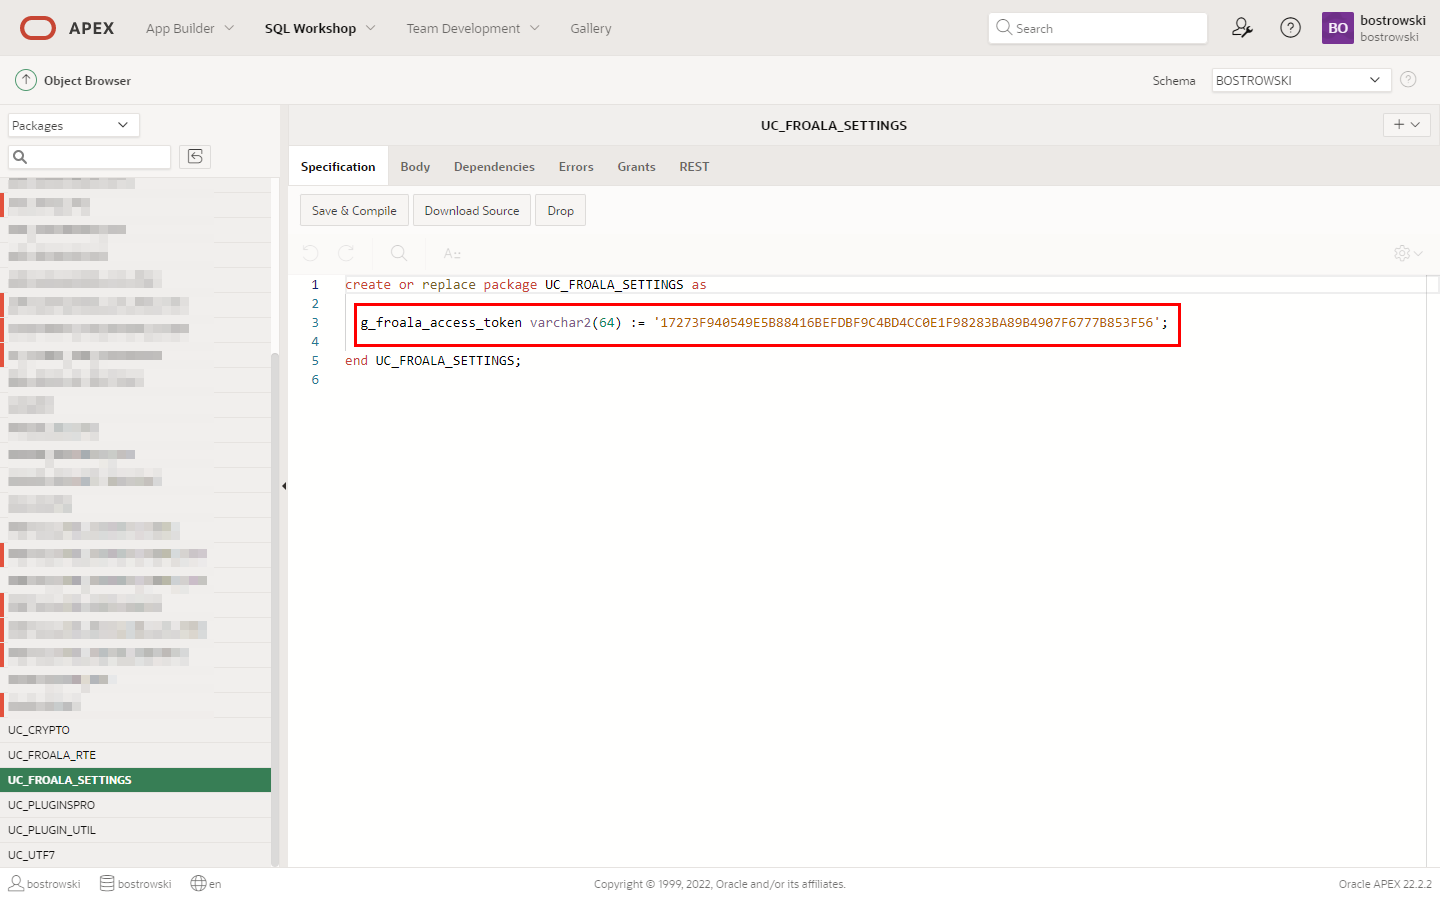
Set the Salt String
The plug-in uses a salt string defined in the package plug-in UC_FROALA_SETTINGS to secure RESTful service image requests. It is strongly recommended to change the default salt string.
Learn more about RESTful service in the RESTful Service \ Overview
- Go to SQL Workshop \ Object Browser
- Select package
UC_FROALA_SETTINGS - Modify the package variable
g_froala_access_token