Sample application (old)
Sample application installation
Section titled “Sample application installation”Overview
Section titled “Overview”The sample application available in the plug-in installation bundle is the same sample application available publicly. Even though the sample application allows you to inspect important components directly in the live demo, you might find exploring the examples using the Oracle APEX page designer in your local environment handy.
Learn more about data objects the sample application uses in the section Item plug-in / Database objects.

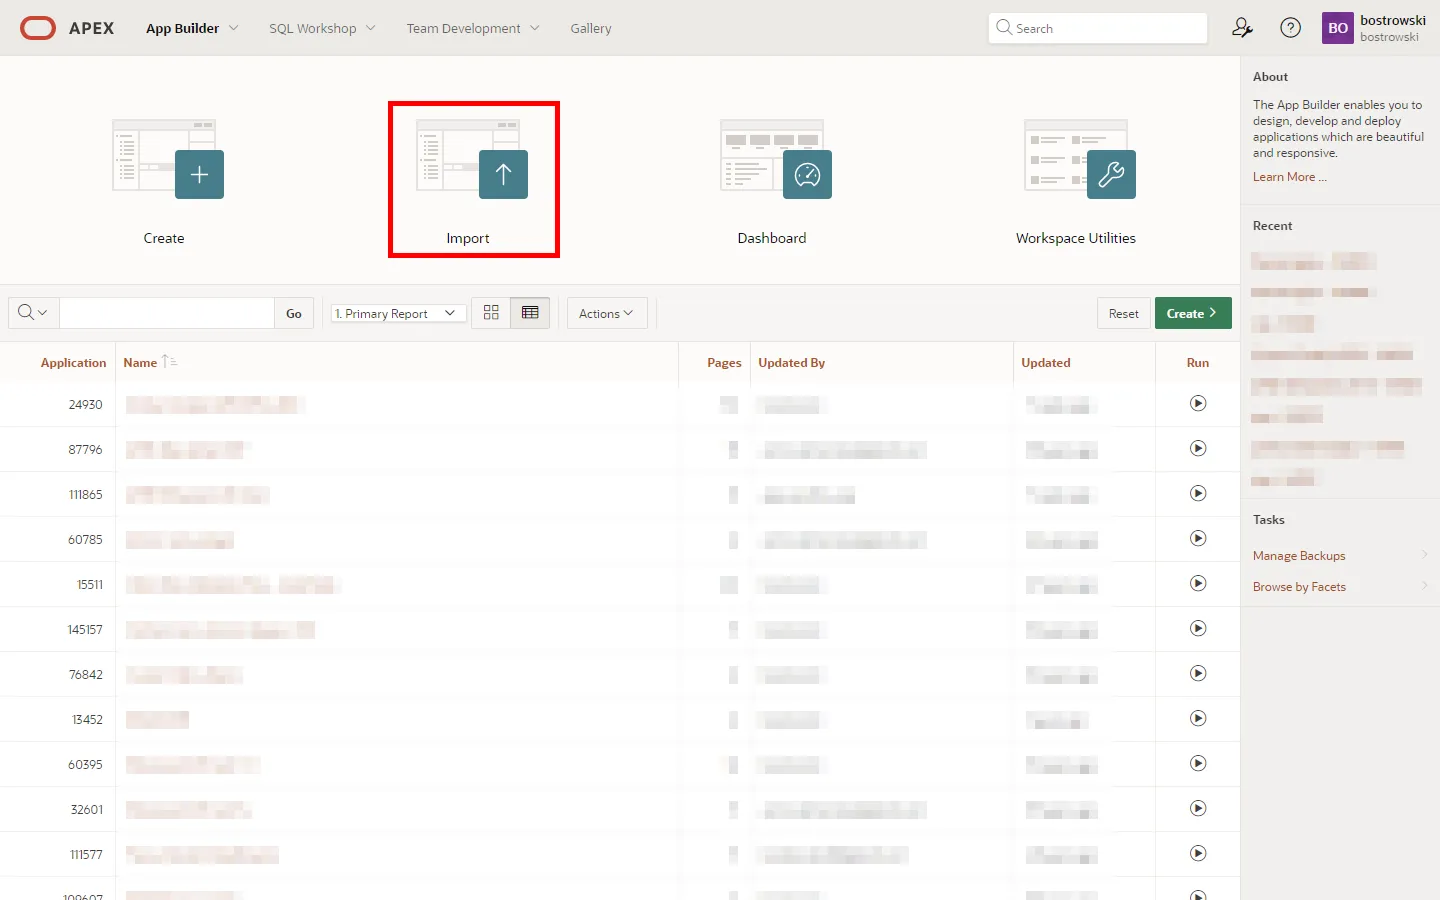
Importing the Sample Application
Section titled “Importing the Sample Application”-
Log into your APEX application builder
-
Click on the Import button to start the Oracle APEX application installation wizard
-
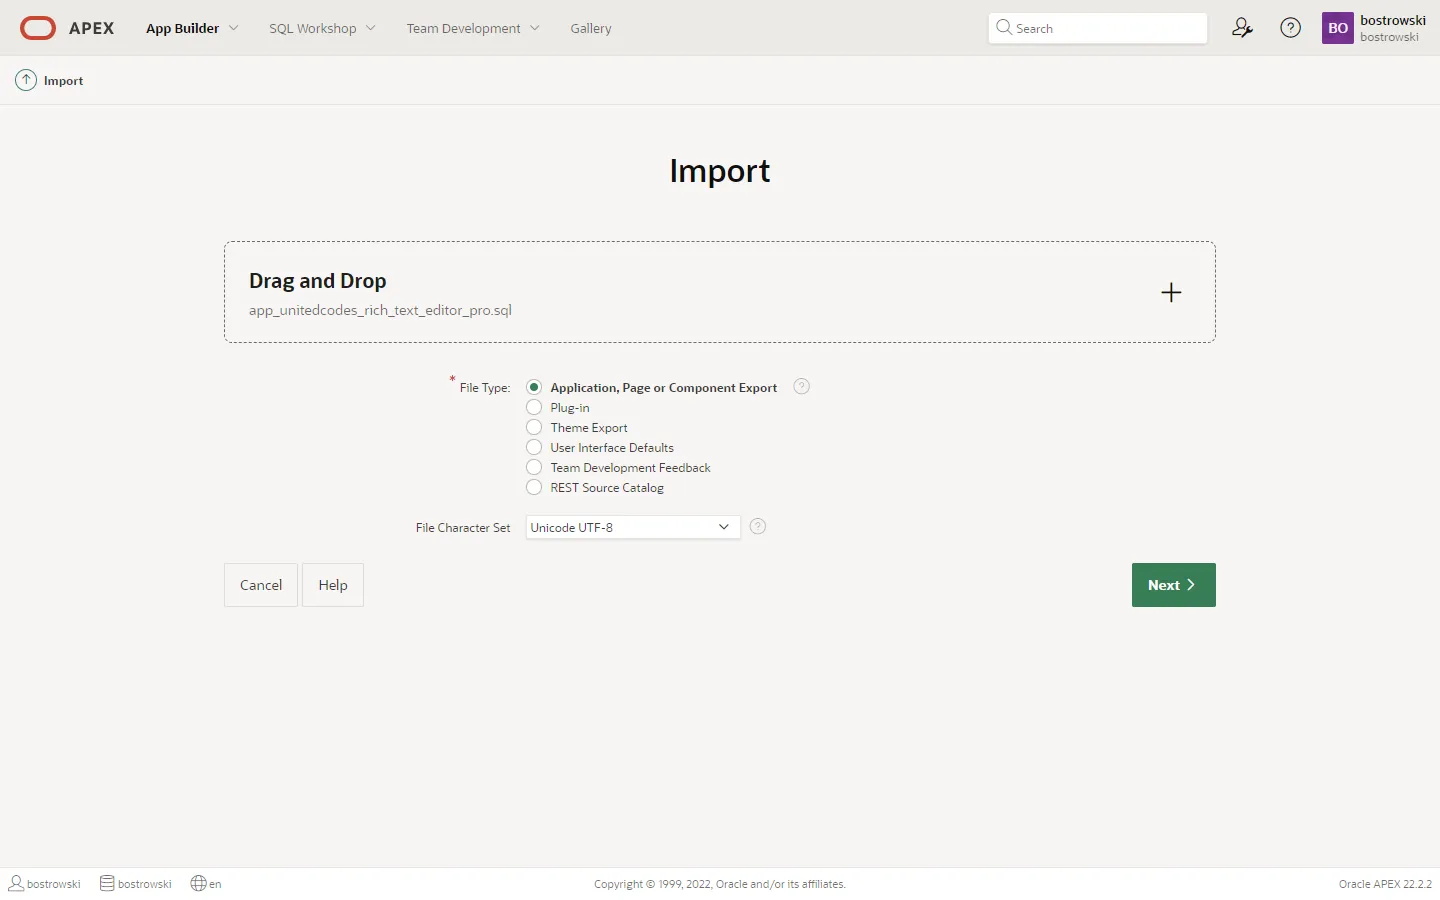
Click on the Drag and Drop region
-
Select the sample application file
app_apex222_unitedcodes_rich_text_editor.sql -
Click the Next button
-
After successfully uploading the application installation file, you will see a file import confirmation.
-
Click the Next button

Proceed to the next installation step Set the application installation settings
Set the application installation settings
Section titled “Set the application installation settings”- Configure or use the default values in the form
- Click the Install Application button
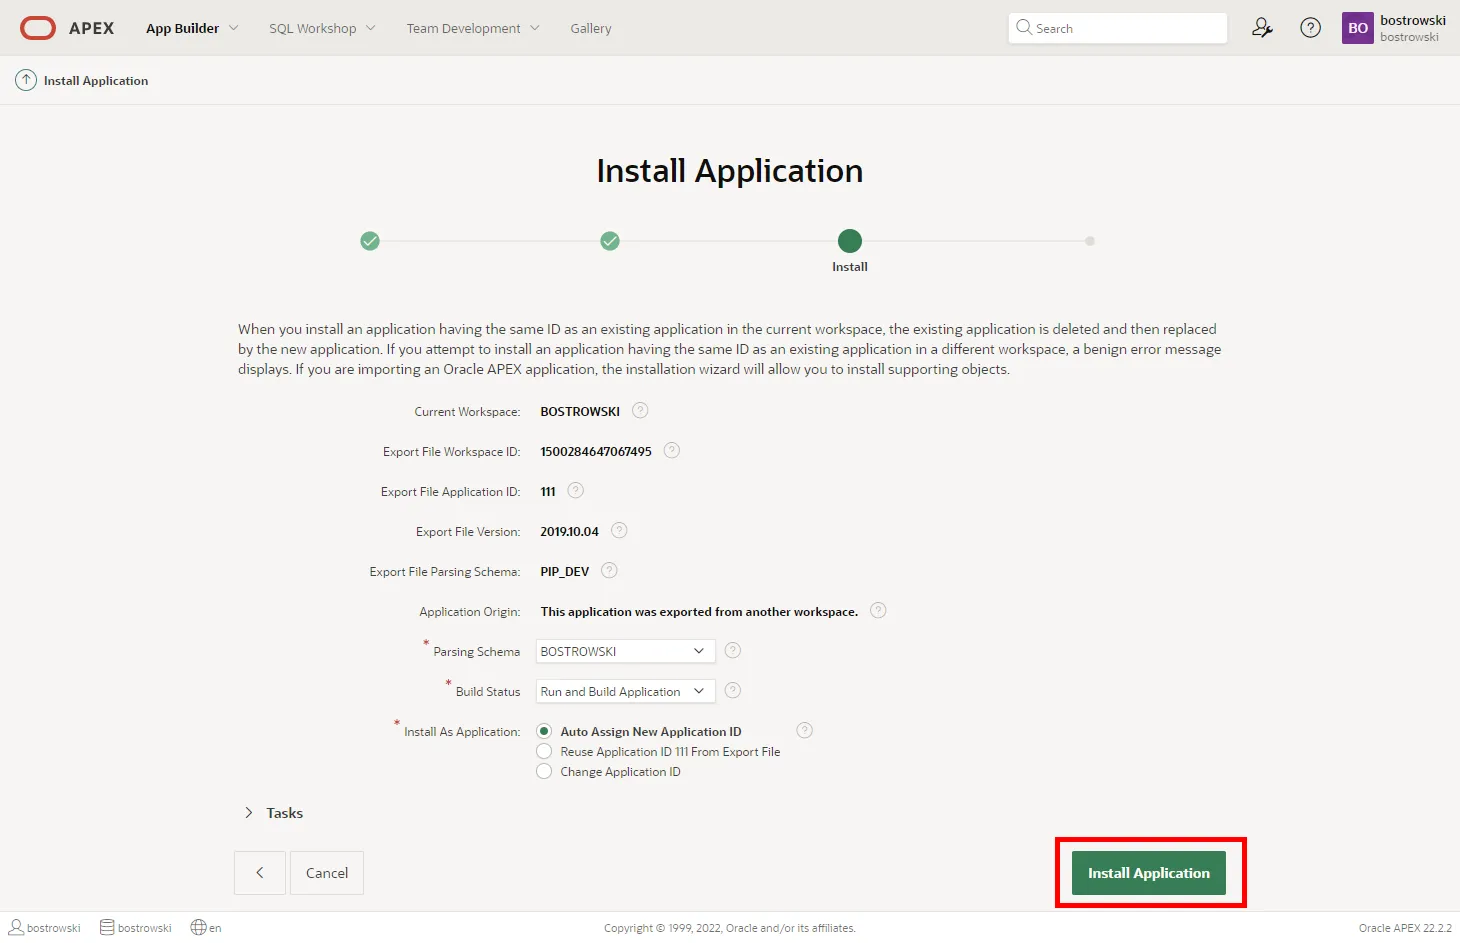
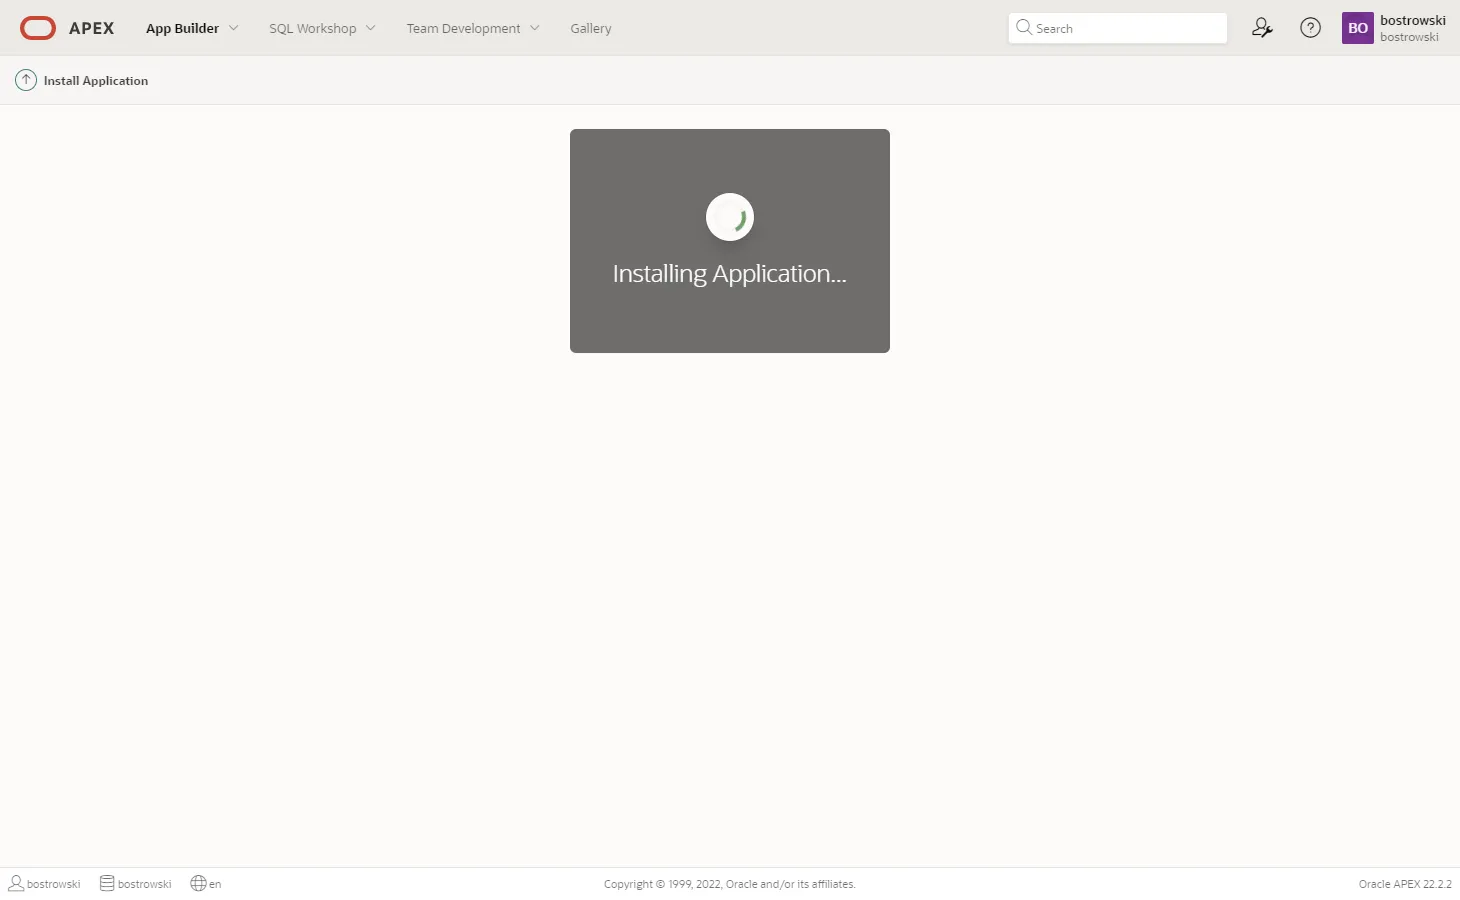
- Don’t close the page - wait until APEX finishes installing the application. You will be redirected to the next step when the application installation is complete.
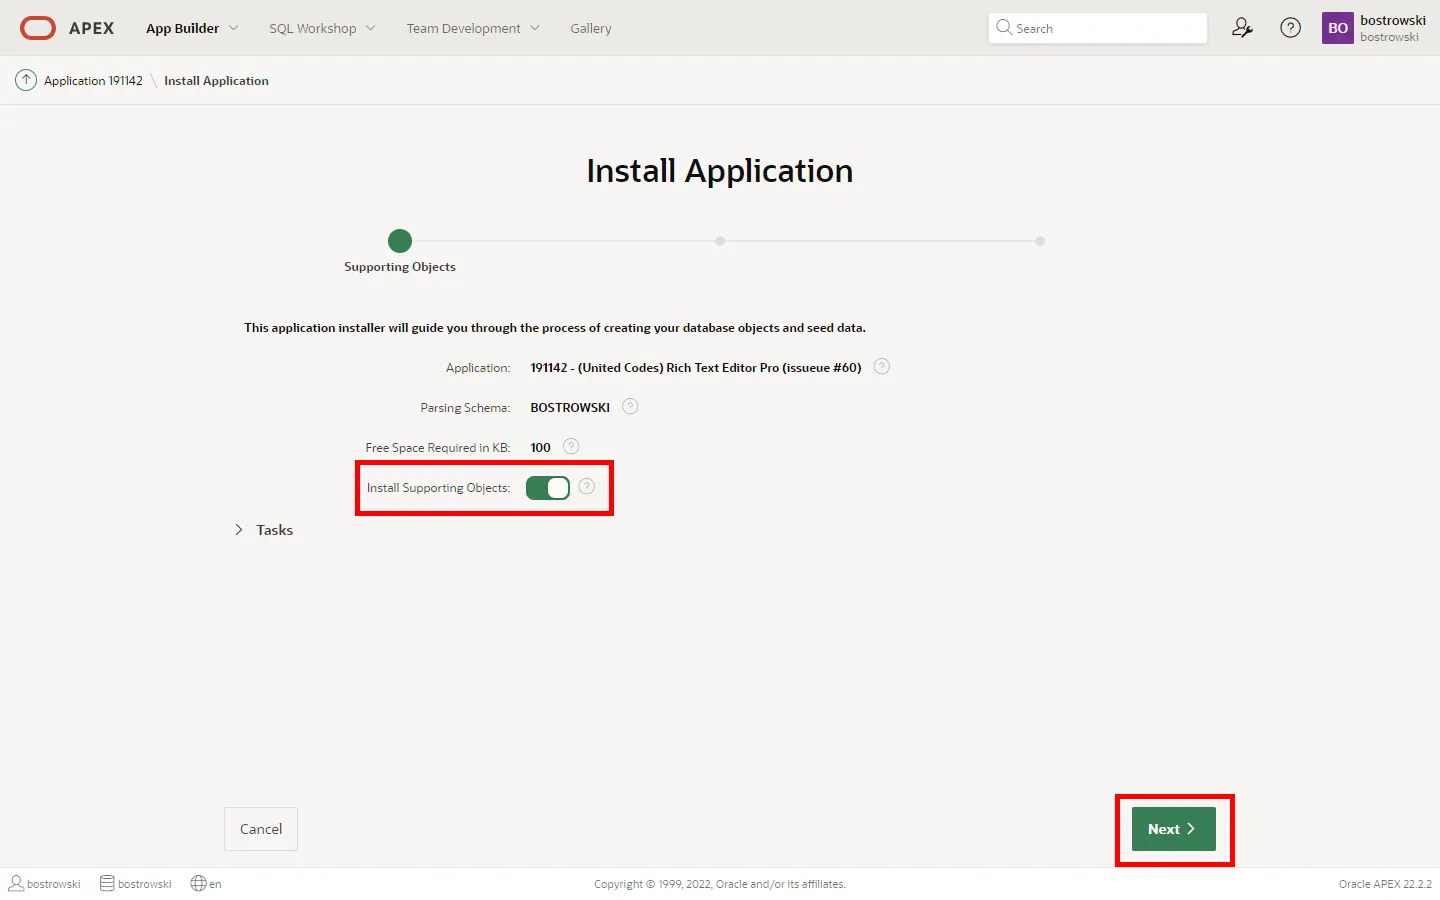
- Make sure Install Supporting Objects is enabled (the sample application requires all supporting objects installed)
- Click the Next button
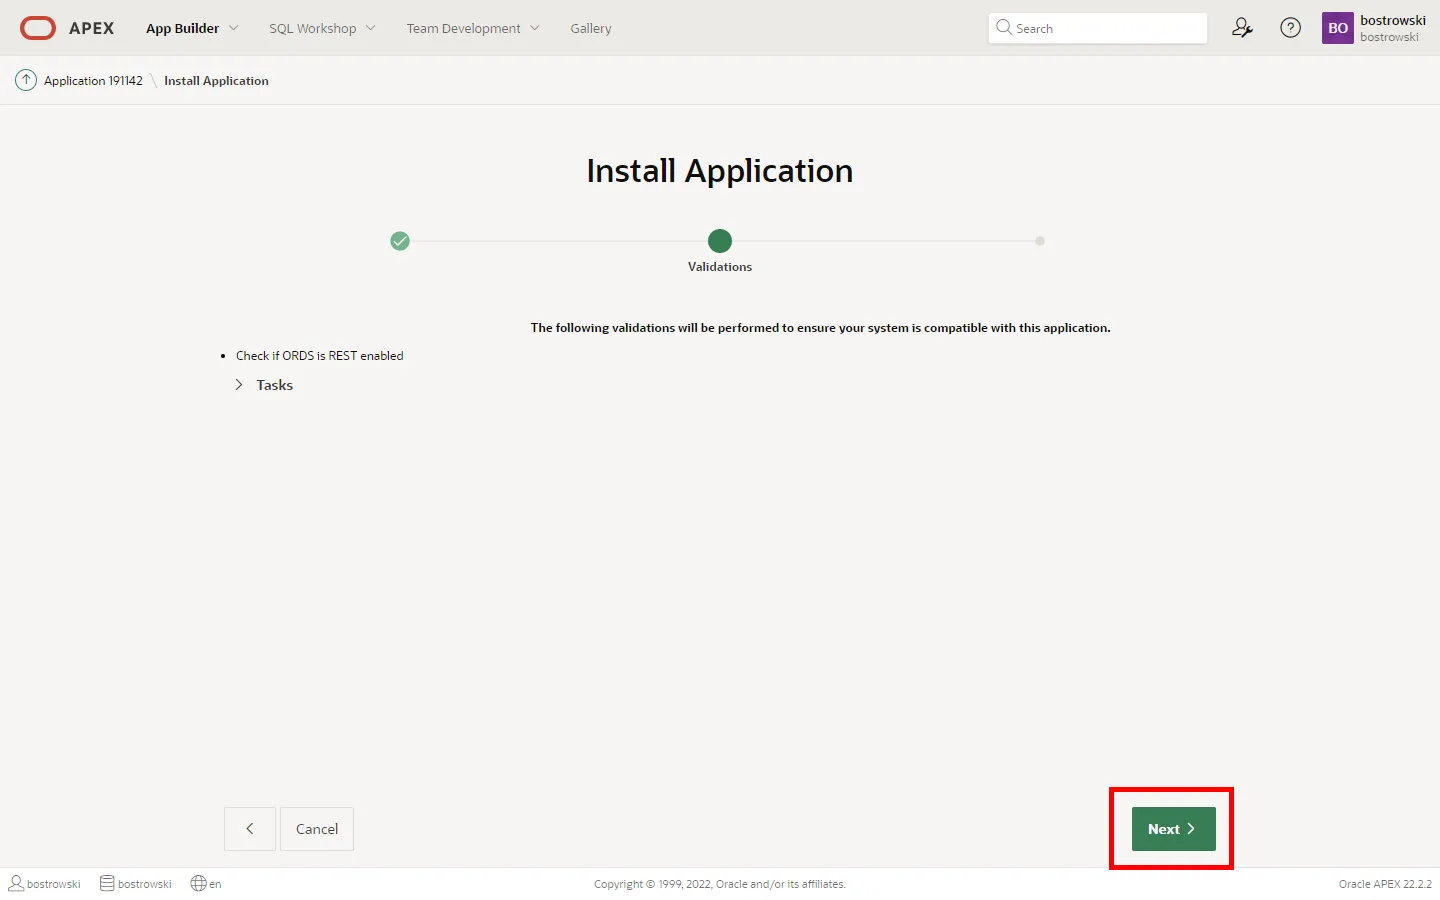
- Click the Next button
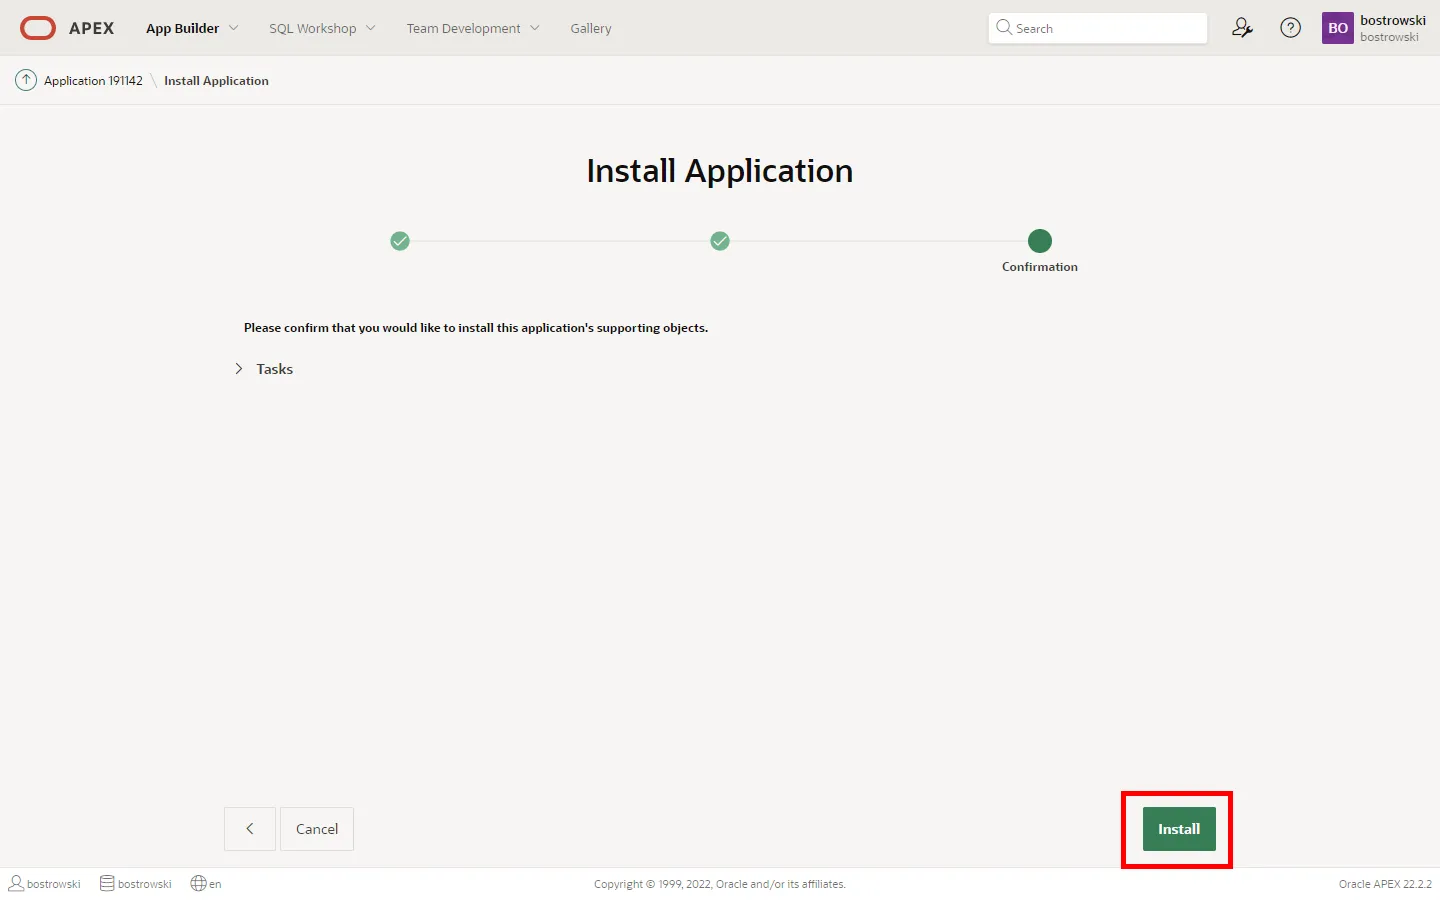
- Click the Install button
-
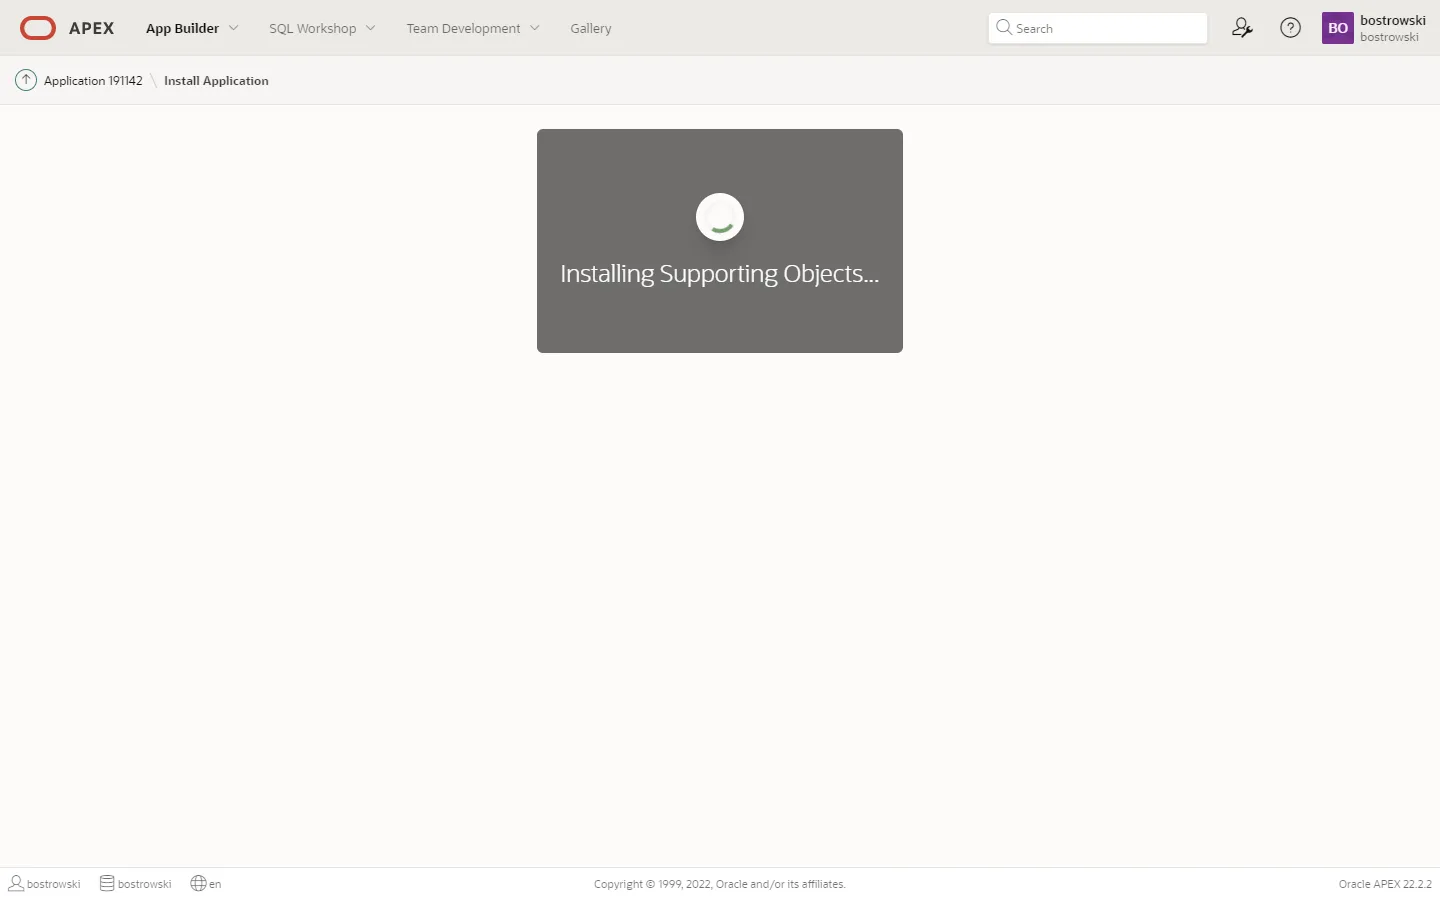
Don’t close the page - wait until APEX finishes installing the supporting objects.
-
When the supporting objects are installed, you will be redirected to the next step.
- You will see the installation wizard confirmation when the installation finishes.
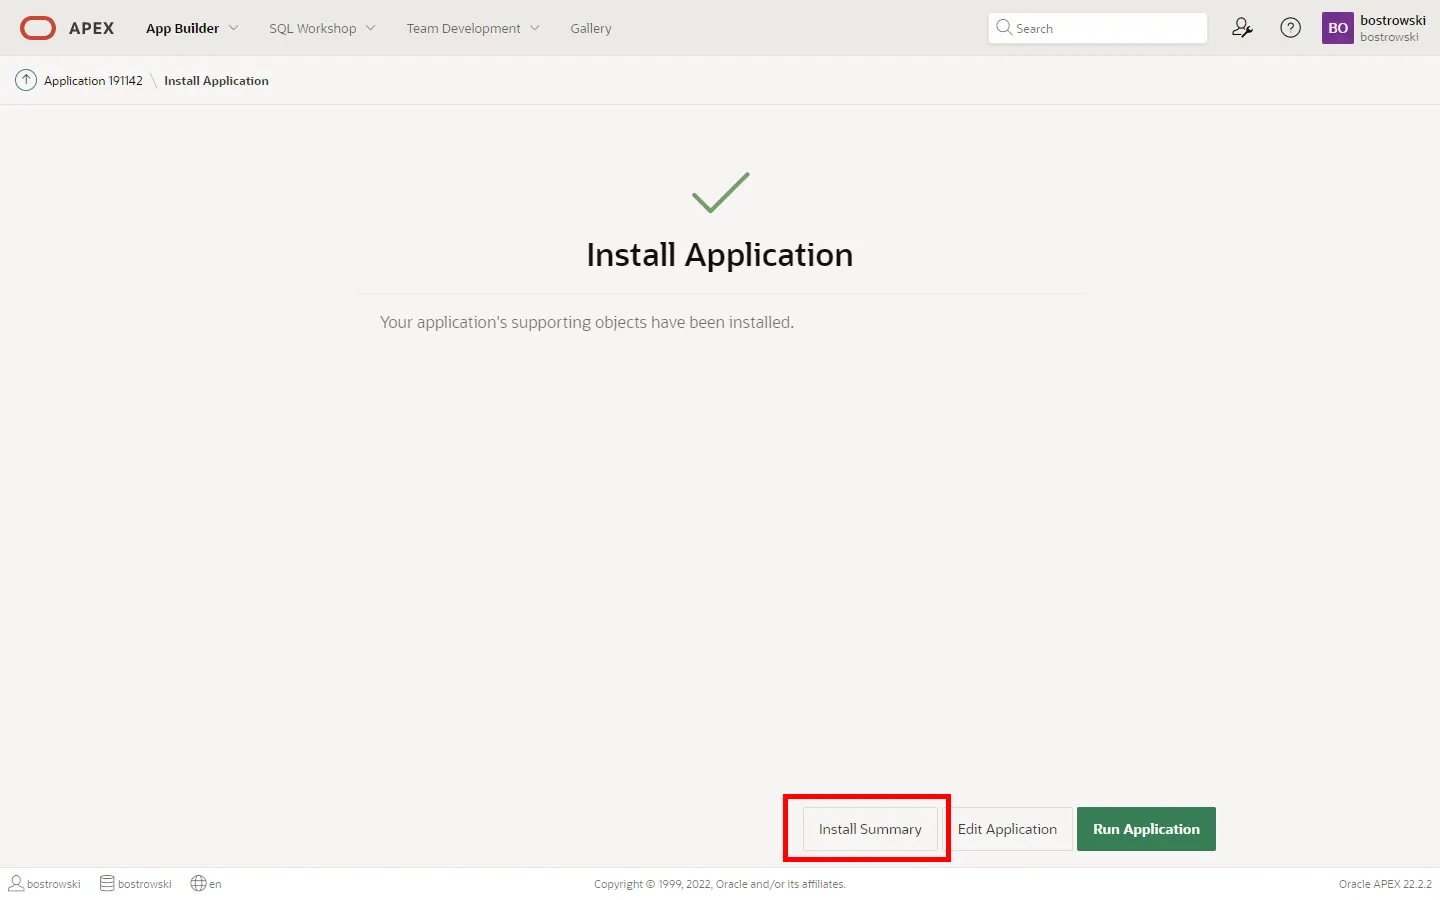
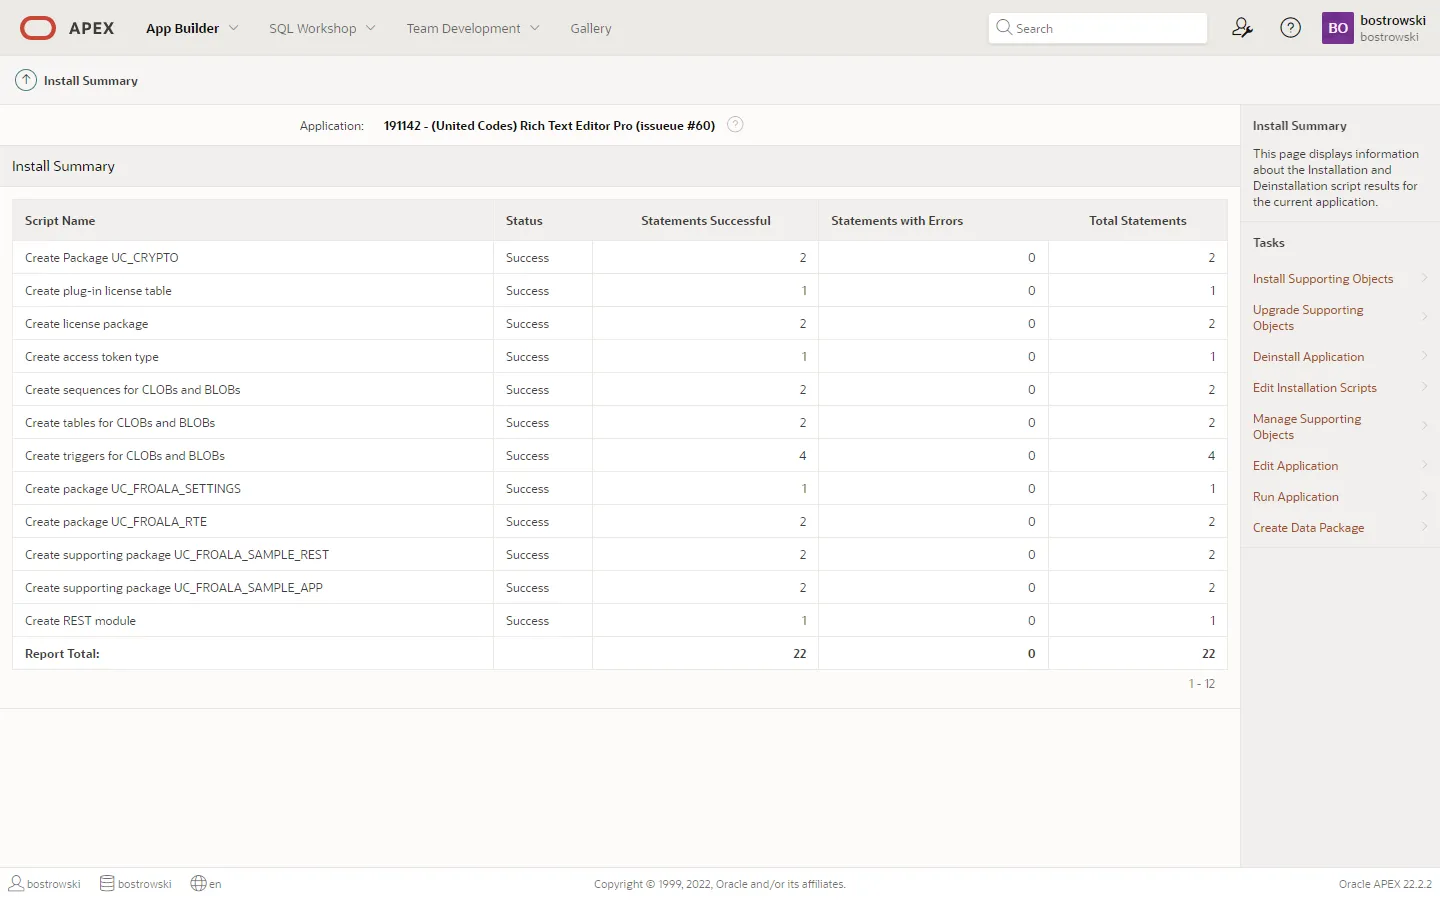
If an error terminates the installation, it can be verified by clicking the Install Summary button - the summary shows the status of all the installed supporting objects.
Verify the plug-in component settings
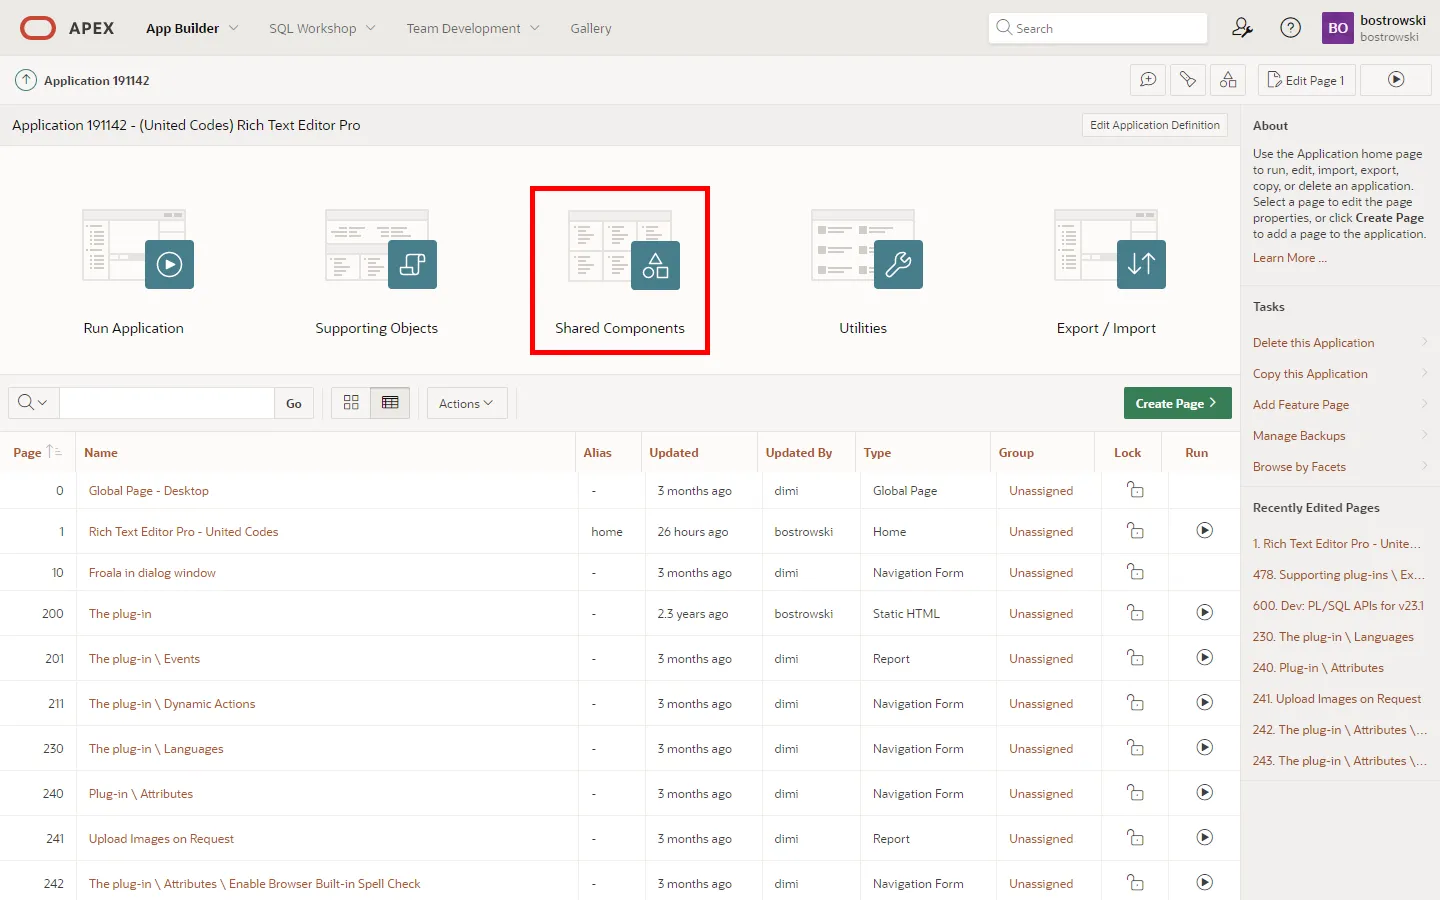
Section titled “Verify the plug-in component settings”- Go to the Shared Components
- Go to the Component Settings

- Click on the plug-in UC - Rich Text Editor Pro (Plug-in)
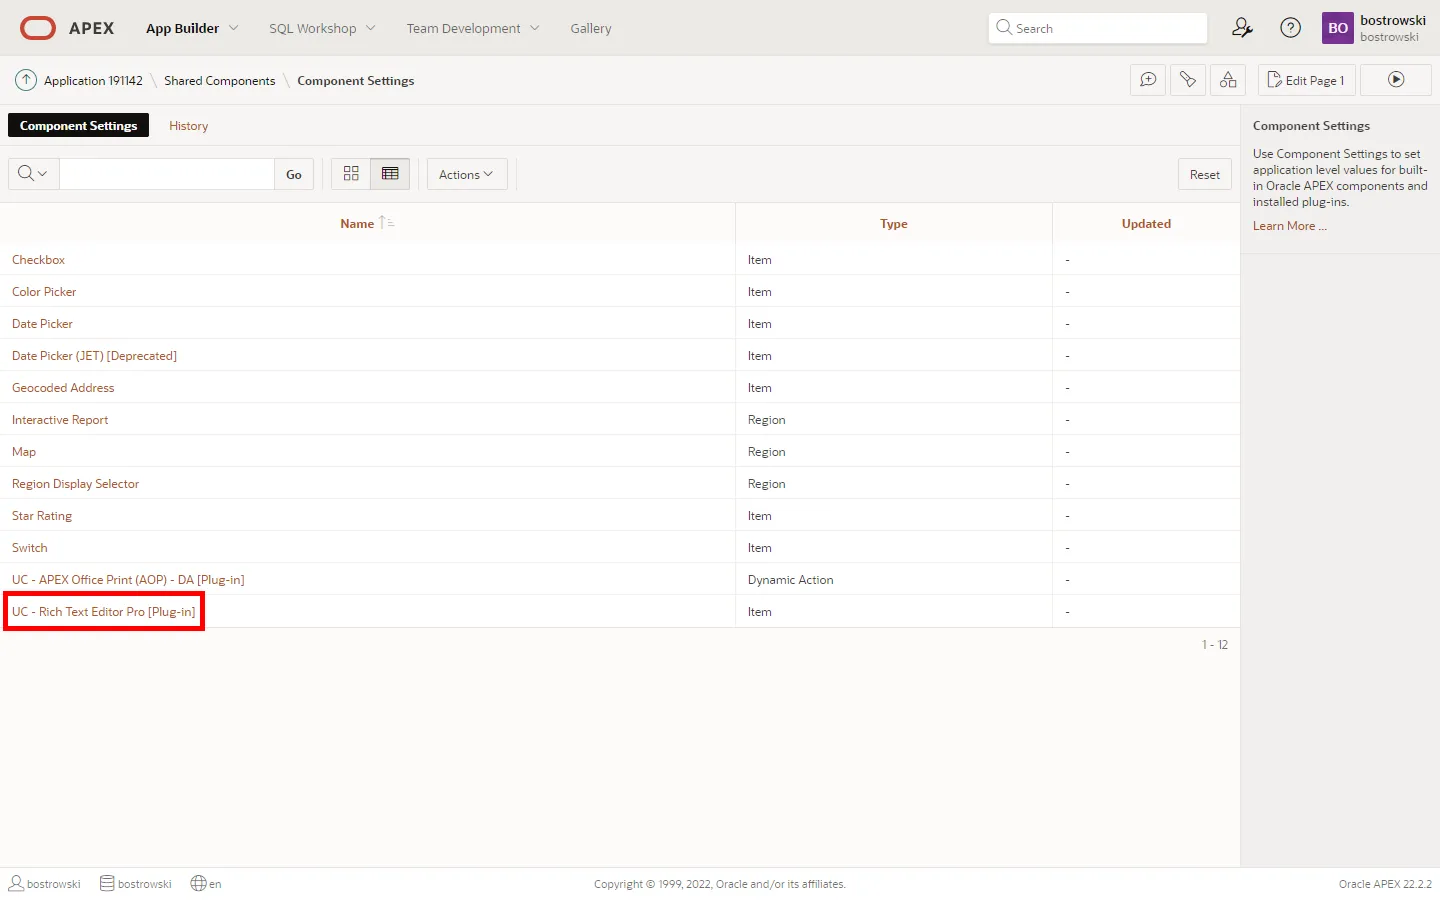
- The plug-in component settings values are set to default values - fill in the correct values if you know what you are doing.

Use the plug-in built-in help text for component settings to learn more about each attribute.