Oracle APEX 19.2 onwards
This document covers step-by-step instructions for installing the plug-in sample application in Oracle APEX versions 19.2 and above but prior to APEX version 22.2. For Oracle APEX 22.2 onwards please follow instructions described here.
Rich Text Editor Pro 26.1.0 requires Oracle Database 19c and Oracle APEX 24.2 or above.
The app_apex192_ export documented on this page is for earlier Oracle APEX releases. It is
shipped unchanged, is outside those pre-requisites, and does not contain the sample
application improvements released in 26.1.0.
On Oracle APEX 24.2 and above, install the current sample application instead.
Installation pre-requisites
- Oracle Database 12c or above
- Oracle Application Express (APEX) 19.2 or above installed
- the schema implementing an application where the plug-in will be installed must be REST enabled.
- the plug-in bundle is downloaded in extracted on the desktop
Import sample application
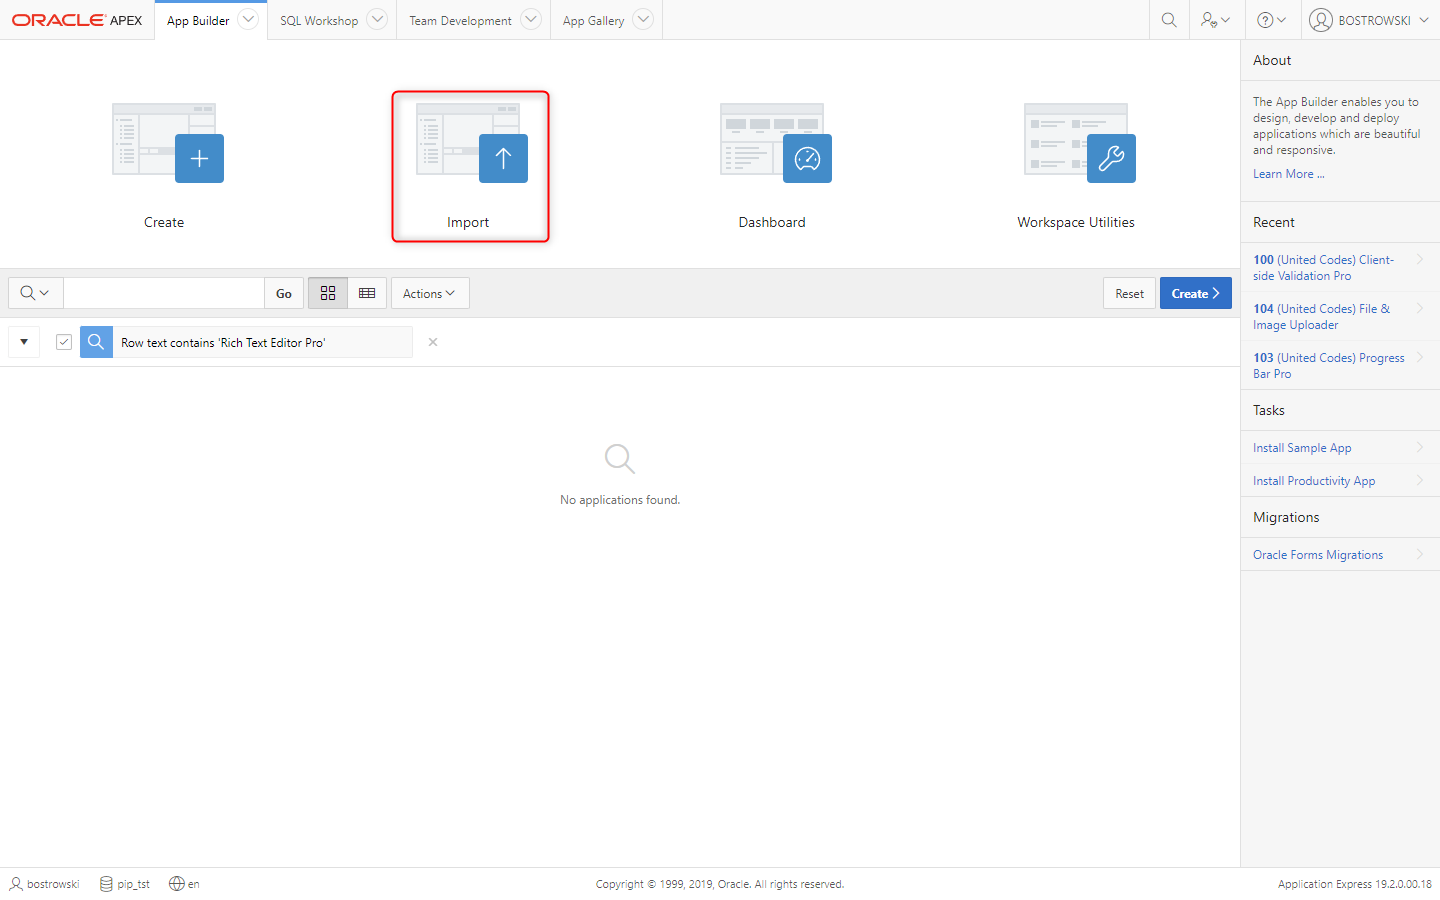
Log into your Oracle APEX application builder and click Import button.
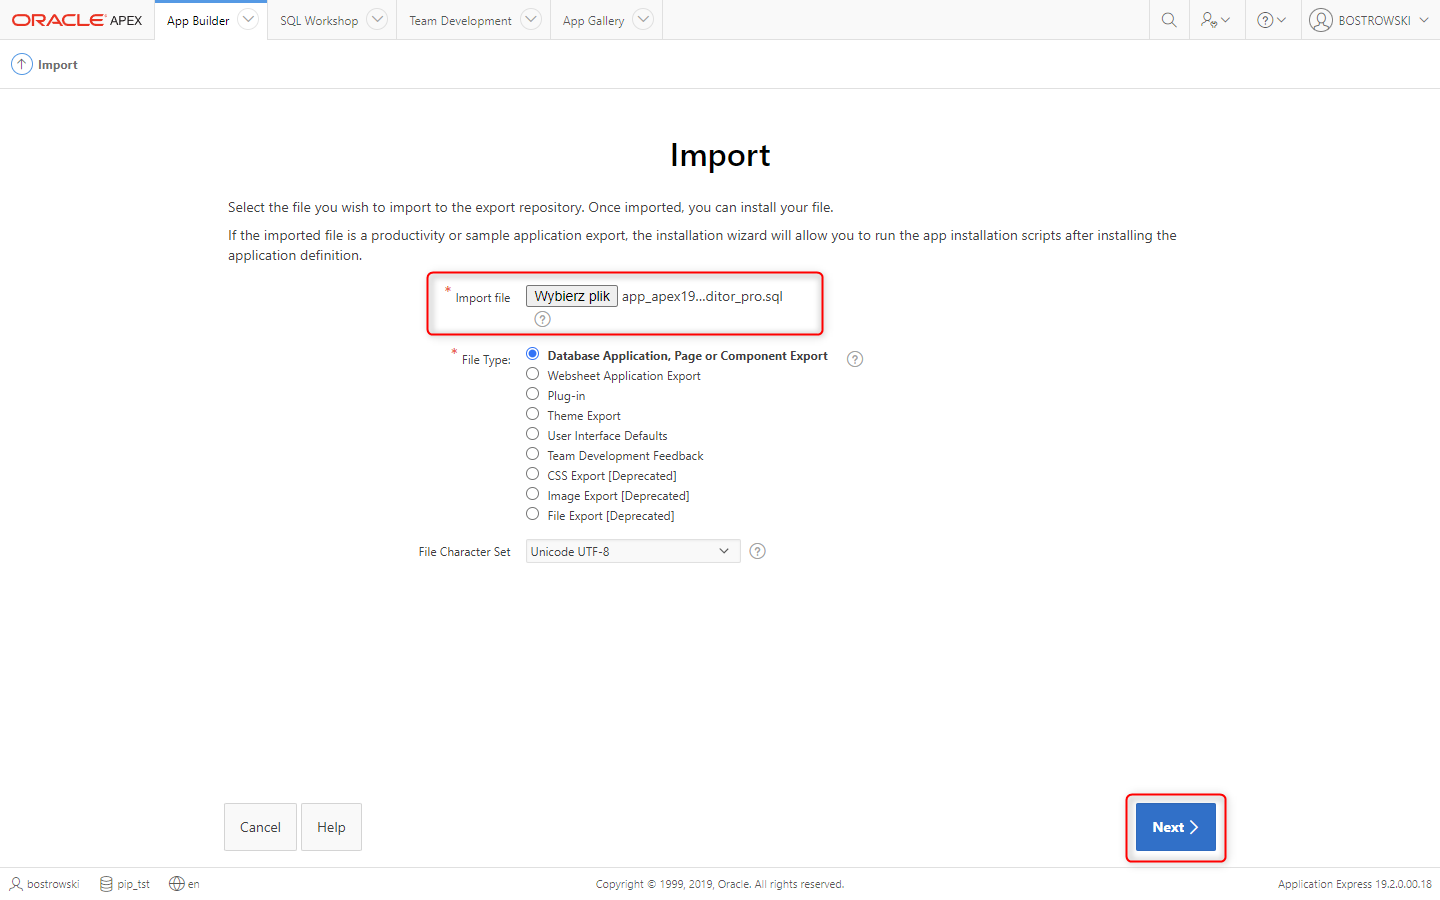
In the Oracle APEX import wizard:
- Go to extracted the plug-in zip archive
- Select file
app_apex192_unitedcodes_rich_text_editor_pro.sqlfrom extracted plug-in zip archive - Click Next Button
In the Import (File Import Configuration) wizard click Next button.

In the Install Database Application (Install) wizad:
- (Optional) Set Parsing Schema
- (Optional) Set Install As Application
- Click Install Application button
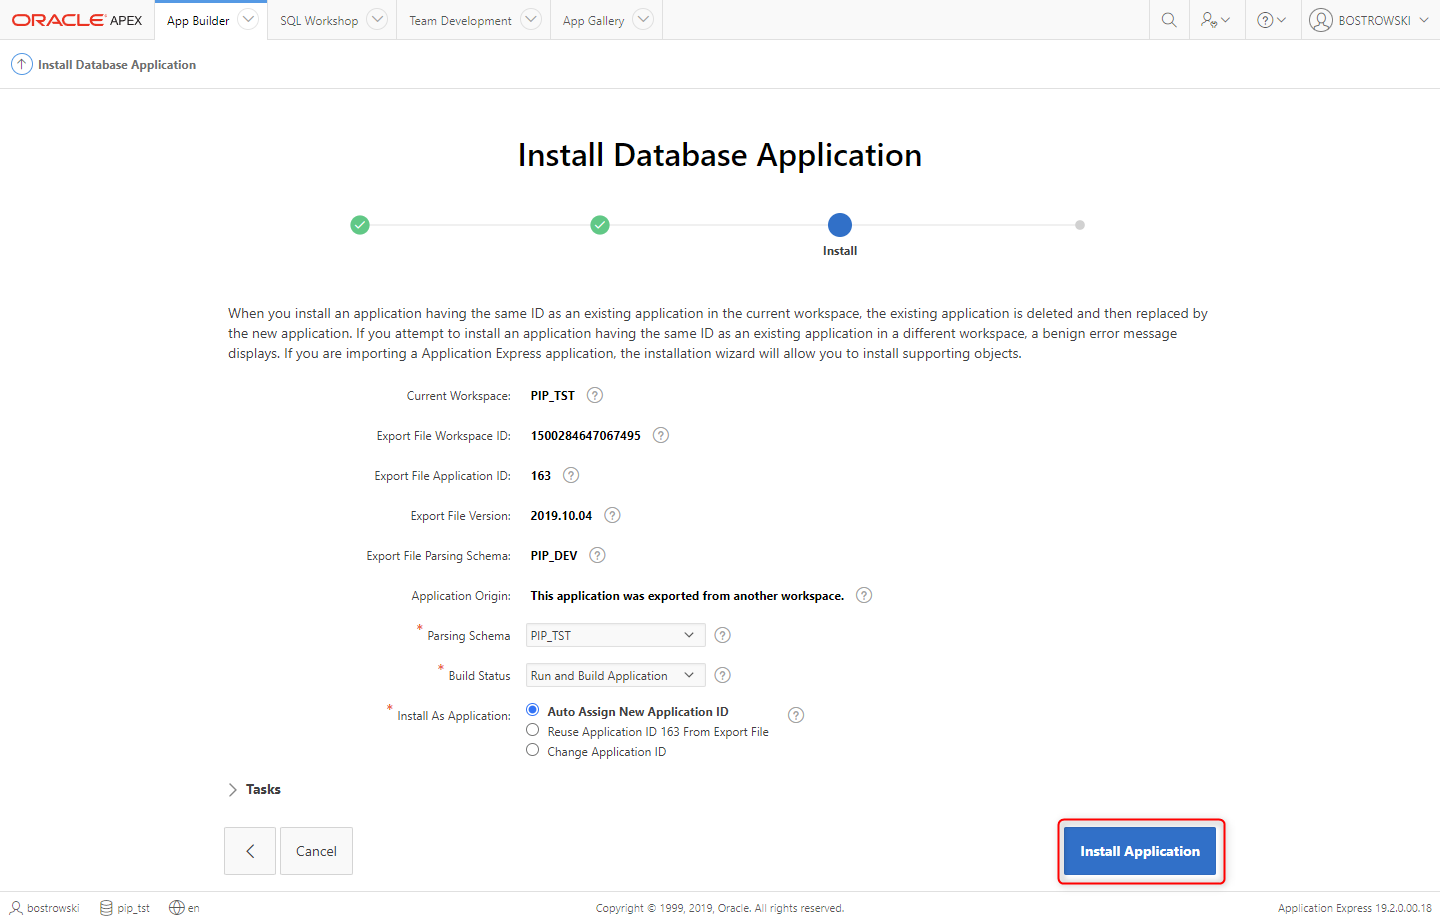
Oracle APEX import wizard is installing the sample application. Don't close the browser tab and wait until the process is finished.

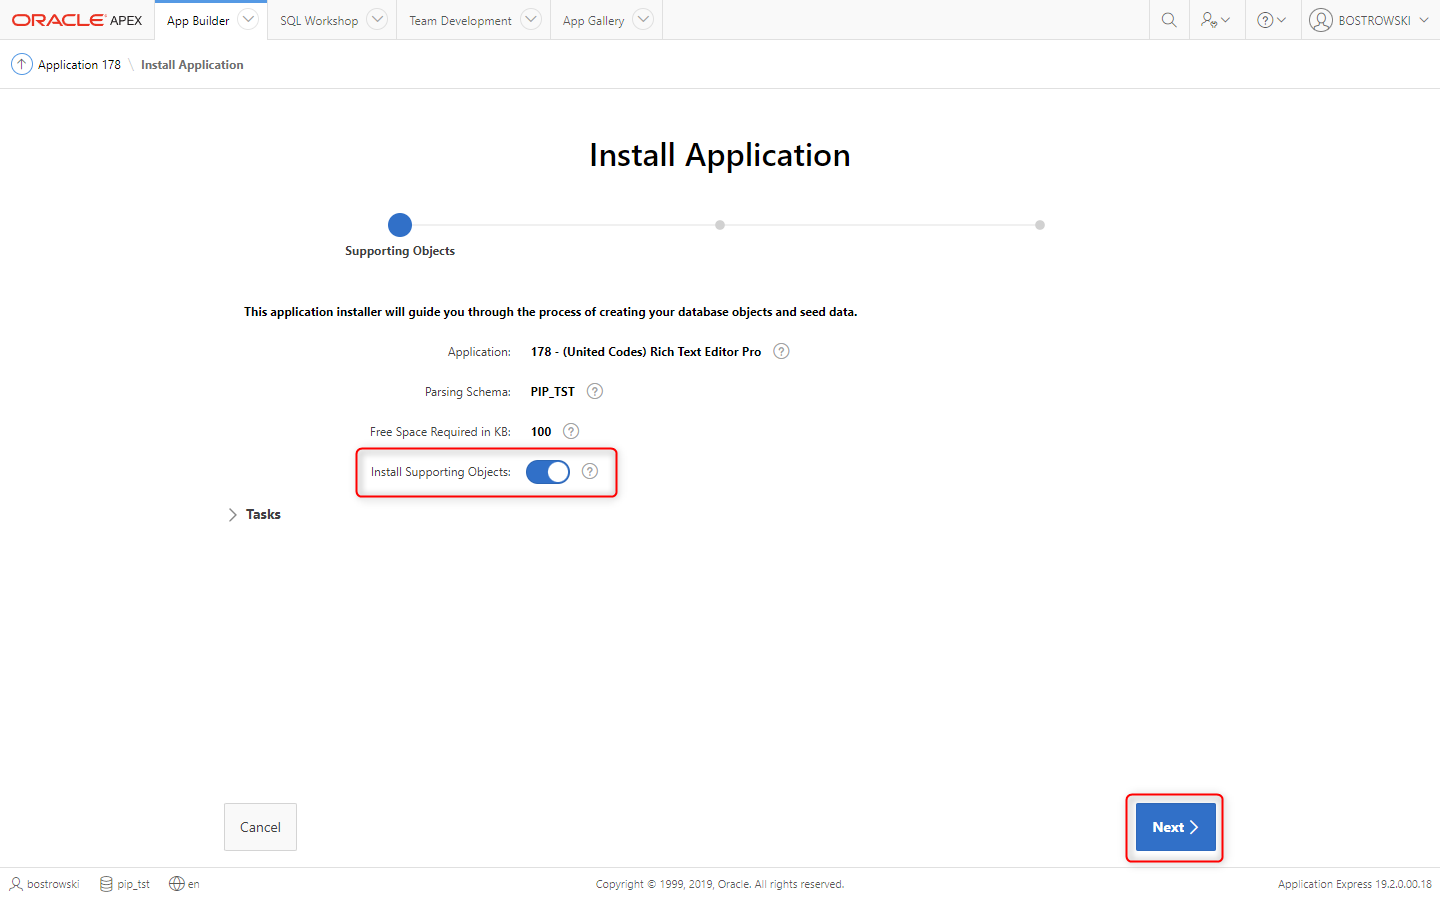
Once, the sample application is created, the Install Application wizard starts. Do the following:
- Set Install Supporting Objects to Yes
- Click Next button
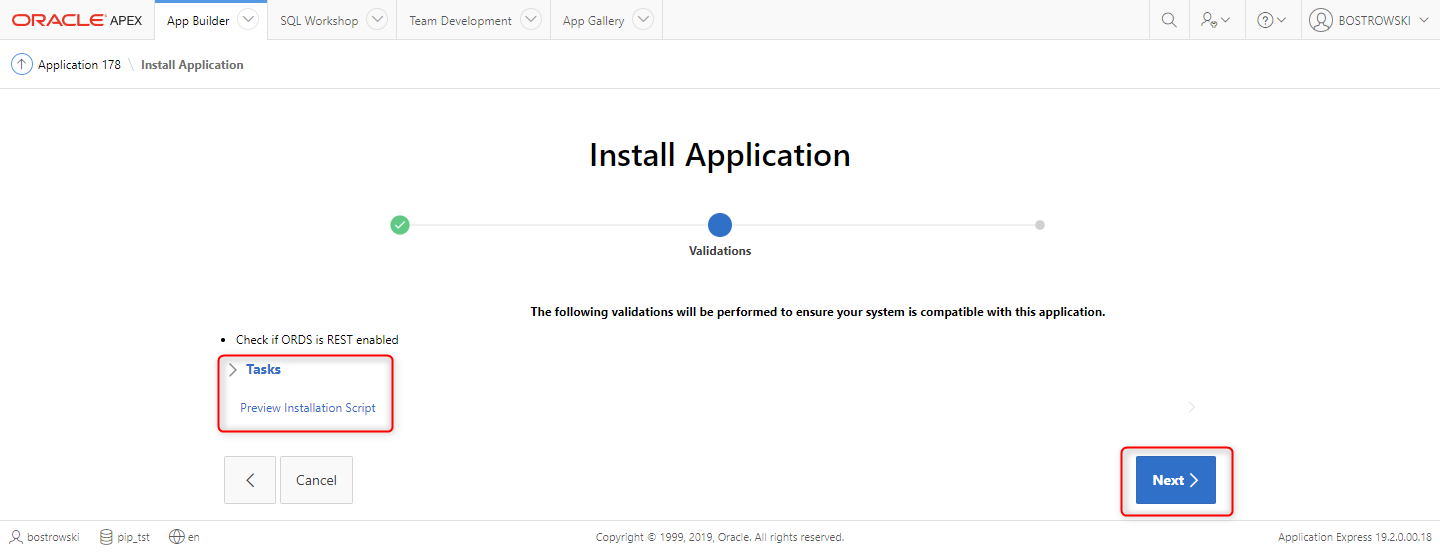
In the Install Application (Validations) wizard:
- (Optional) Preview Installation Script
- Click Next button
In the Install Application (Confirmation) wizard:
- (Optional) Preview Installation Script
- Click Next button

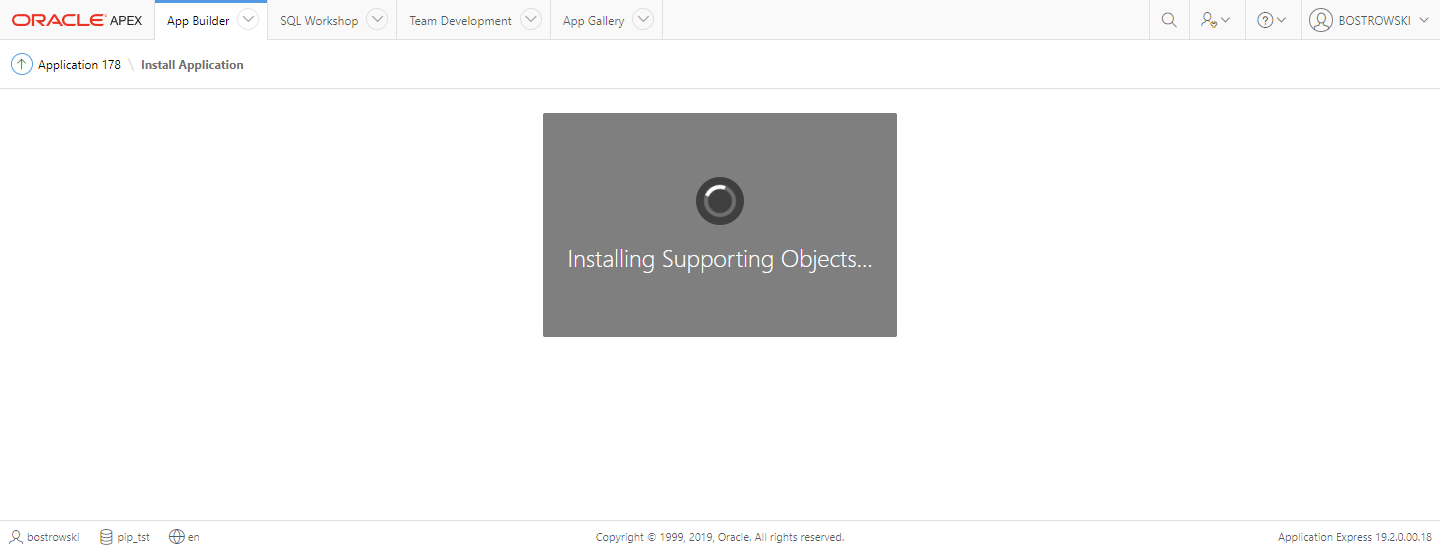
Oracle APEX Install Application wizard is installing the sample application supporting objects creating database objects. Don't close the browser tab and wait until the process is finished.
The Install Summary should report every script as successful.
Up to release 24.1 this wizard finished with one error, on the Create access token type
script, and the type body had to be recompiled by hand with
ALTER TYPE UC_RTE_ACCESS_TOKEN COMPILE;.
The cause was the install order: the type body reads
UC_FROALA_SETTINGS.g_froala_access_token, but the package was created after the type, so
the body compiled against something that did not exist yet. Release 26.1.0 creates the
package first, and the error no longer occurs.
Activate plug-in license
Once the sample application is installed, the plug-in license must be activated. Otherwise, the plug-in will raise PL/SQL error UC-20011: The plug-in license not found. Read on how to activate the plug-in license here.
Run application
Navigate ro installed sample application and click Run Application.

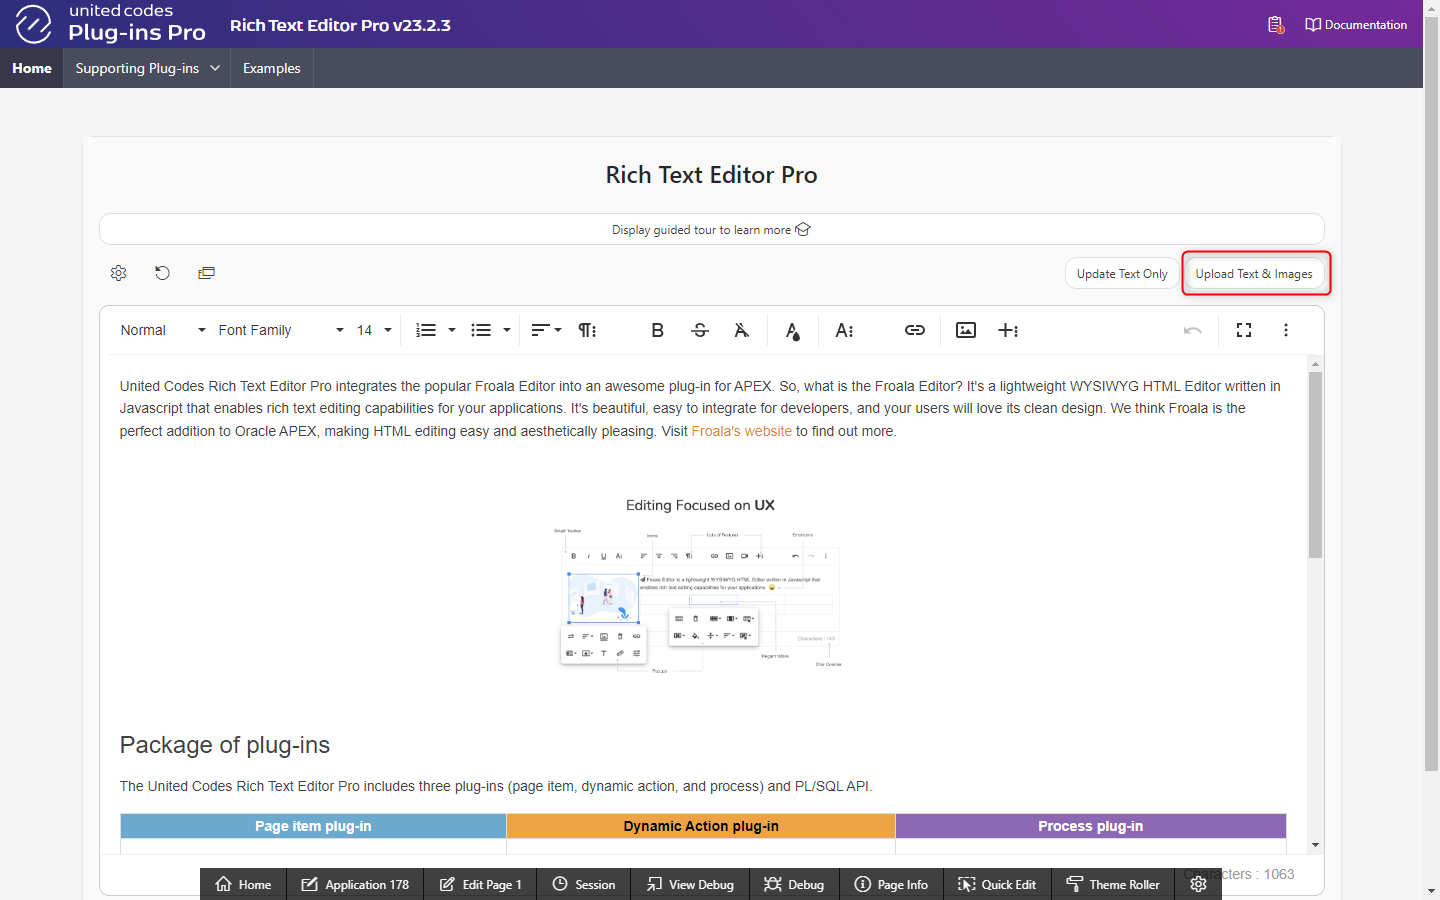
From the home page you can easily test most plug-in features using exposed buttons and settings region.
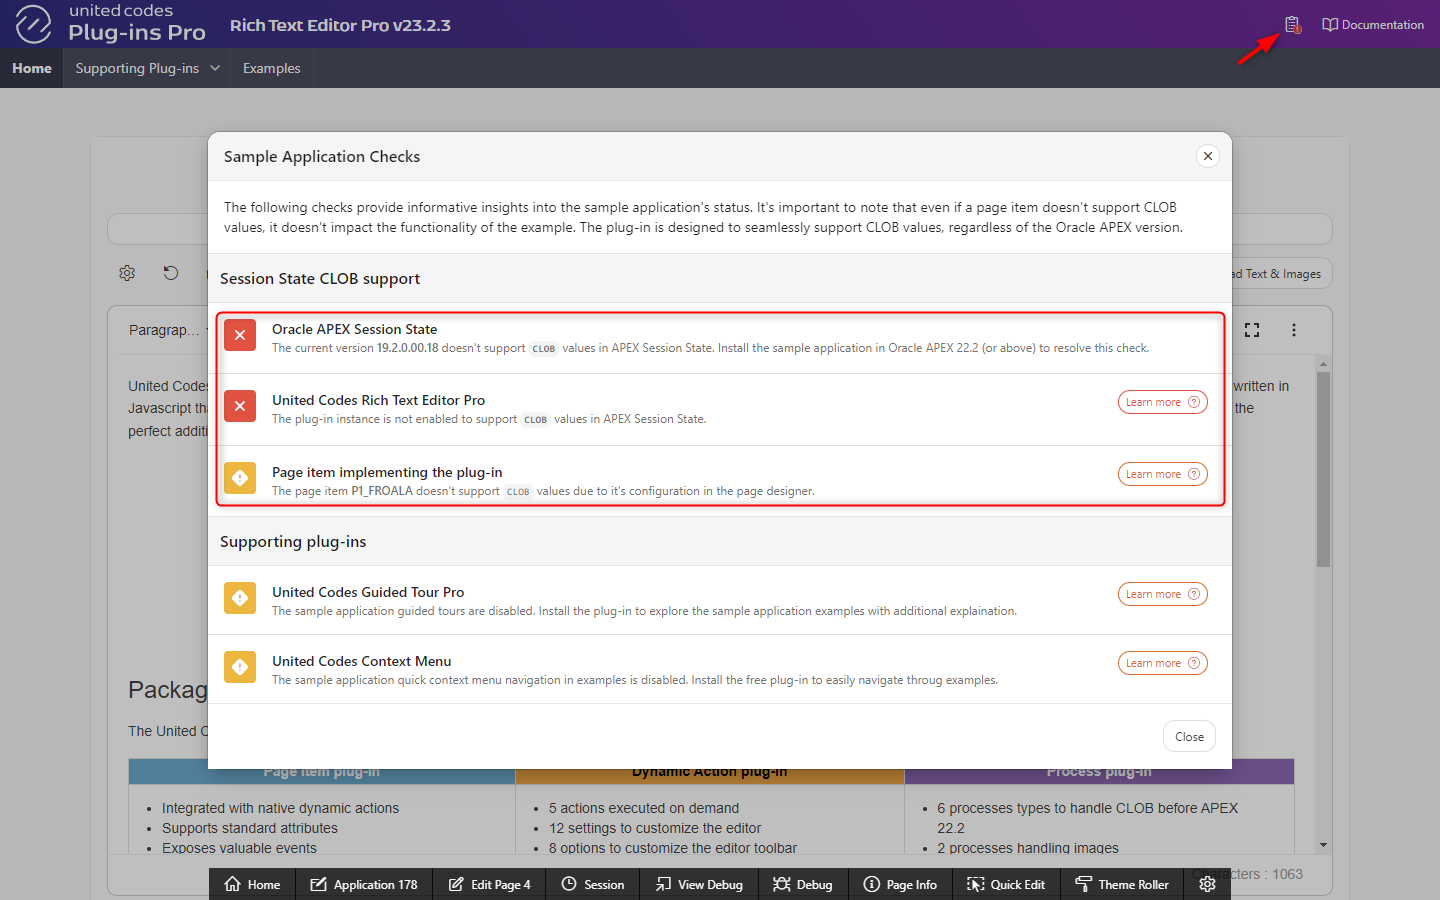
Click the button Sample Application Checks in application navigation bar to open dialog showing sample application CLOB support status. Since the sample application is installed in Oracle APEX prior to 22.2, the APEX session state doesn't support CLOB values.
The main feature of the plug-in is support for CLOB values using the supporting plug-ins and the plug-in PL/SQL API. The sample application presents CLOB handling for Oracle APEX versions prior to 22.2.
Enable CLOB support after upgrading APEX to 22.2 or above
If the sample application was installed in Oracle APEX prior to 22.2, but then the APEX version has been upgraded to 22.2 onwards, the plug-in can be CLOB enabled without the need to reinstall the sample application or plug-ins.
Firstly, check the sample application checks

The sample application checks modal page shows that:
 the Oracle APEX version supports CLOB values in session state
 the plug-in instance is not yet CLOB enabled
- the home page item implementing the plug-in is not yet CLOB enabled
Enabling the plug-in to support CLOB values is only the matter of updating the plug-in Standard Attributes in shared components and existing page items using APEX page designer.
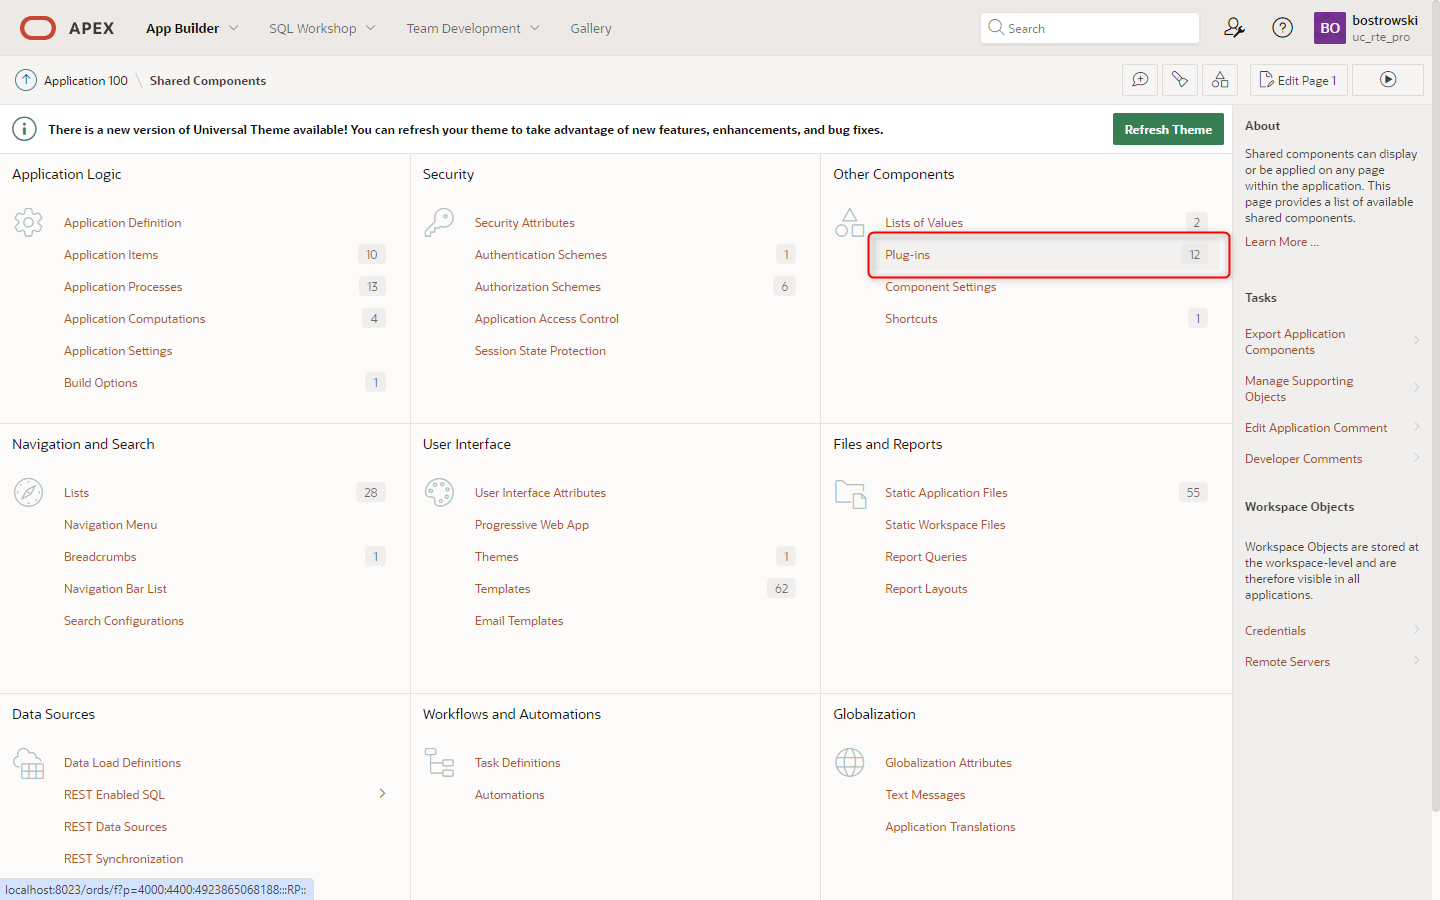
Firstly, enable the plug-in CLOB support. Go to the sample application Shared Components

In shared components go to Other Components \ Plug-ins
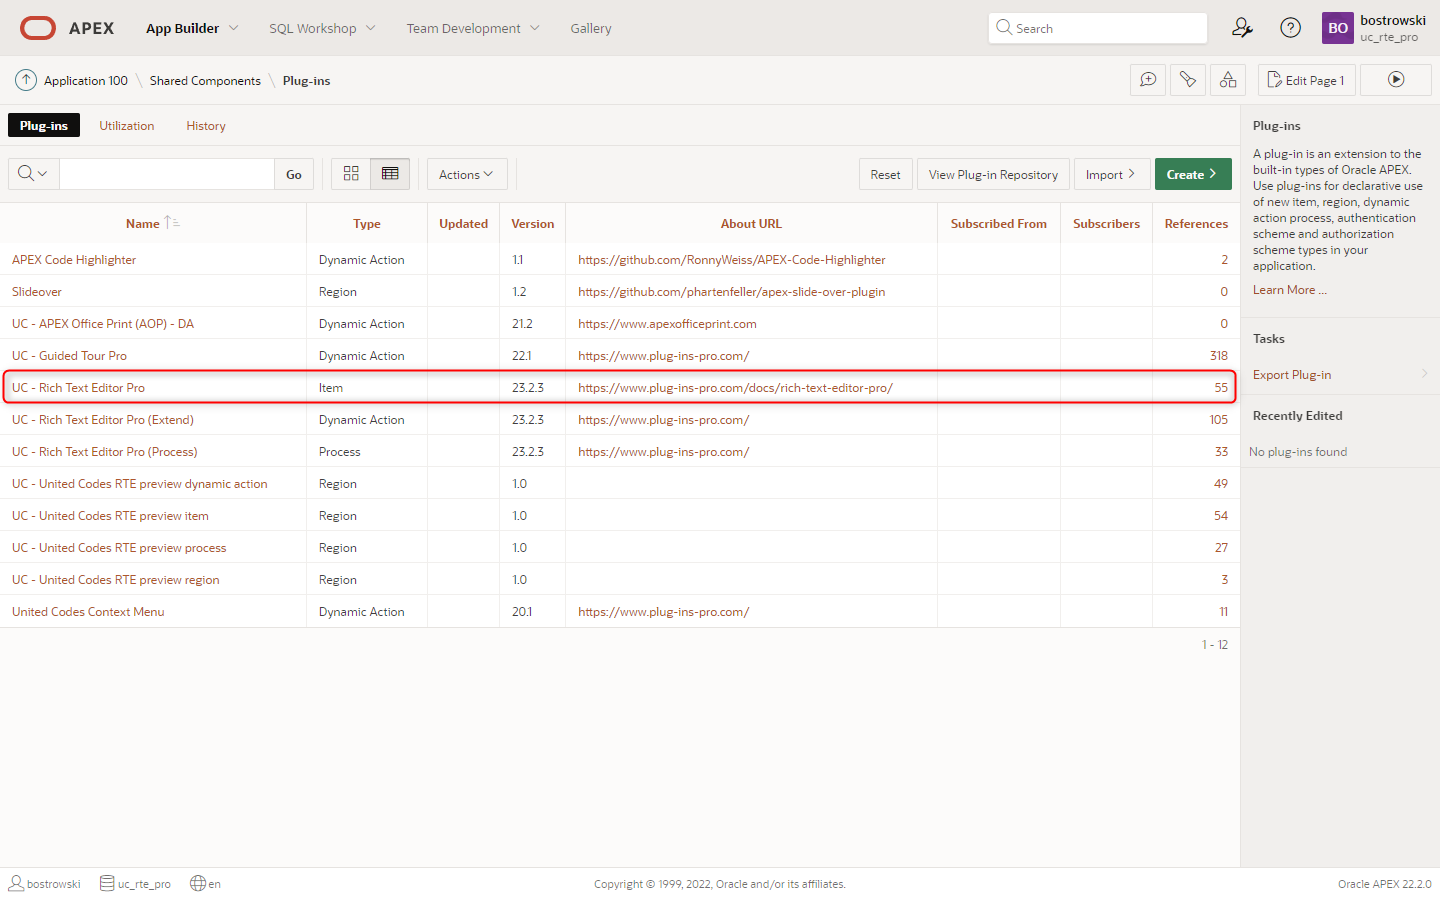
Open UC - Rich Text Editor Pro (page item) definition.
Go to the plug-in Standard Attributes, enable Session State Supports CLOB, and click Apply Changes button.

After updating the plug-in, run the sample application home page and open the sample application checks modal. The modal page will show the following information:
- the APEX version supports CLOB values in session state
- the plug-in instance is not yet CLOB enabled
- the home page item (P1_FROALA) implementing the plug-in is not yet CLOB enabled

Open the sample application Home (1) page using APEX page designer and:
- Select page item P1_FROALA
- Set Session State \ Data Type to CLOB
- Save and run the page

If saving a page results in error presented below, the attribute must be firstly set to VARCHAR2 and then to CLOB.
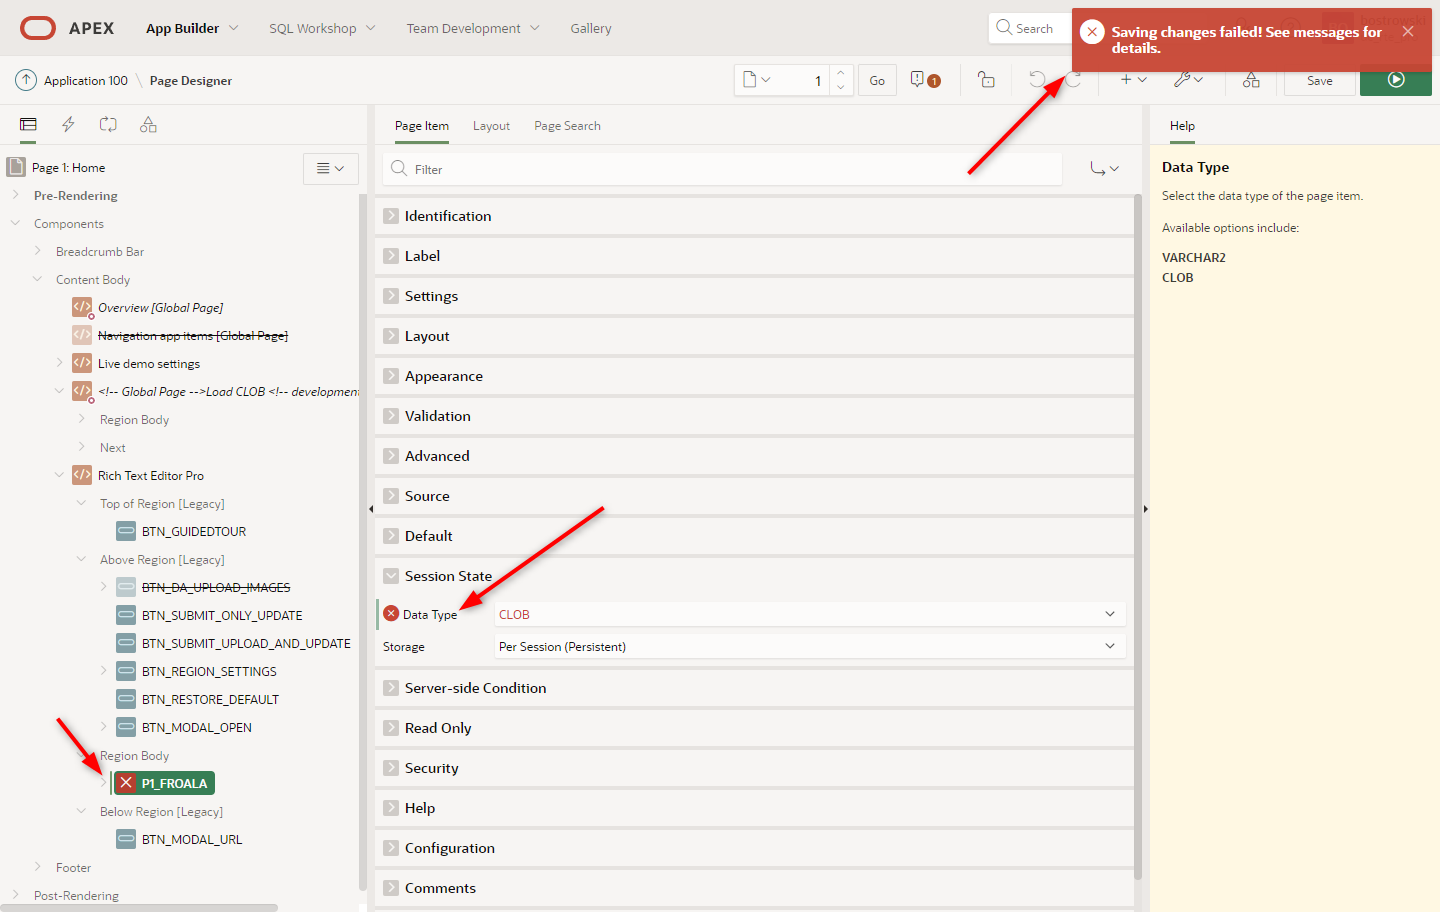
- Set Session State \ Data Type to VARCHAR2
- Save page
- Set Session State \ Data Type to CLOB
- Save and run page
Once, the page item has been updated, the sample application checks modal page will show the following result:
- the APEX version supports CLOB values in session state
- the plug-in instance is not yet CLOB enabled
- the home page item implementing the plug-in is not yet CLOB enabled

Now, the sample application exported from Oracle 19.2 and migrated to Oracle APEX 22.2 onwards has been CLOB enabled.